Our recommendations are made independently. We may receive commissions from purchases made via our links.
How We Test Infrared Thermometers v1.0
All infrared (IR) thermometers you see in our database are tested using one methodology to make it easier to compare each model with the other and decide which one to buy. You can find the full methodology here.
A good infrared (IR) thermometer is a must-have in the cubby of a well-stocked kitchen. This nifty device lets you measure the temperature of a heat source (grill, oven, stove, etc.) while standing a safe distance away from the action.
But while IR thermometers are a dime a dozen on the market, do they actually work as advertised? It’s a difficult question to answer unless you put each thermometer through an elaborate accuracy test in a lab.
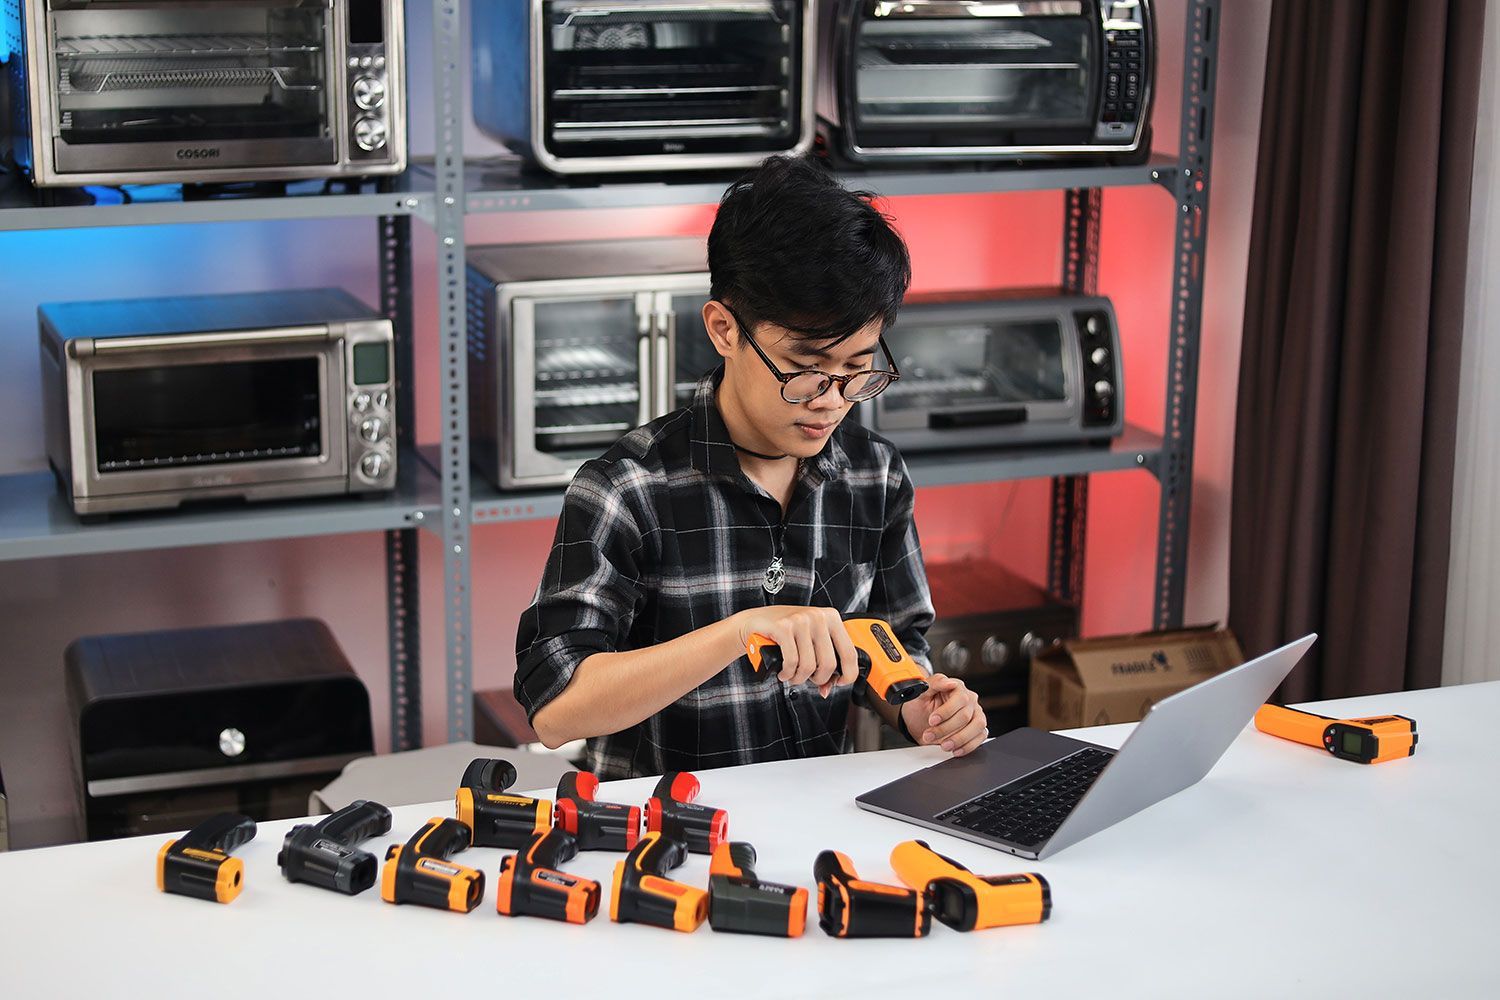
That’s exactly what Shouldit can bring you with this new series! In this article, you’ll get to look personally at how our team tests and scores each IR thermometer.
Overall Ratings
The overall rating of an IR thermometer is calculated by combining the individual scoring of three major criteria together. They’re weighed differently depending on their importance to the end user. For IR thermometers, the breakdown is as follows:
- Performance — 70%
- Design — 20%
- Usability — 10%
In each criterion, there is a number of different sub-scores that add up to the final scoring.
Performance (70%)
We conduct two tests to determine the thermometer's accuracy: a calibration test utilizing an ice bath and another test using boiling cooking oil.
This is the most important part of our test, and it’s exactly what is said on the tin: how accurately the thermometer can measure the temperature of a surface.
Because the cooking oil test is more relevant to kitchen work, the weightage of its score (60%) in the total for this section is higher than the ice bath test (40%).
The final score for this section is done by summing up the two sub-scores according to their weightage.
Hot Test with Cooking Oil (60%)
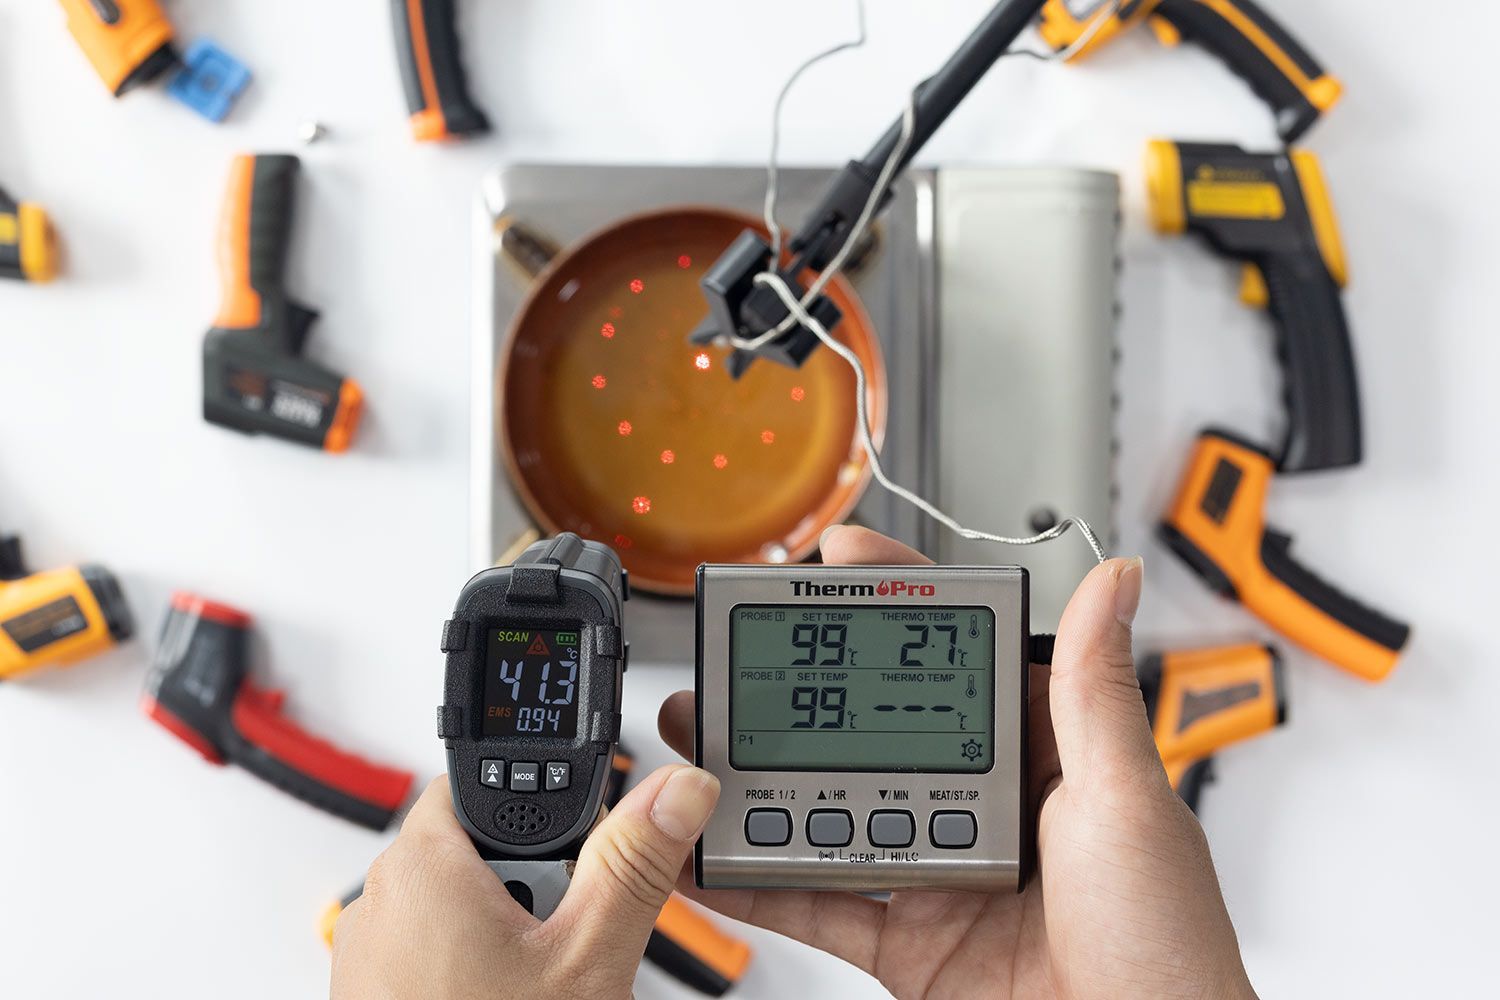
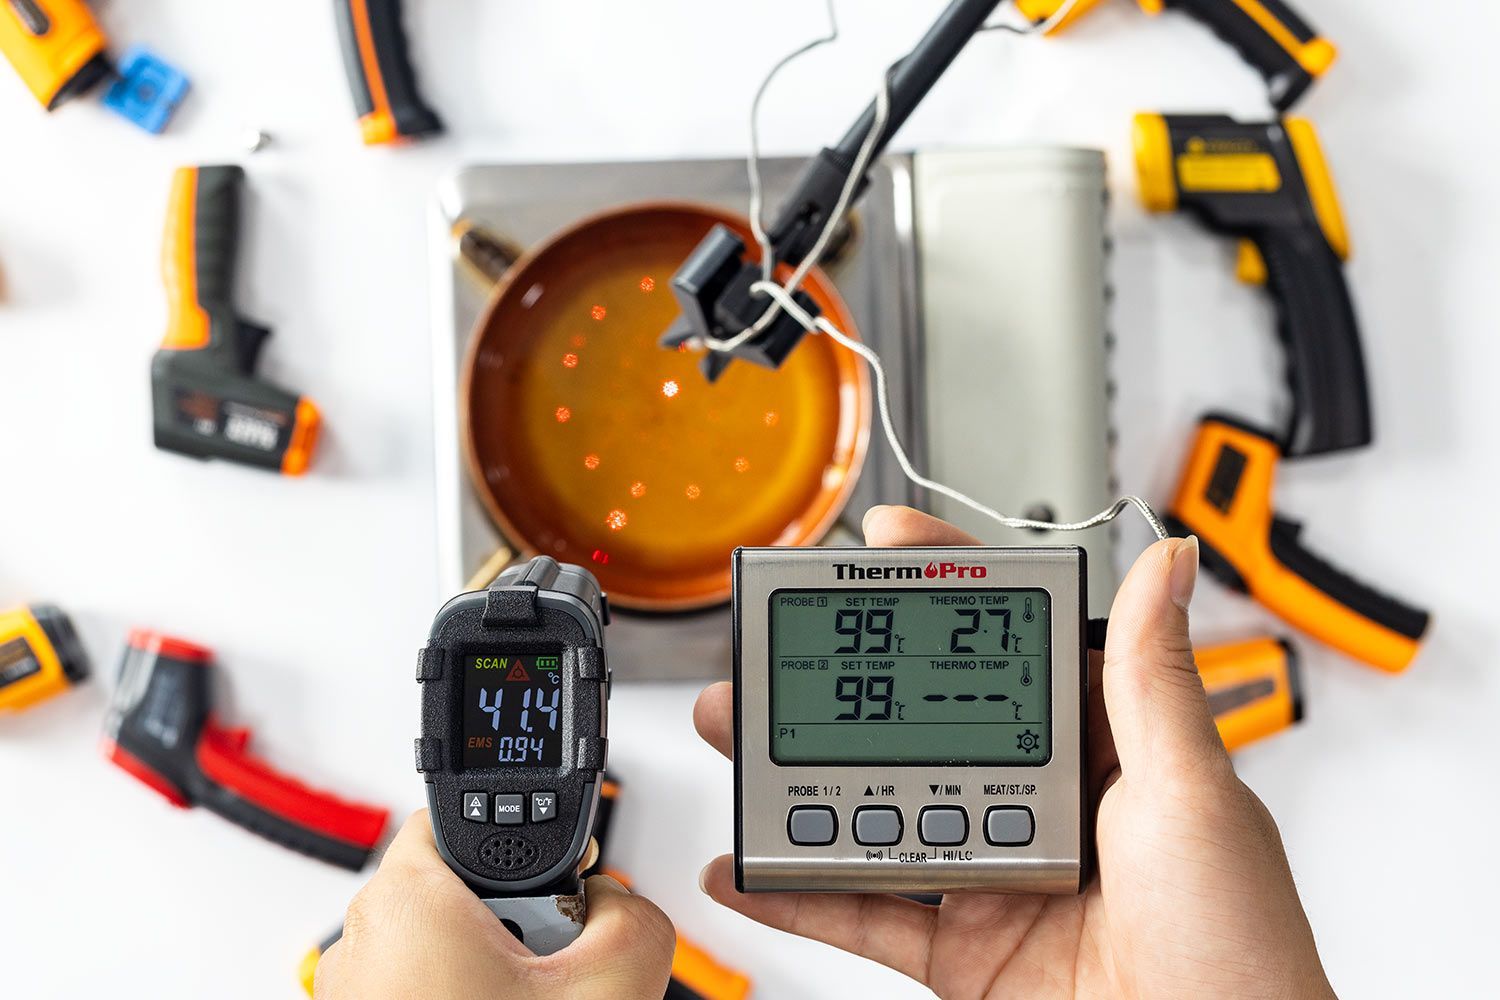
IR thermometers are frequently used in kitchens to measure the temperature of hot oil for cooking and frying. To test the accuracy of these thermometers in such scenarios, we heat vegetable oil to a consistent temperature of 361°F in a pan on a stovetop.
Once the temperature stabilizes, we test each thermometer at two distances: 12 inches and 16 inches.
You can read through the detailed testing methodology for a more comprehensive understanding of this process and its scoring.
Cold Test with Ice (40%)
An ice bath has a consistent temperature value of 0°C, making it a widely used calibration tool for temperature sensors in scientific and industrial settings.
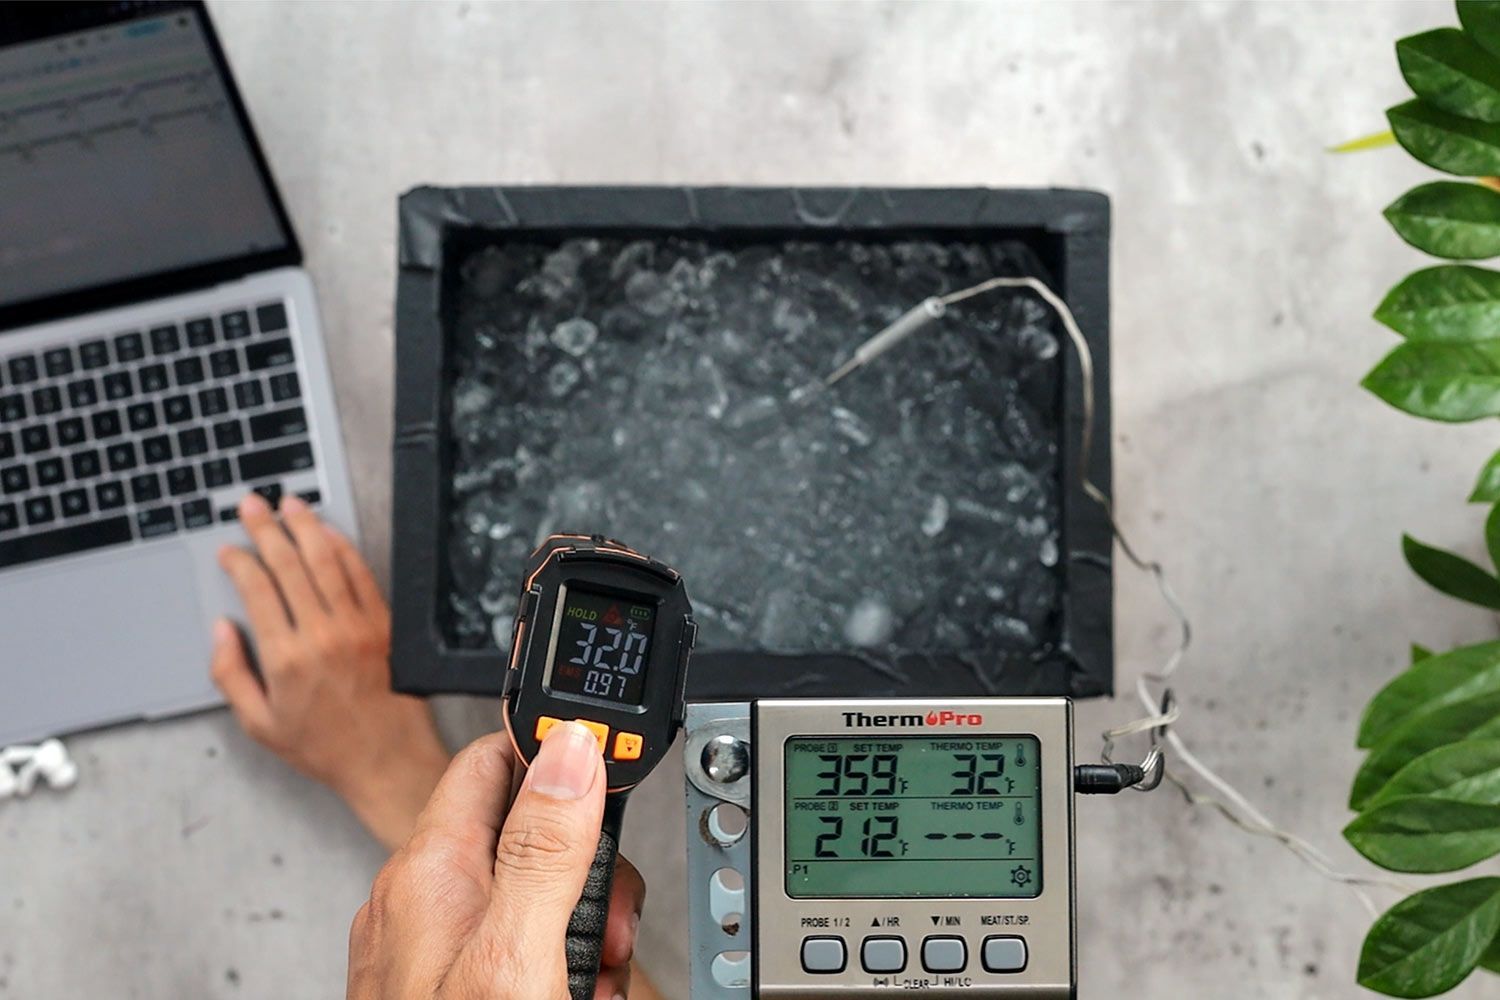
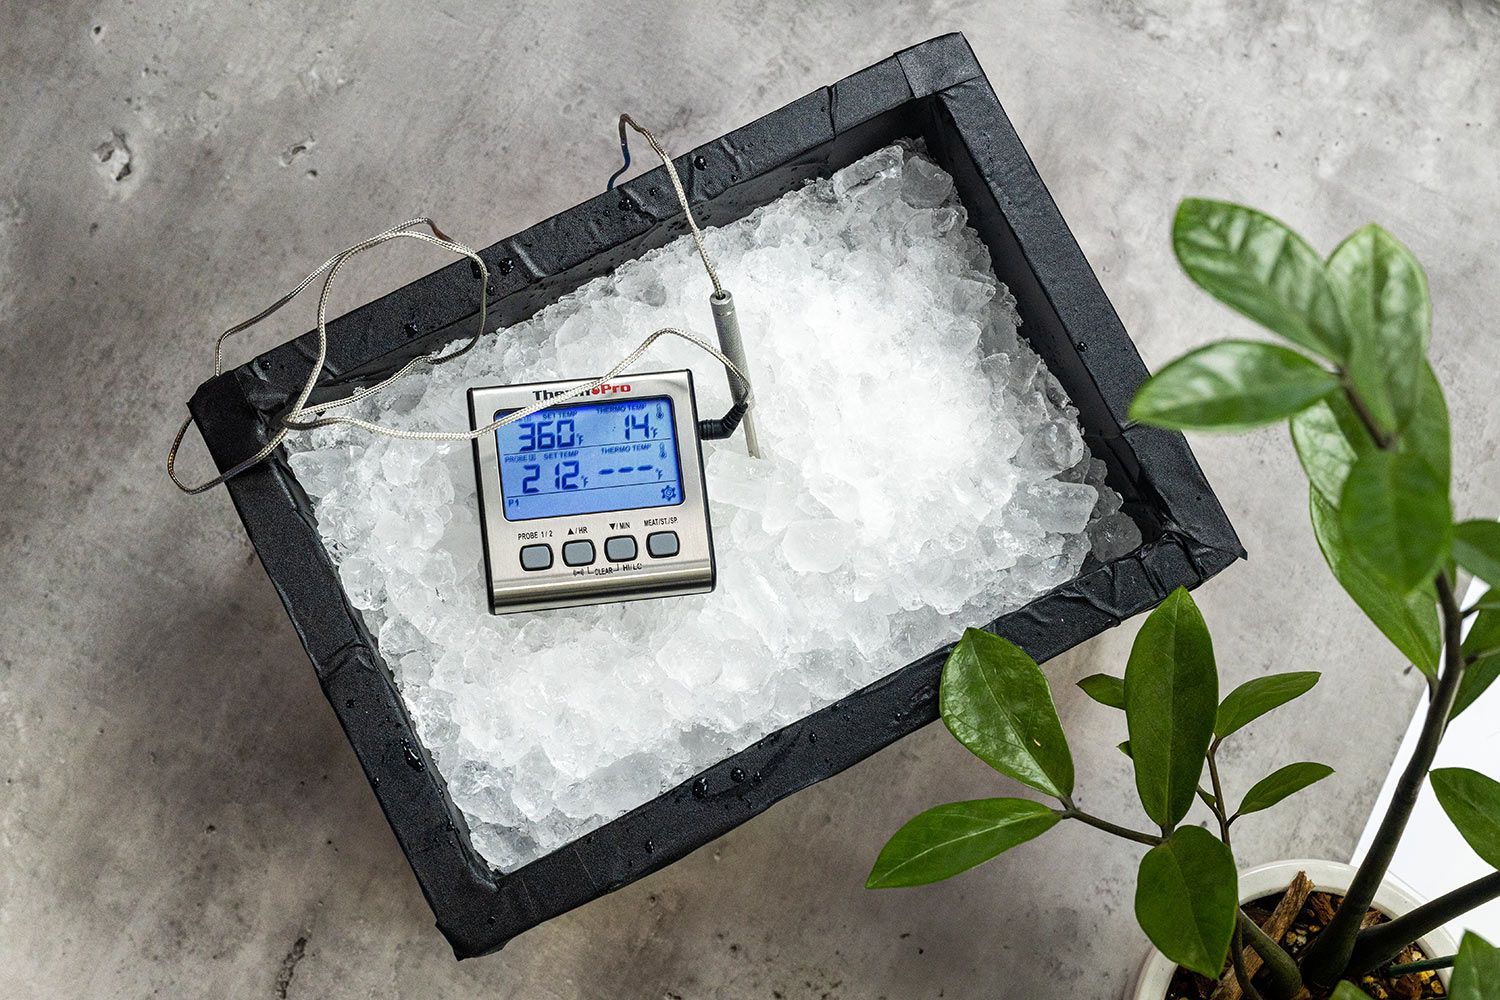
To carry out this test, we fill a bucket with a mixture of 75% ice and 25% water.
After waiting for five minutes and confirming that the temperature of the ice has reached 0°C using temperature probes, we begin testing each thermometer.
The thermometers are tested at two distances, namely 12 and 16 inches, and their readings are noted down for later analysis.
Refer to detailed explanation of the steps we took to test and score each thermometer using an ice bath.
Design (20%)
In the design test, we visually inspected each thermometer to see how much thought and care the manufacturer had put into each unit.
We’ll focus on three essential components of an IR thermometer in particular.
- Build quality (50%)
- Laser emitter (25%)
- Display panel (25%)
Build Quality (50%)
In this section, we assess the solidness of the IR thermometer’s housing. Because most kitchen IR thermometers are also used limitedly in industrial settings, they’re typically built quite tough.
We look into how well the parts are assembled, whether any loose pieces on the housing can compromise the integrity of the housing, and so on.
The more well-built the housing is, the higher the score in this section.
Laser Emitter (25%)
The laser emitter tells the user where the sensor is pointed at. Contrary to popular belief, the laser emitter doesn’t take part in measuring itself. But its brightness and accuracy still affect the usability of the thermometer.
In this section, we look at the brightness, the clarity, and the patterning of the laser emitter.
Display Panel (25%)
Every IR thermometer has a small screen panel displaying data (temperature reading, current mode) at the back. The brightness, clarity of the display, and the ease of viewing all contribute to this sub-score.
Usability (10%)
In the usability section, we evaluate how user-friendly and convenient the thermometer is to operate.
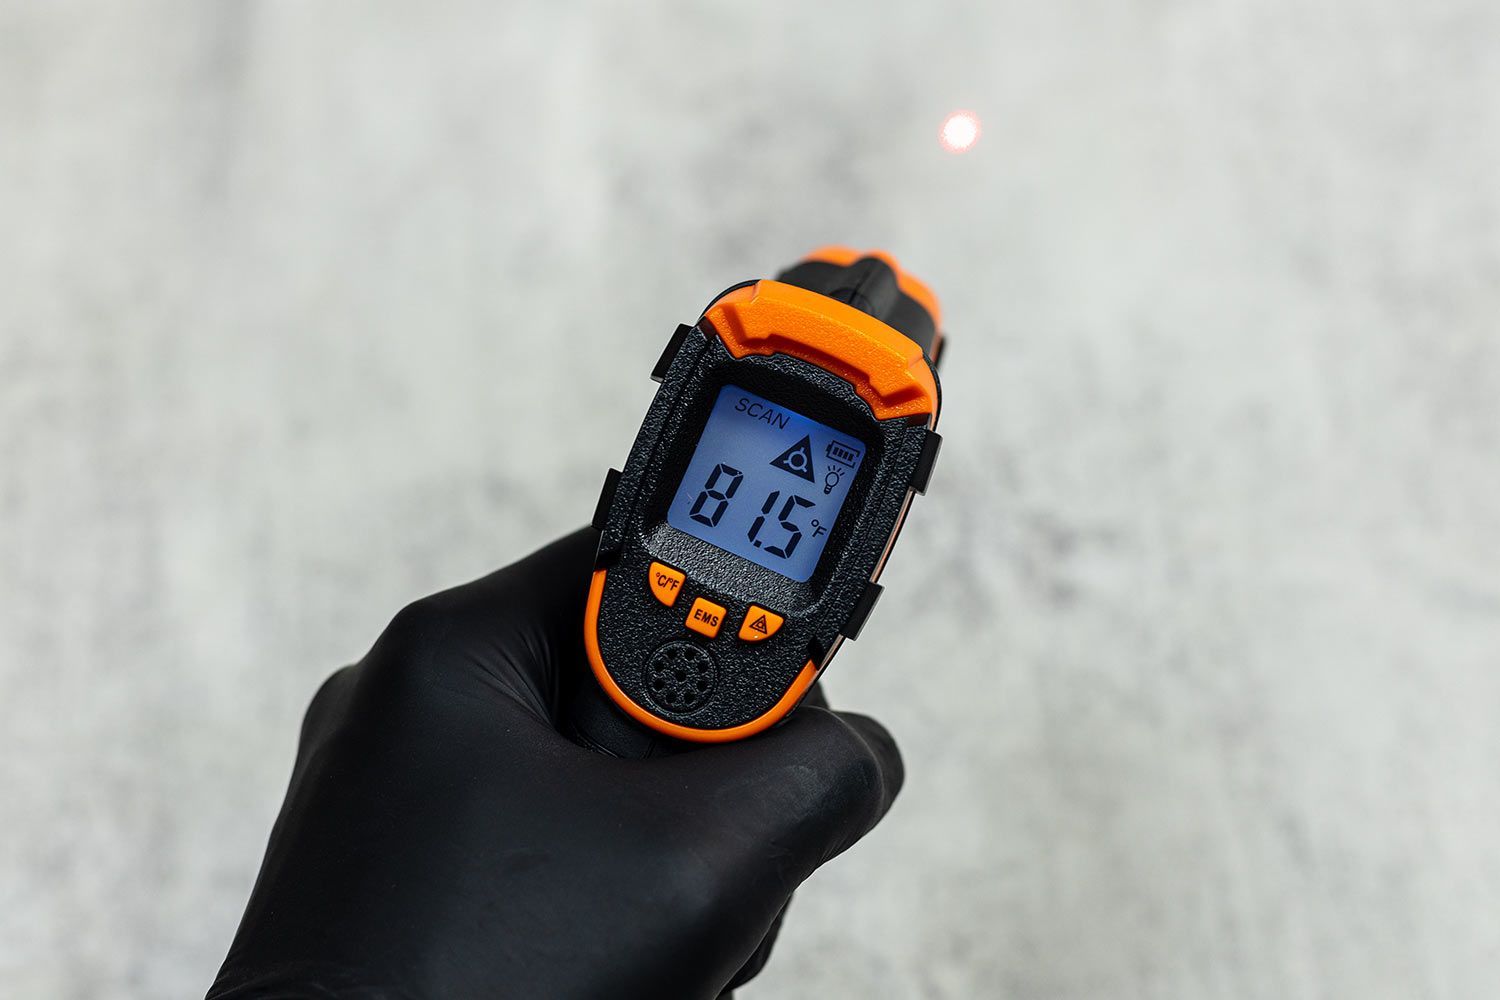
Our benchmark for an ideal thermometer includes several key features.
- Handling (50%)
- Measurement modes (30%)
- Audio cue (20%)
Handling (50%)
A good thermometer should feel comfortable in the hand, with the grip fitting snugly against the palm of the hand. Its weight should also be light enough for a user to hold and operate the IR thermometer for long stretches of time.
Measurement Modes (30%)
Many advanced IR thermometers come with several measuring modes. Typically, there are six functions:
- EMS: Set the emissivity data depending on the surface of the object being read.
- Max: Displaying the maximum temperature reading attained during the scanning session.
- Min: Displaying the minimum temperature reading attained during the scanning session.
- Average: Displaying the average temperature that was scanned.
- Calibrating (Cal.): Re-calibrate the temperature reading of the IR thermometer.
- Alarm mode: Chime when the set temperature is reached.
Audio Cue (20%)
Many IR thermometers come with a small speaker that chirps or beeps when the scan is completed and the unit switches to HOLD mode. We score this section based on the loudness of the speaker.
