Our recommendations are made independently. We may receive commissions from purchases made via our links.
How to Sharpen a Knife with a Stone
Although we see it done in movies, not everyone knows how to sharpen a knife with a stone Read our article to learn this time tested process!
The ranger hummed a soft tune from his youth as he slid the stone ritually along the edge of his blade. The steel sang back to him in its own high pitch, and reflected the flickering campfire light up to the stars.
If you were fond of fantasy books growing up, you may be familiar with scenes like this. But florid prose doesn’t actually teach you how to sharpen a knife with a stone.
We’re here to rectify that oversight. Today we’ll examine a few different types of “sharpening stones,” and detail how to use them.
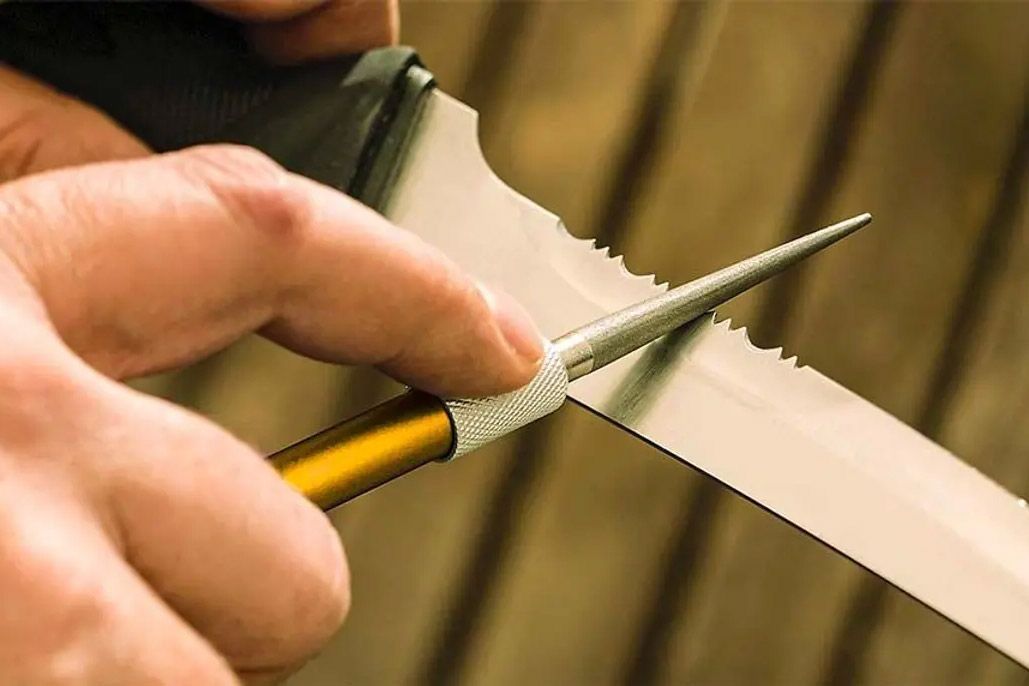
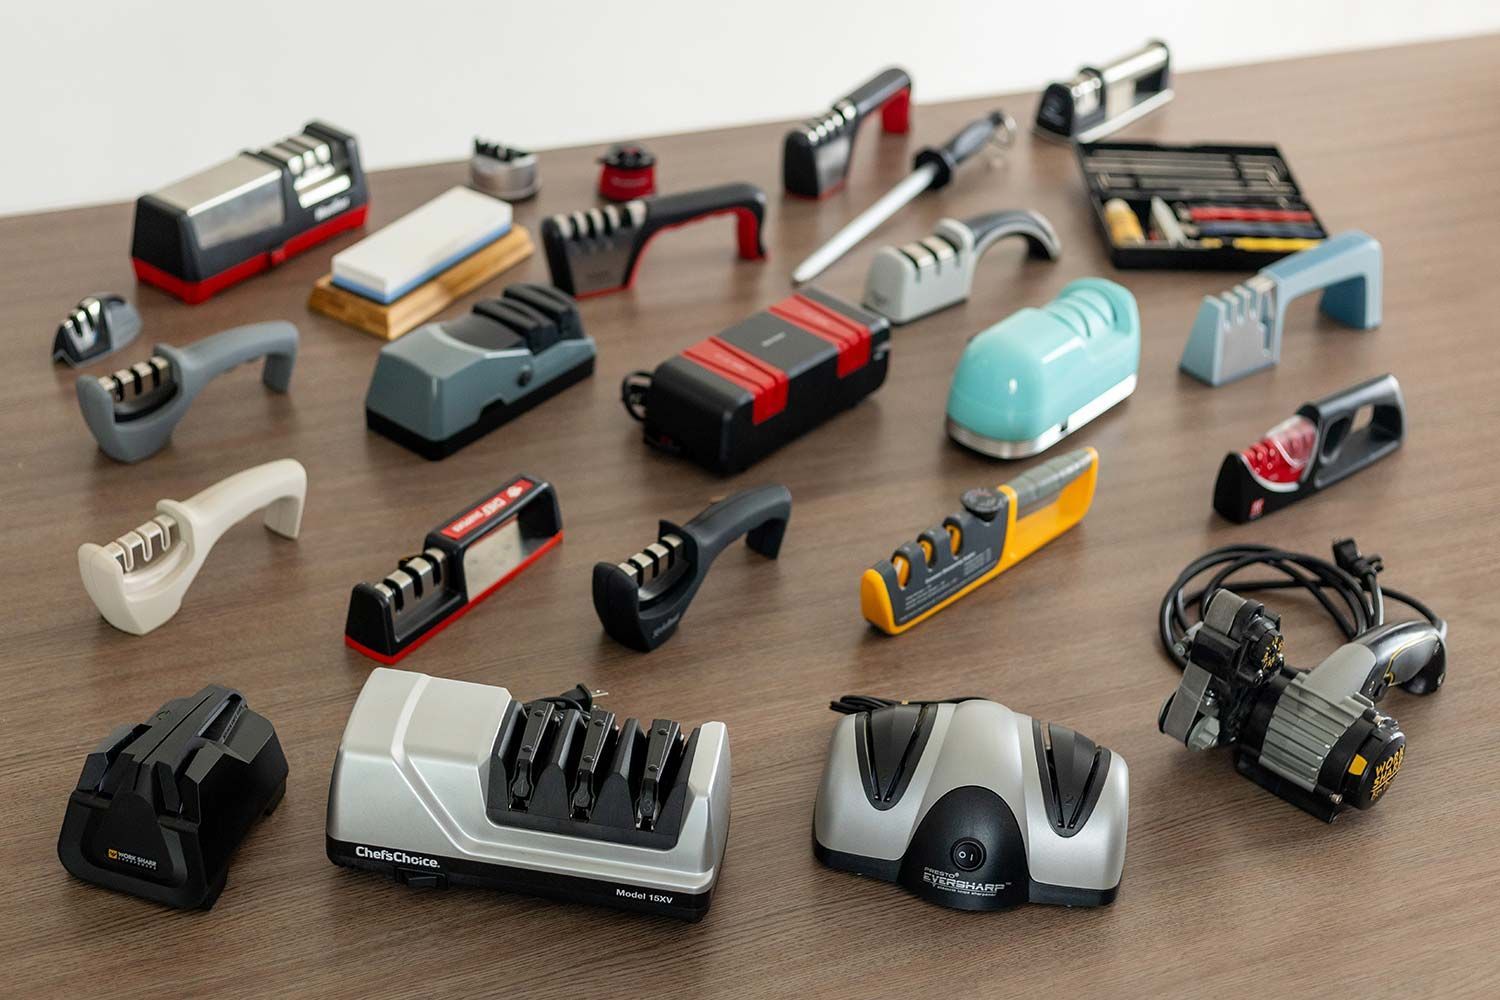
Note that these stones are different from sharpening rods, sharpening steels, and handheld or tabletop pull-through sharpeners. There are a lot of products out there made to keep your knives in good condition. Stones are simply some of the many good options.
Stone vs Wet Stone vs Whetstone
First things first: not every rock is a sharpening stone.
That’s probably not a big surprise. Many types of stone are abrasive and hard enough to grind the steel, but there’s other significant considerations.
First off, the shape makes a difference. You want a flat surface contacting the blade so you get a consistent result along the whole edge. Modern sharpening stones are often manufactured artificially so that they have large flat surfaces.
Secondly, grit matters. In much the same way you would sand rough wood, a dull knife needs multiple levels of grit. You start off with a coarse stone to fix major imperfections and move to a finer one for the detail work.
Two-stone sets are the most common. If you have a three-stone set, though, the coarsest one may not be useful very often. Most kitchen knives only need the medium and fine. That super-coarse stone can be reserved for dull machetes and butcher knives, or old knives that truly have no more edge.
Now, you’ve probably heard the term, “whetstone.” Clearly, this is just some sort of Ye Olde English spelling that just means “wet rock,” right? You dunk it in water and grind away?
Well…no. The word “whet,” quite simply, means “to sharpen.” Whetstone thus means “sharpening stone.”
Don’t worry, though, there are more ways we can confuse the issue!
...vs Water Stones vs Oil Stones
Some styles of whetstone are known as “water stones” and “oil stones.” These are indeed intended to get “wet.” They’re meant to be used with a lubricant that keeps the tiny metal shavings out of pores in the rock.
Realistically, oil lubricants can be used on water stones and water on oil stones. The word in the name is simply the recommended lubricant. Other whetstones may come with a manufacturer’s recommendation against the use of lubricants. There’s a lot of variety out there.
Swarf
Now, whether you use a lubricant or not, you’ll end up with lots of nearly microscopic shavings of metal on the surface of your stone. This is the material that’s been taken off your knife to give it a new edge. In metalsmith circles, this debris is called “swarf.”
The swarf will be mixed with bits of material from the stone itself. Modern manufactured stones are made of abrasives— like diamond or silicon carbide— set in a ceramic or clay matrix to keep them in place. All of that will very slowly wear down.
If there’s too much debris, it can reduce the stone’s effectiveness. The swarf gets lodged in microscopic pores in the stone material, so some of the surface area you’re grinding against is metal rather than harder abrasive.
You probably won’t get too much swarf build-up from sharpening one knife, but if you’re doing a whole set, it could become an issue. If your whetstone calls for lubricants, the debris will at least be a bit easier to wash off. If not, though, give your stone a rinse every so often.
How to Sharpen a Knife with a Whetstone
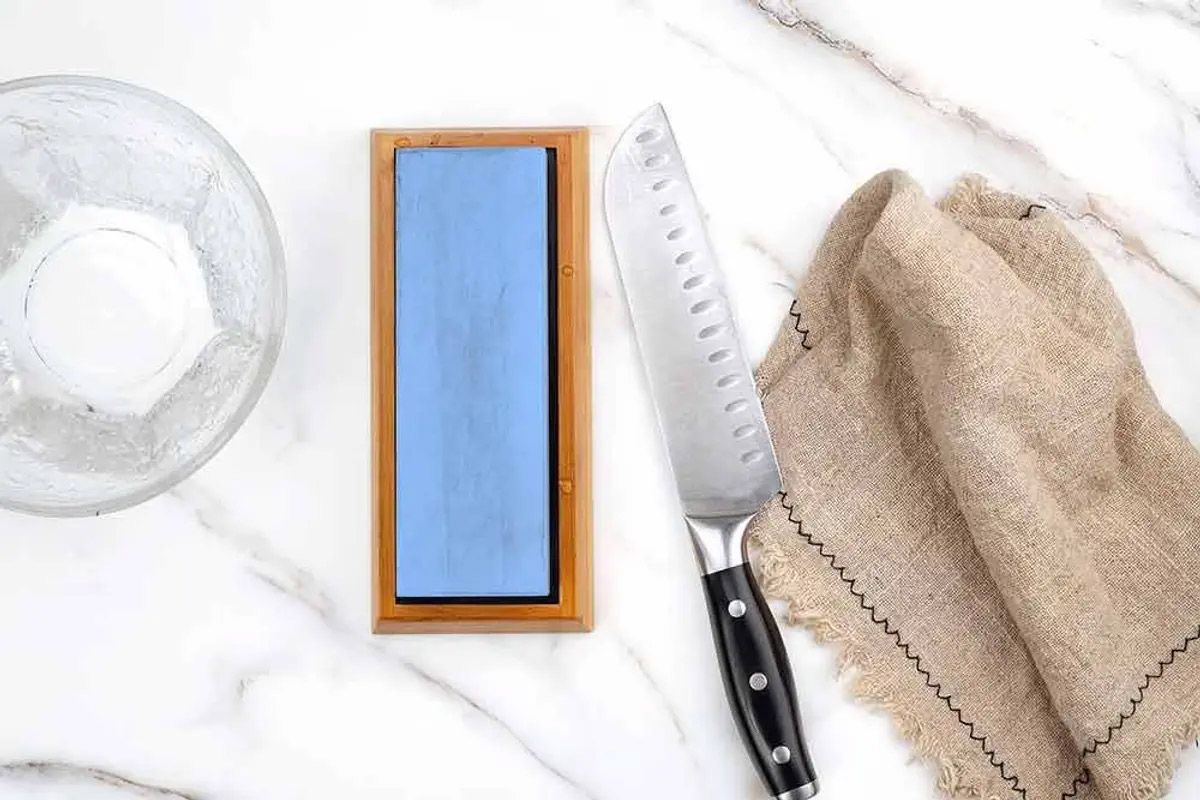
Here are the basics of sharpening your knife using a whetstone:
- Set the whetstone on a level surface where it won’t slide. You want to start with the coarse grit unless you’re just doing a minor touch-up of the edge. If your whetstone kit calls for oil or water as a lubricant, spread a bit on the surface of the stone.
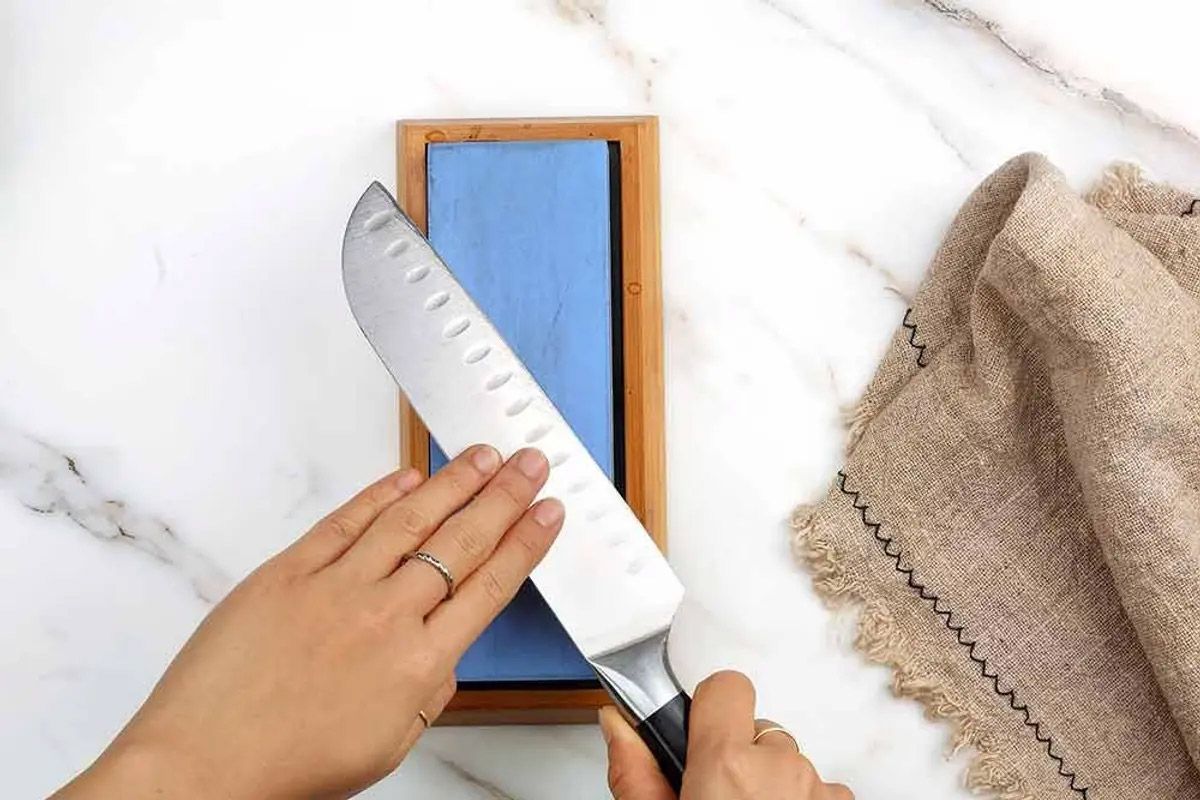
- Place the blade against the surface of the stone at the same angle as the bevel. Hold the handle in one hand and place the fingers of the other on the flat of the blade. Apply just a little downward pressure— it doesn’t take much!
- Pull the knife slowly towards yourself with consistent pressure while simultaneously drawing it to the side. You want each stroke to cover the whole length of the edge. Do your best to keep the angle consistent the whole way. Make several passes like this.
- Feel the edge carefully with your thumb. If things went right there should be a slight ‘burr’ of metal along the edge which curls away from the sharpened side.
- Flip the knife over to sharpen the other side. This will remove most of the burr. Feel free to do a paper-slice test after finishing with the coarse grit stage. The bulk of the sharpening happens on the coarser stone.
- Switch to the fine stone and repeat the process. This will polish and fine-tune the edge.
- Always rinse off your knife and stone when you’re done. You don’t want swarf in your food!
Refining Your Technique
The procedure above is not the only way to use a whetstone. Feel free to explore the internet and find the technique that works best for you.
One of the trickiest aspects of sharpening with a whetstone is keeping a consistent angle. You can’t create a sharp edge if you don’t match the bevel angle the whole way through.
A good trick to use in training your muscle memory involves a sharpie. Use the marker to ‘paint’ the beveled part of your knife. Then do a couple of strokes on the stone. If you got your angle right, the marker will have been scraped off. If you’re inconsistent, the still-marked parts will show you which section you need to work on.
Don’t get frustrated— this is a skill that takes time to perfect!
