Our recommendations are made independently. We may receive commissions from purchases made via our links.
Whole Roasted Chicken for Toaster Ovens
Check out how we test toaster ovens for roasting a whole chicken. Choose a toaster oven to roast your golden brown crispy-skinned chicken.
This test is part of How We Tested Our Toaster Ovens v1.0
When it comes to big family meals, a whole roasted chicken is usually a dish to impress, and for good reason. Then, a capable toaster oven can save you a lot of trouble before, during, and after cooking. Therefore, the result for roasting a whole chicken takes up 25% of our performance score for a toaster oven.
Our test finds out if each toaster oven can roast a whole chicken to golden-brown, crispy-skinned perfection. We also compare how our units fare against each other when roasting a whole chicken. We hope this test helps you choose a toaster oven that ups the level of your next chicken dinner.
Prior to the Actual Test
It was necessary to ensure that the steps and results of our tests would be consistent and could be replicated reliably. So, the first thing we did was come up with a set of standards for our test of roasting a whole chicken in a toaster oven.
Being the most common size on the market, we decided on packaged 3-pound whole chickens (no giblets). For countertop toaster ovens, only large models can fit a 4-pound whole chicken so choosing a smaller size made sense.
As the goal is to test the performance of the toaster oven, we simply season the chicken with salt and pepper. We roast the chicken at 350°F because it's the rule of thumb for most recipes and the rotisserie function of some ovens only goes up to 350°F.
For the cooking time, we roast the chicken to a golden brown color, record the time, and evaluate. If the oven could deploy convection mode, which would be beneficial for roasting meat in general, we would choose the most powerful level available.
If the finished chicken can be improved by adjusting the time and temperature, we do so to find the best settings. This is done after the taste test and directly affects the score.
We use four scoring factors including Cooking Time, Skin, Doneness, and Taste, and explain them in the ‘How We Score’ below.
Prepare the Chicken
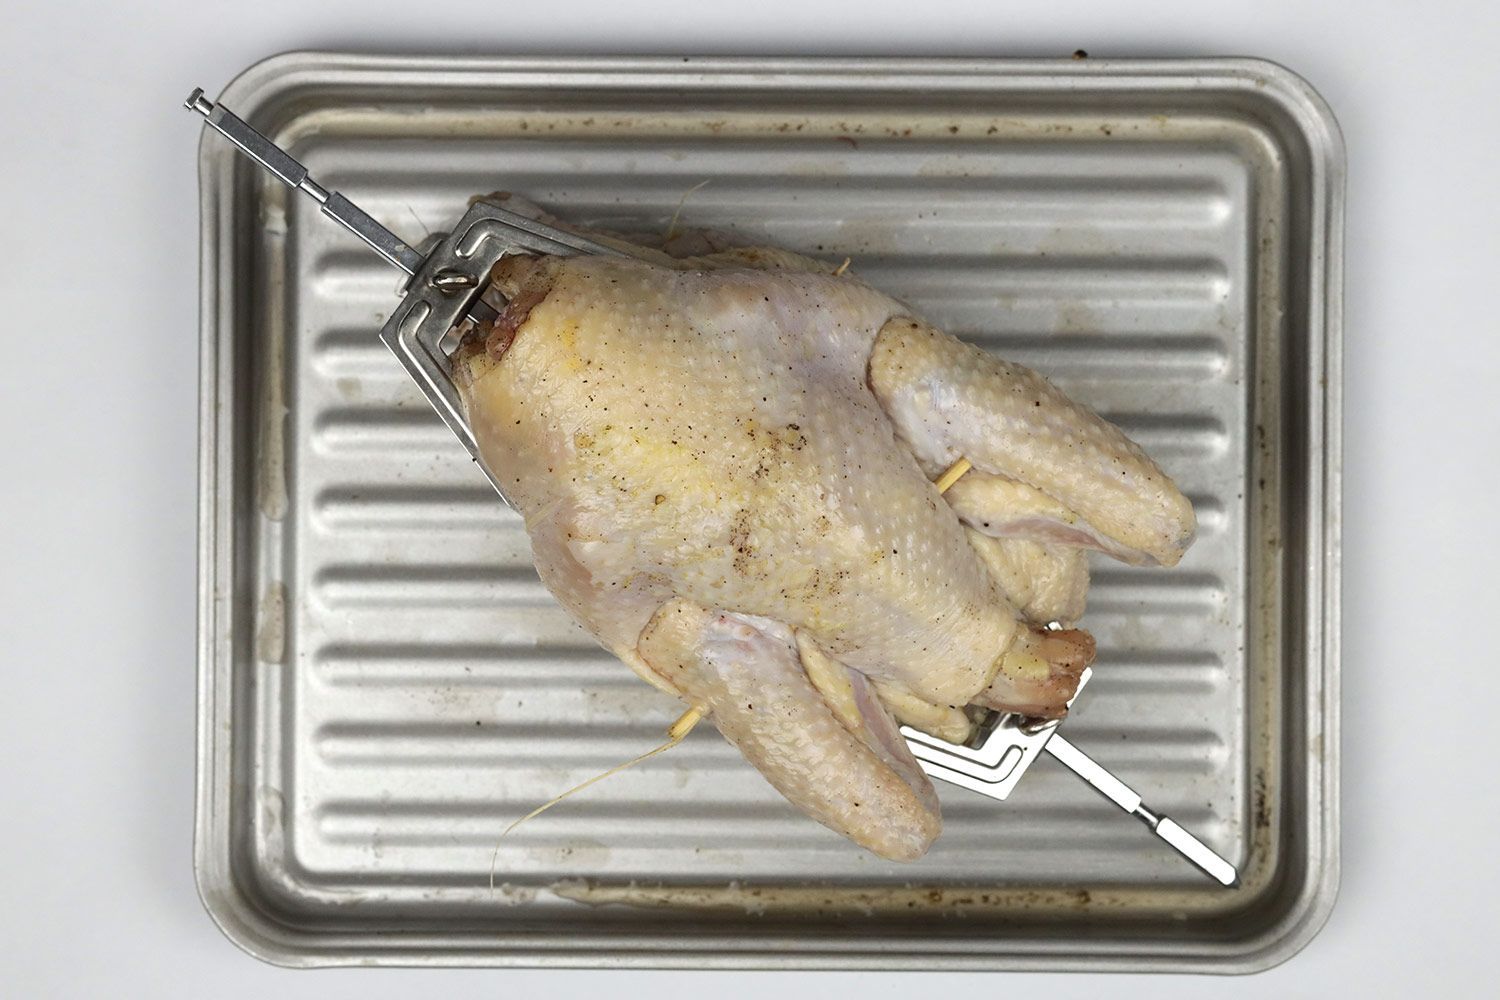
Before putting the chicken in the oven, we cut off the legs and neck.
For ovens with the rotisserie kit, we also tie the drums and wings together to make sure the chicken fits and gets cooked evenly in the oven. You can additionally use bamboo skewers to keep the drums and wings in place if necessary.
If the chicken isn’t secure, the drums and wings can get in the way of the rotisserie function. Moreover, it creates even more of a mess when you don’t have the space to fit the tray or when the tray isn’t big enough to catch all the drippings.
For ovens with an air fryer accessory or a baking pan, we simply spread the chicken out to maximize surface area. We also flip the chicken partway through to ensure even caramelization.
For smaller ovens, it’s usually difficult to fit a 3 lb chicken due to the insufficient height of the cooking chamber. If this happens, we flatten out the chicken as much as possible to keep the chicken whole while avoiding it from touching the upper heating element.
In actual practice, however, you can cut open the chicken or cut it into pieces to ease the cooking process.
Testing Equipment
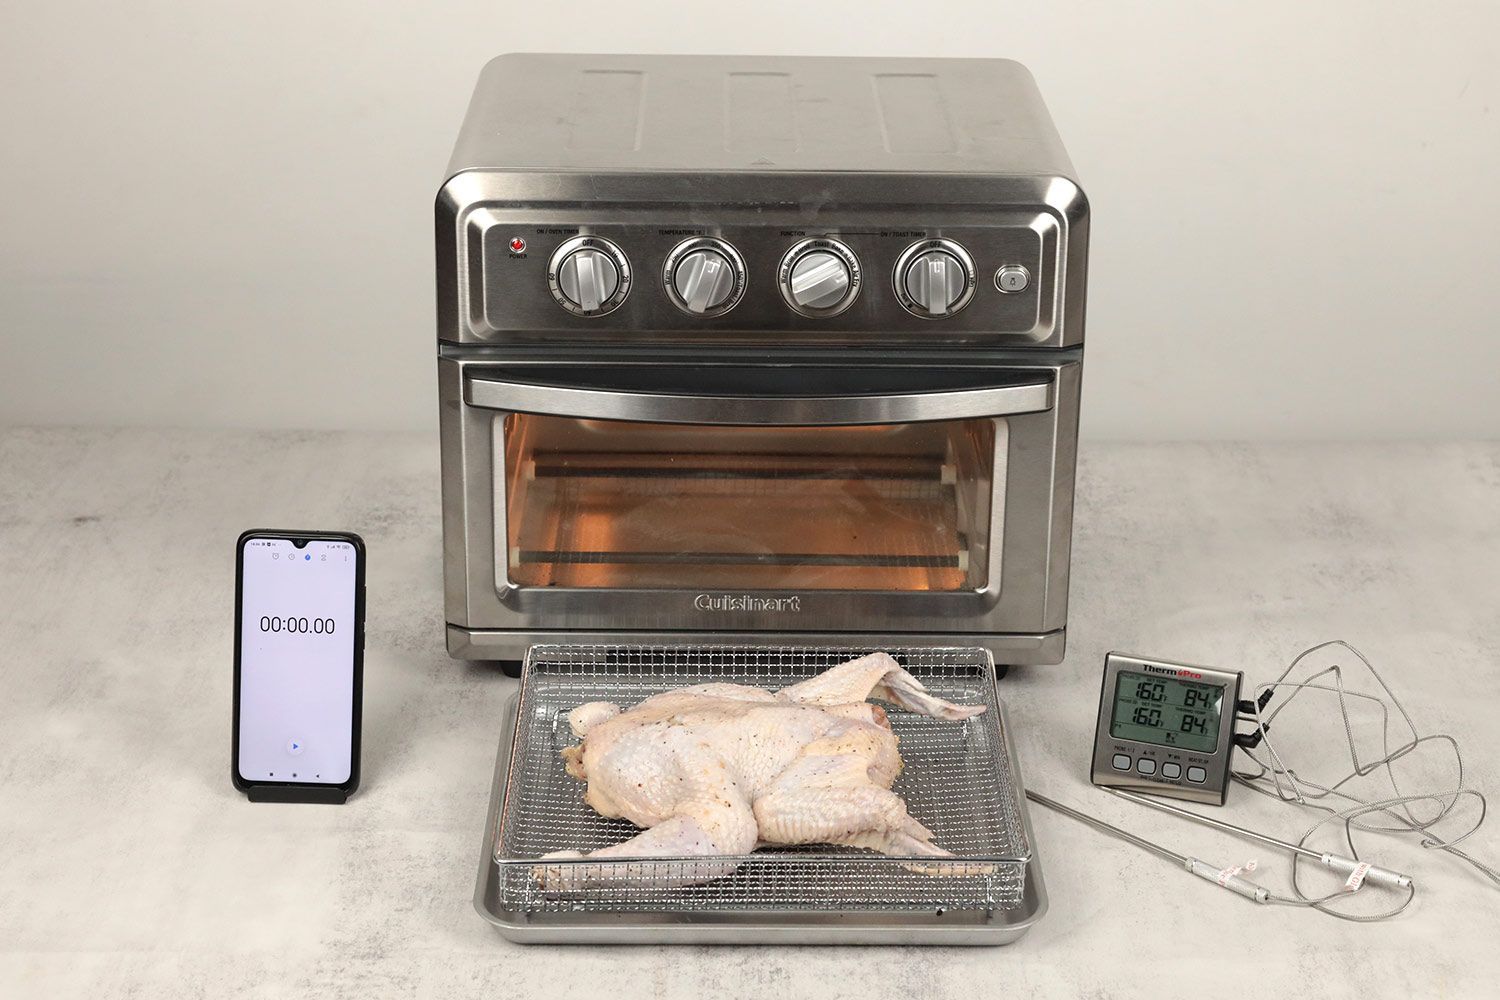
Smartphone timer: Timing is one of the crucial factors when cooking with any recipe and using any cooking appliance, not just a toaster oven. Therefore, we measure the cooking time required to reach the desired results using a smartphone timer. We also check if it matches the preset timer if available.
Oven and meat thermometers: Temperature is another key aspect in cooking, especially with toaster ovens. So, we use a thermometer to keep track of the oven’s internal temperature.
We also check if it matches the preset temperature if available. For the meat thermometer, we use it to check the internal temperature of the chicken to make sure it’s fully cooked.
Camera: We recorded all the testing procedures on camera.
Steps
- We place a thermometer inside the toaster oven and preheat the oven for 10 minutes or until it reaches 350°F. We also use a phone timer when not provided by the oven.
- After prepping the chicken as mentioned above, we place it inside the oven.
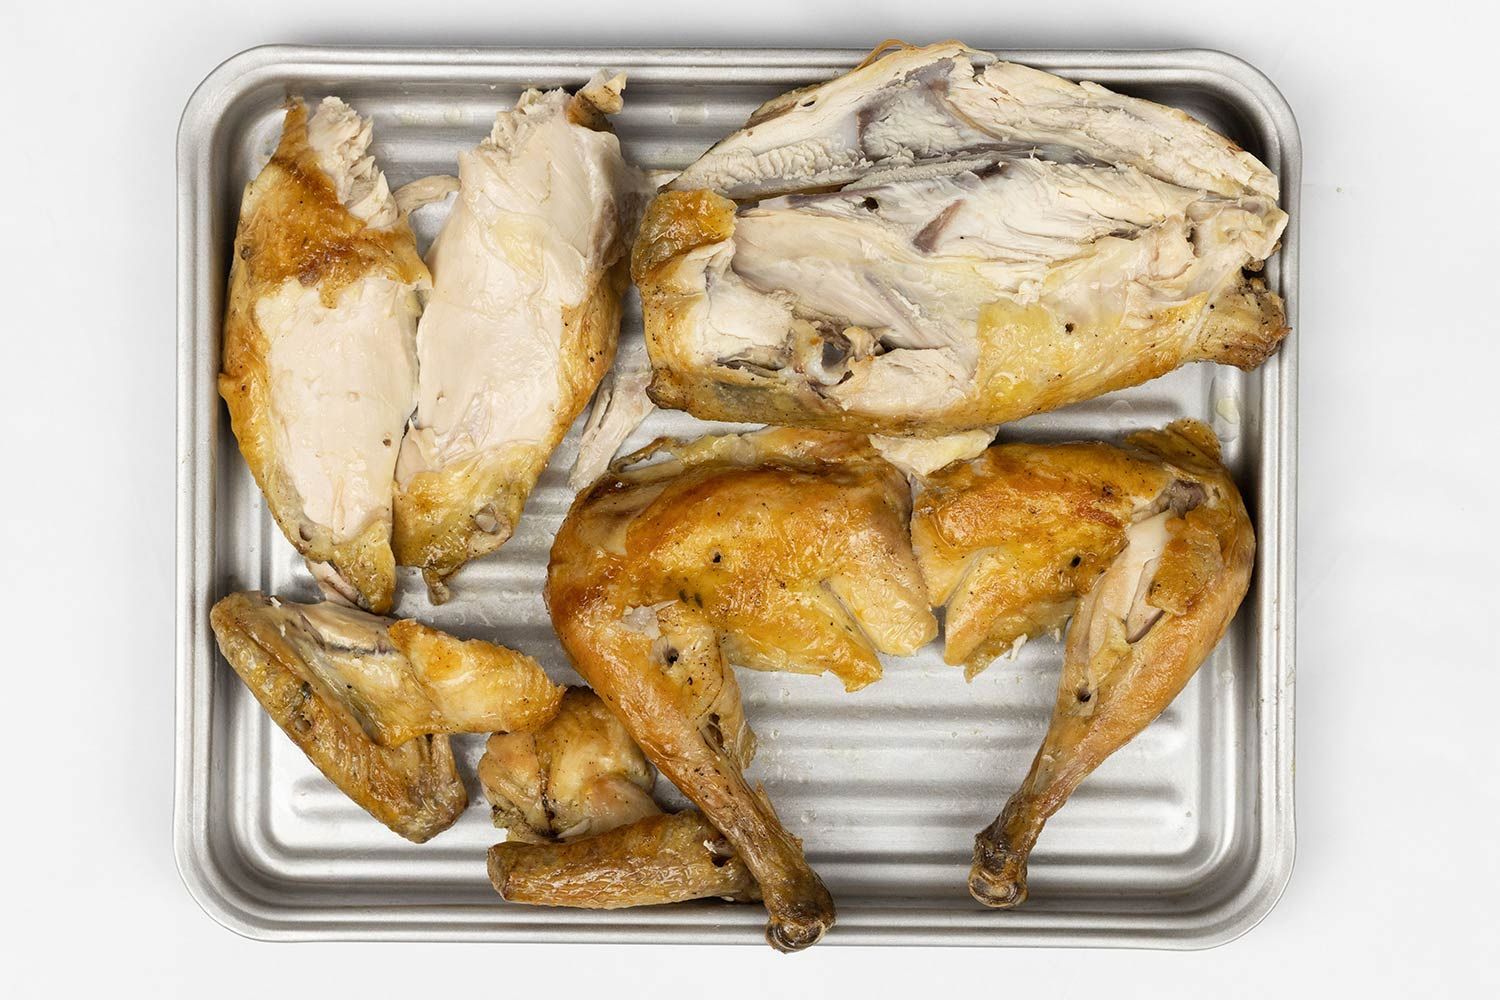
- After roasting’s done, we first check the internal temperature with a meat thermometer.
- We check the color of the skin from top to bottom and take photos.
- We carve the chicken to check the crispiness of the skin and ascertain if there are any pink spots in the meat.
- We have a taste test with a group of four people including our head chef and finalize the score.
- If the outcome can be improved with a different time and temperature, we repeat the process to find the best settings.
How We Score
Earlier, we mentioned that the whole roasted chicken test takes up 25% of the performance score. Scoring factors are the Cooking Time (20%), Skin (20%), Doneness (20%), and Taste (40%). Each factor and the overall score of the whole roasted chicken test range from 0 to 10.
For toaster ovens with the rotisserie kit, we only consider its performance in conjunction with the overall performance. And, the ease of use of the rotisserie kit is scored in the usability test.
Cooking Time
The cooking time of our test chickens is observed by our head chef Tuyet Pham to make sure their skin and doneness are the best each toaster oven could produce. This is to make sure that we don’t let the cooking time last indefinitely and/or sacrifice the scores for the two said components.
Most recipes recommend 1 hour of roasting for a 3-pound chicken which our head chef approved, so we chose that as our benchmark for 8 points. If the tested toaster oven was able to do the job faster, it would receive a higher score.
Our head chef also consulted with us that one hour and thirty minutes should be the maximum amount of time for roasting a chicken this size in a toaster oven. Otherwise, it would take too much time to be worth the hassle.
Our tests so far also showed that if a toaster oven took more than 1 hour 30 minutes to produce a chicken with desirable skin, it would likely be undercooked. Therefore, any oven that took longer than 1 hour 30 minutes to properly roast a 3 lb chicken would fail the cooking time component of our test.
- 10/10: 40 minutes
- 9/10: 50 minutes
- 8/10: 1 hour
- 7/10: 1 hour 10 minutes
- 6/10: 1 hour 20 minutes
- 0/10: ≥ 1 hour 30 minutes
Skin
For the skin, we first check for the color from the bottom to the top. We then carve the chicken to check the crispiness of the skin.
- 10/10: 100% even golden color with a few brown areas; Very crispy
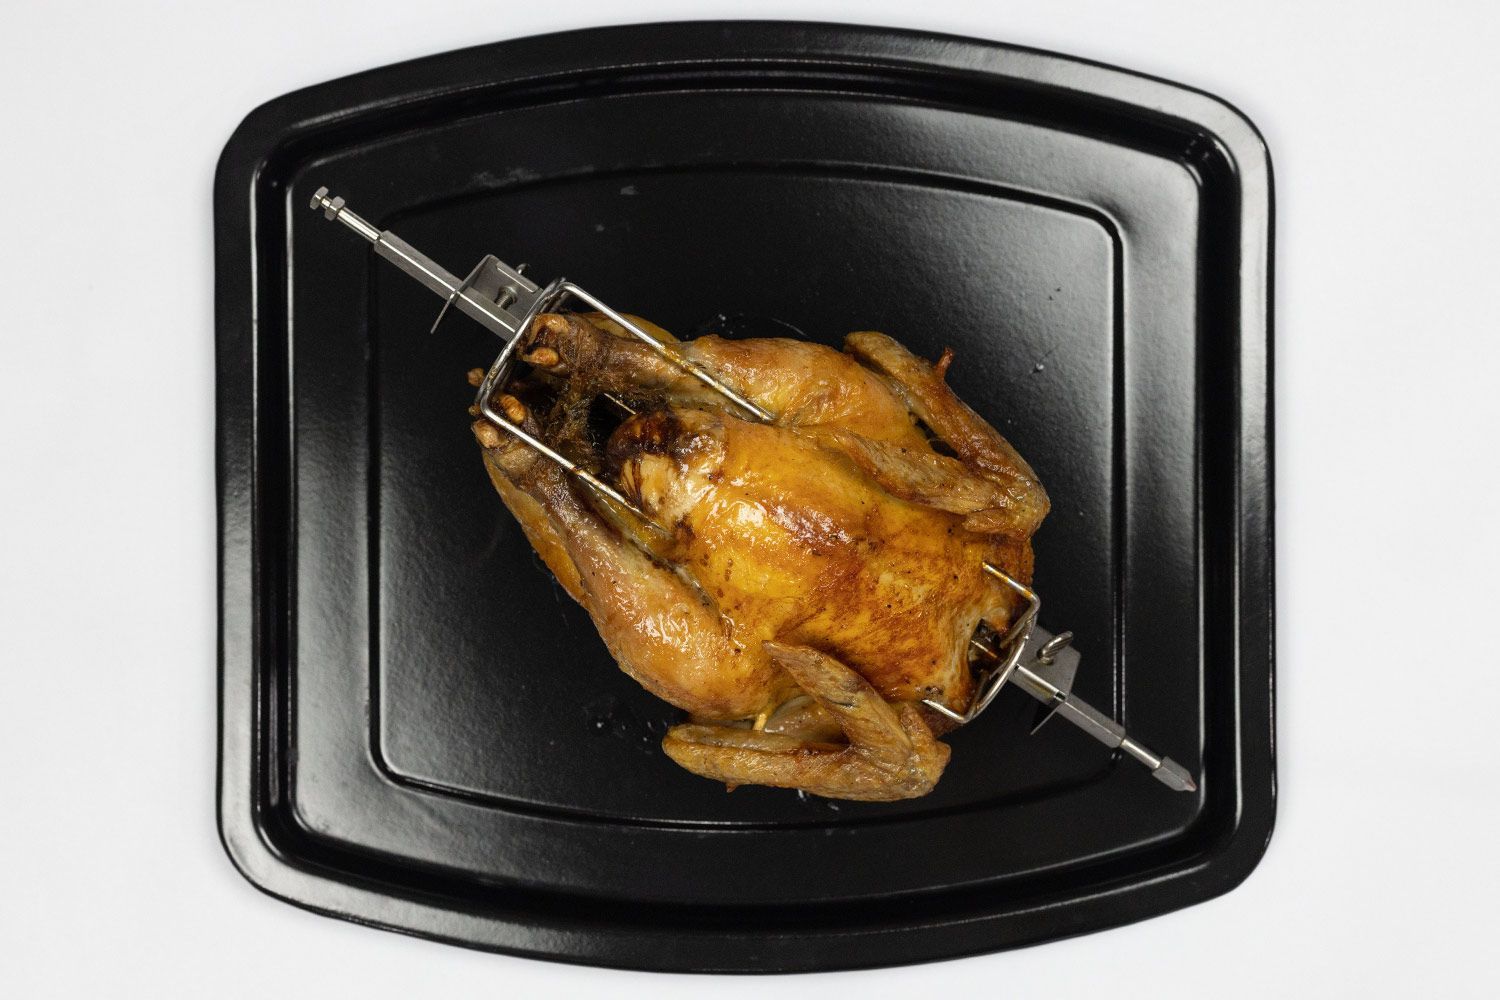
- 9/10: 90% even golden color; Nicely crispy
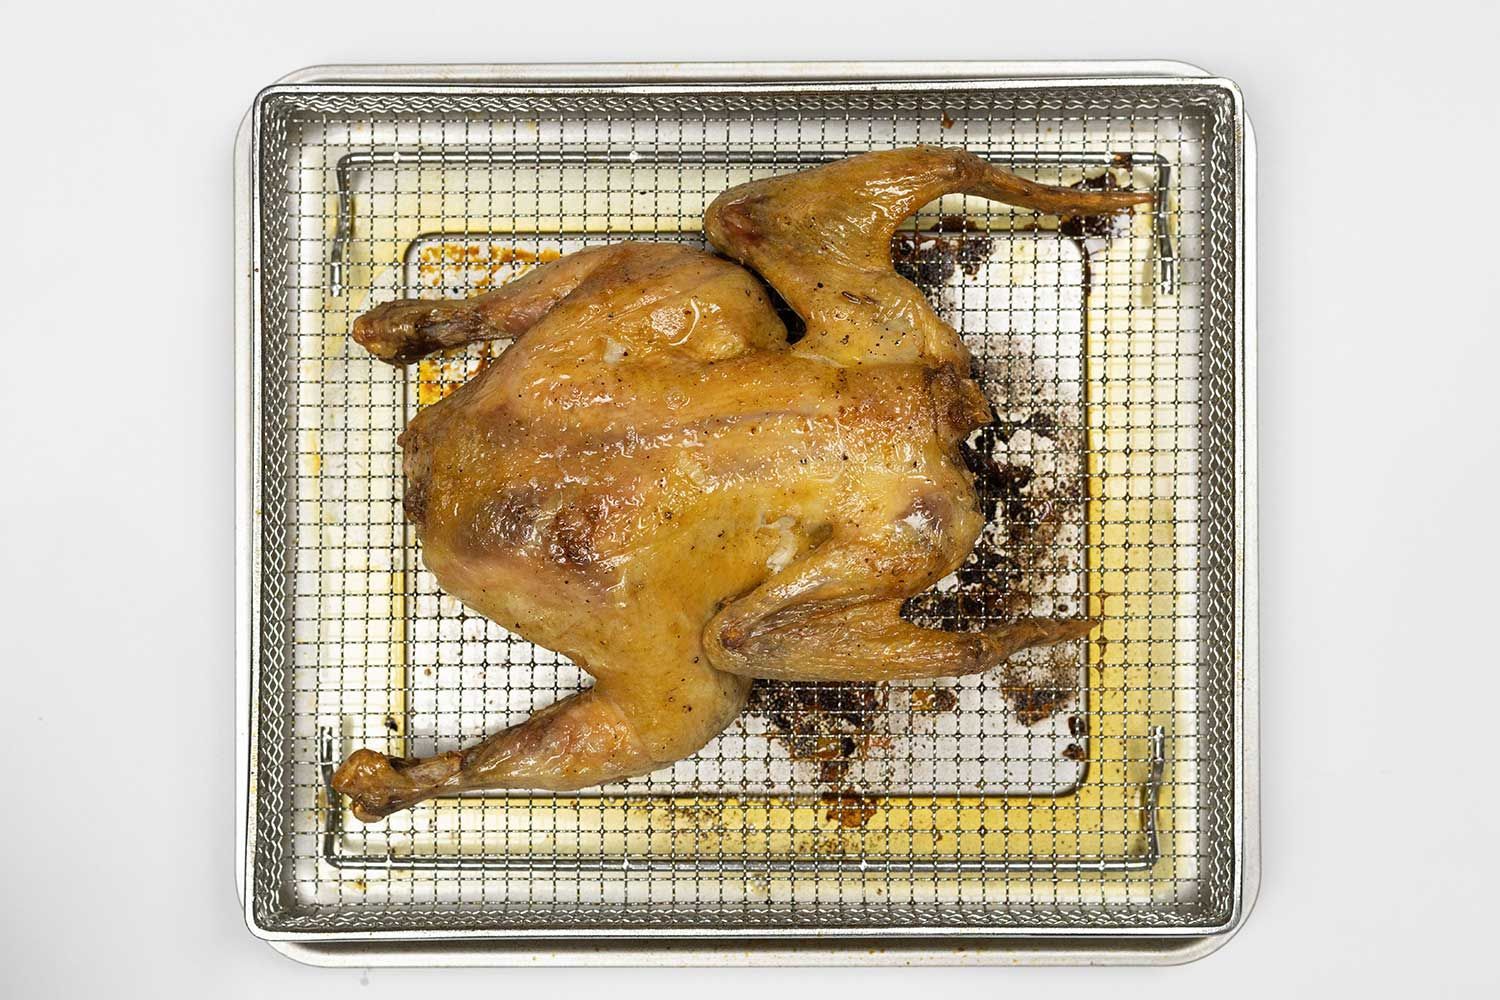
- 8/10: 80% even golden color; Nicely crispy
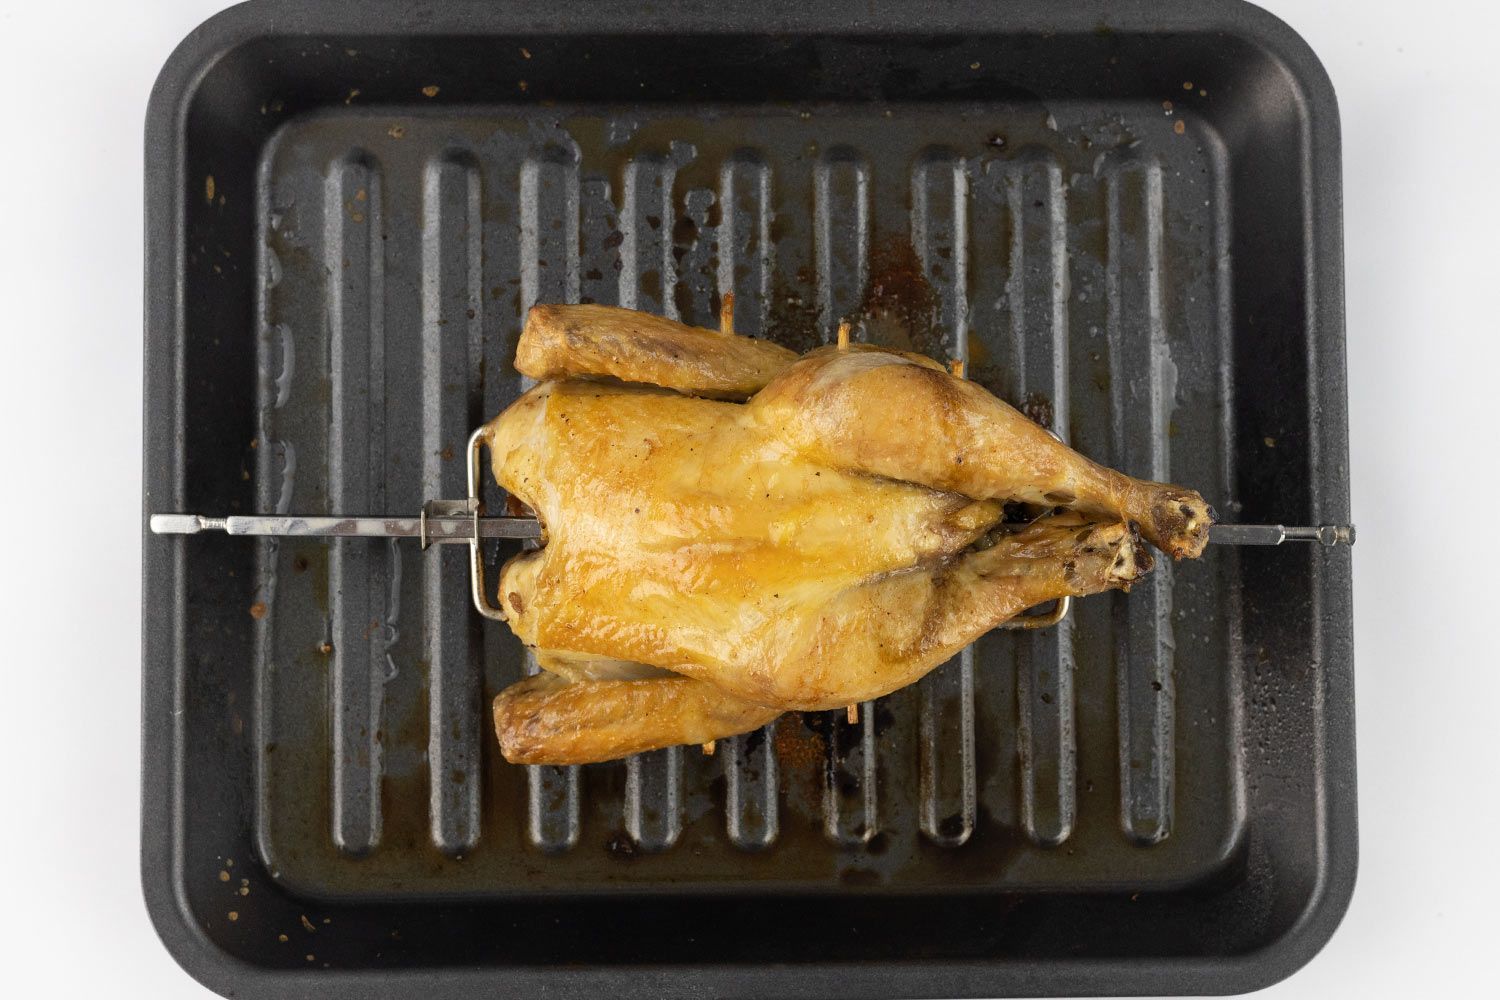
- 7/10: 70% even light color; A bit soft
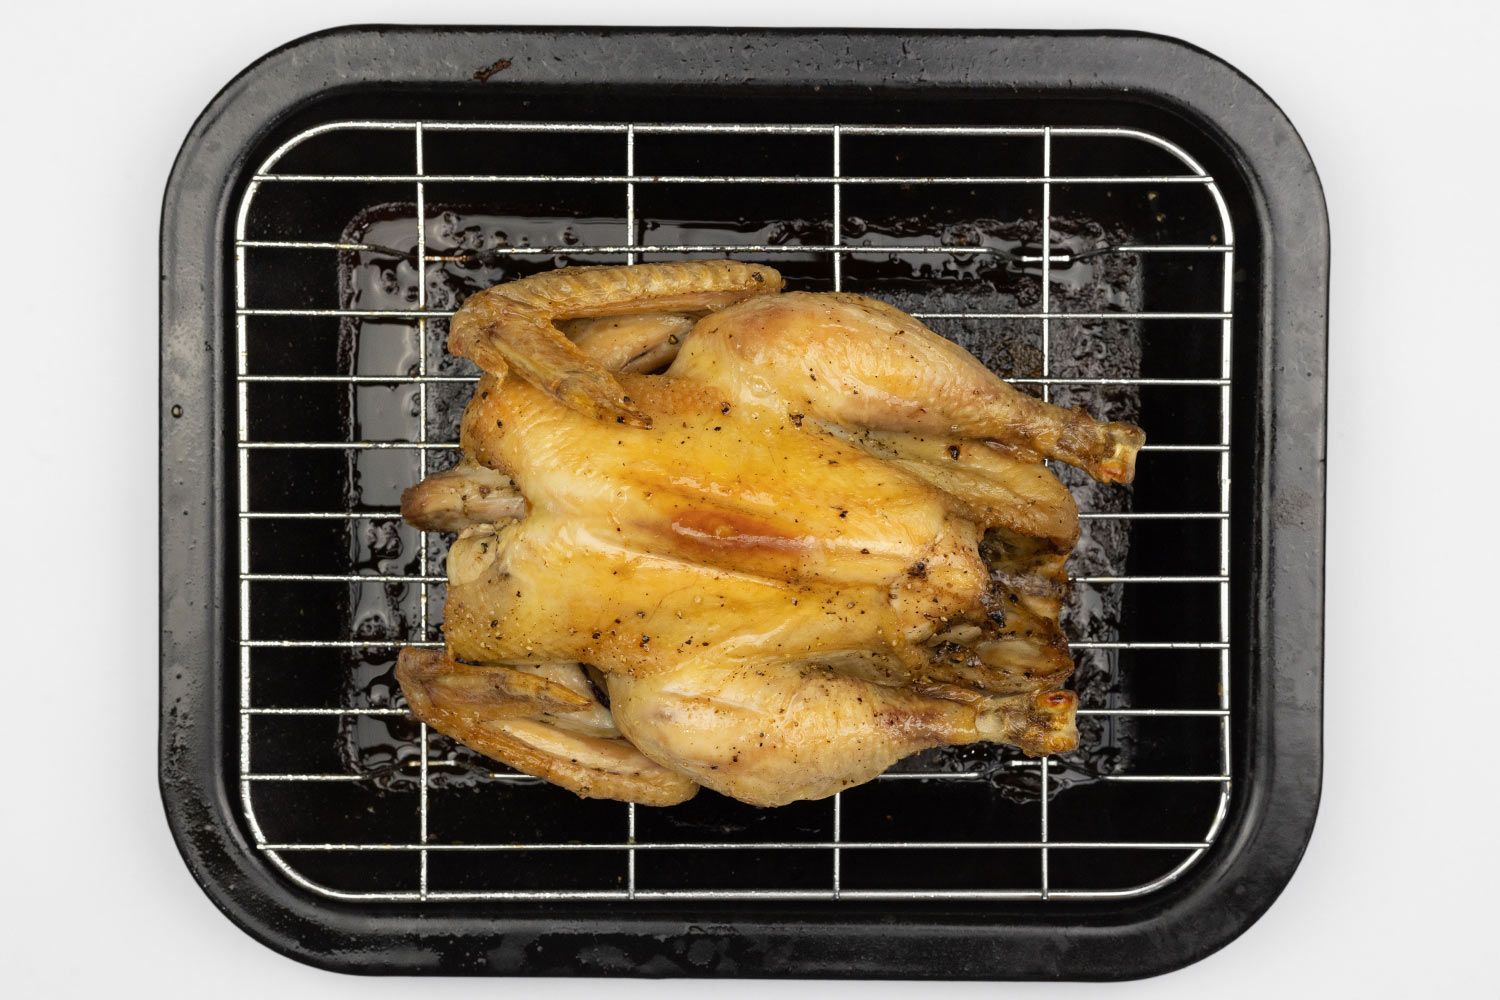
- 6/10: 70% even light color; A bit soft
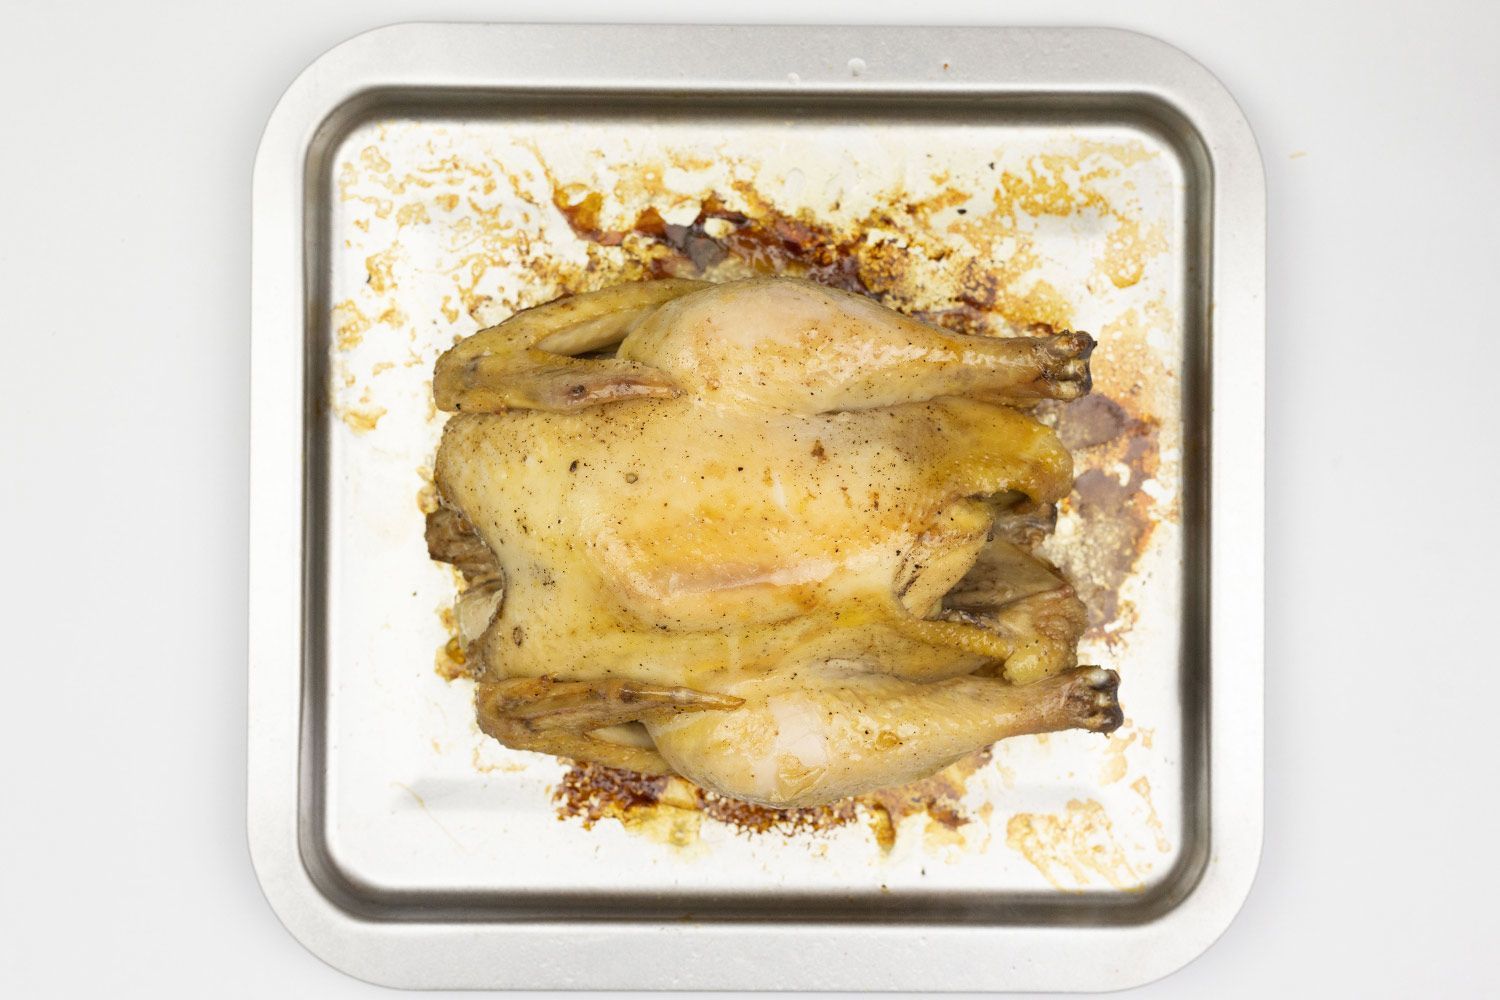
- 5/10: Almost no color; Too many burnt spots; Very soft
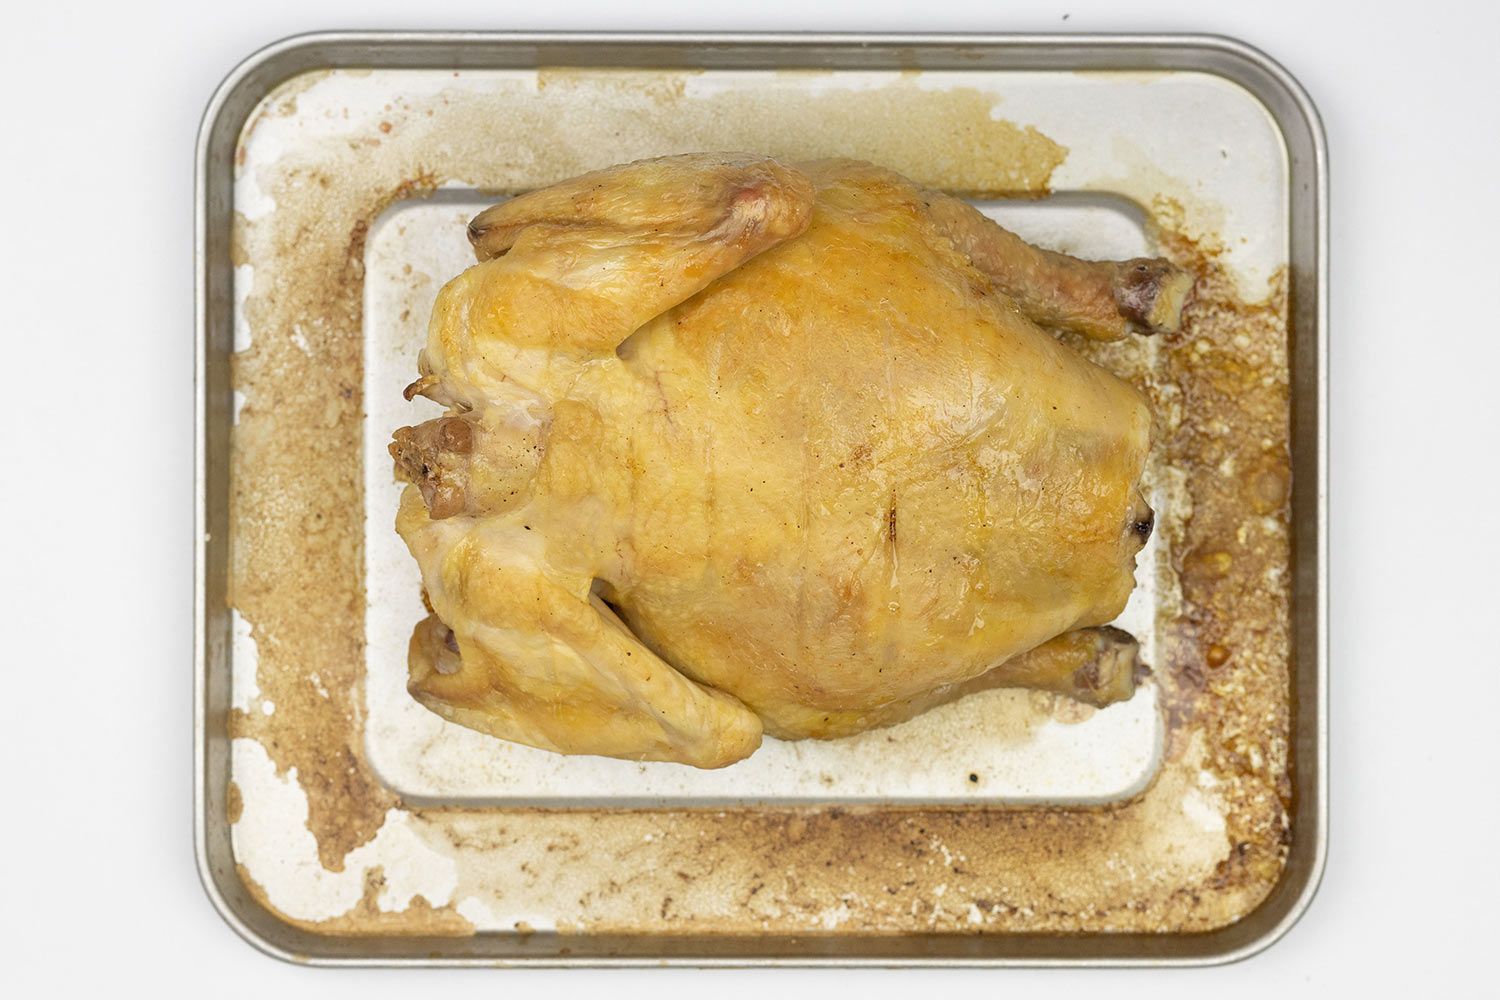
- 0/10: Undercooked; No color; Burnt
Doneness
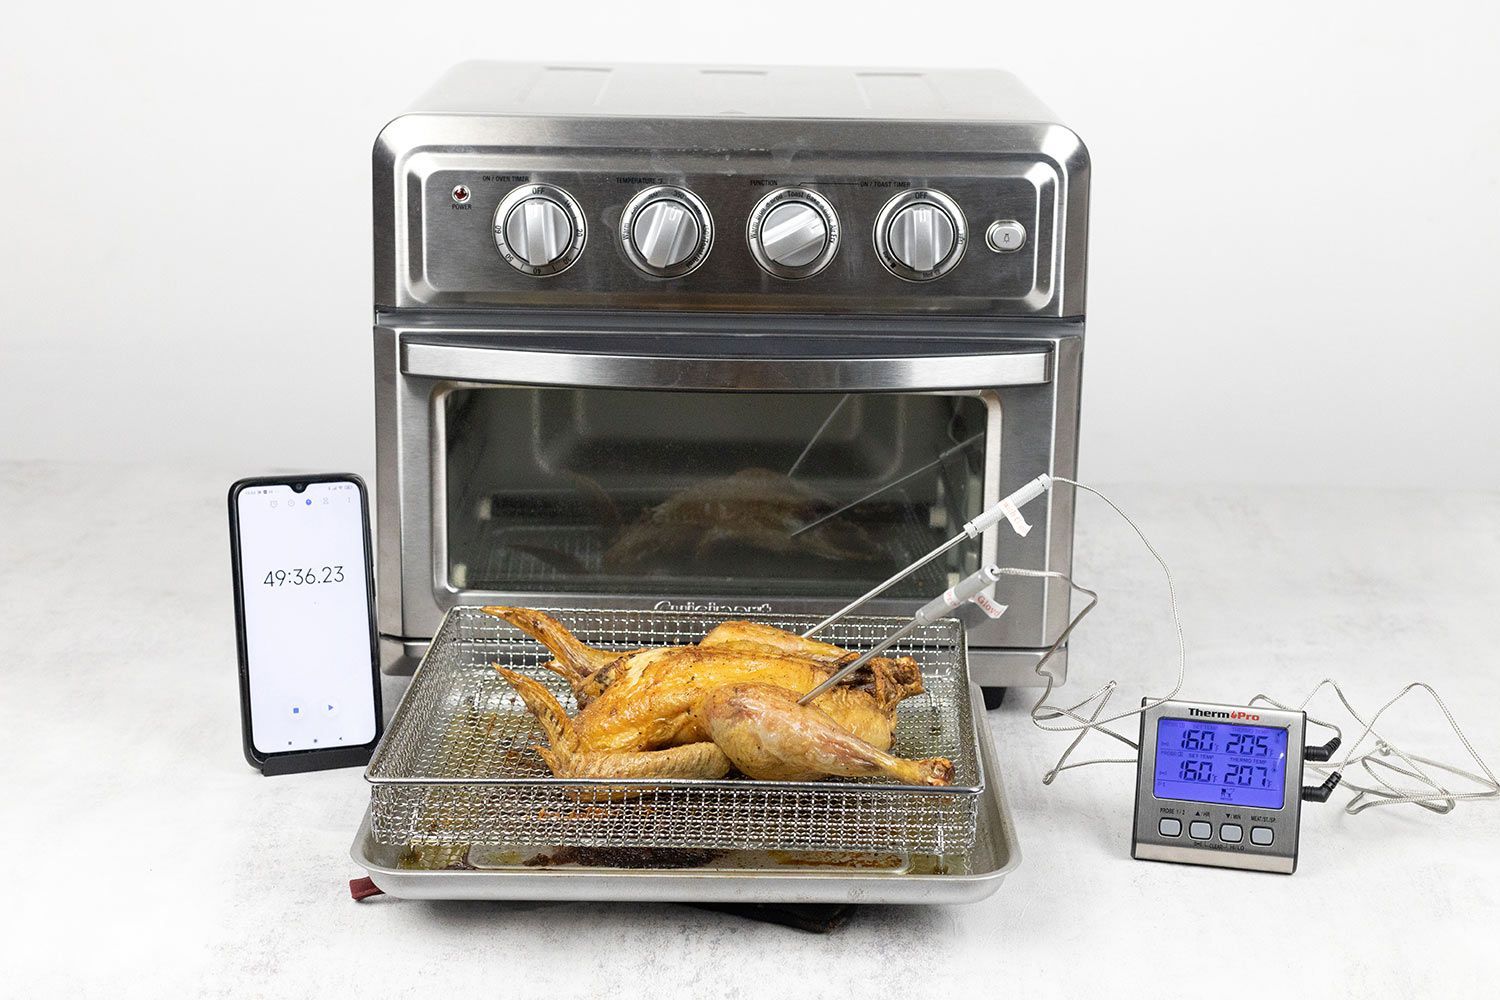
For the doneness, we first check with a meat thermometer before carving the chicken. We do this by inserting it into the thigh but without touching the bone. USDA recommends the internal temperature for poultry should be 165°F at a minimum.
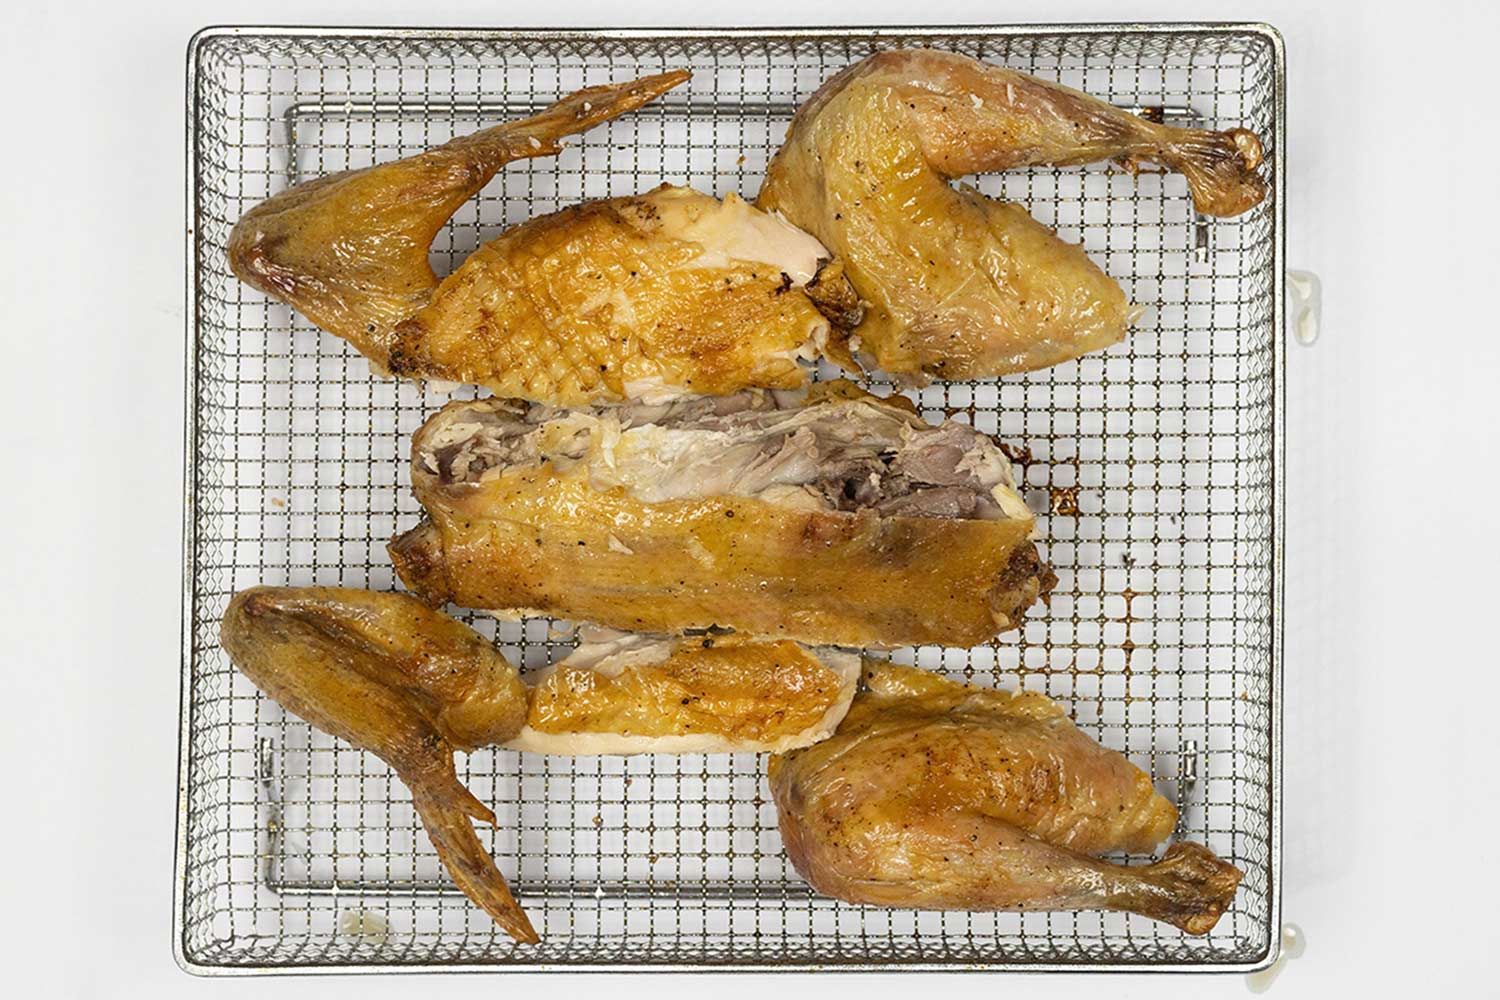
After carving the chicken, we check for any pink spots to make sure it’s thoroughly cooked. If the chicken is deemed undercooked by our chef, not only will it fail the doneness but also the taste component since it won’t be safe to eat.
- 10/10: 165°F ≤ internal temperature ≤ 180°F; No pink spots
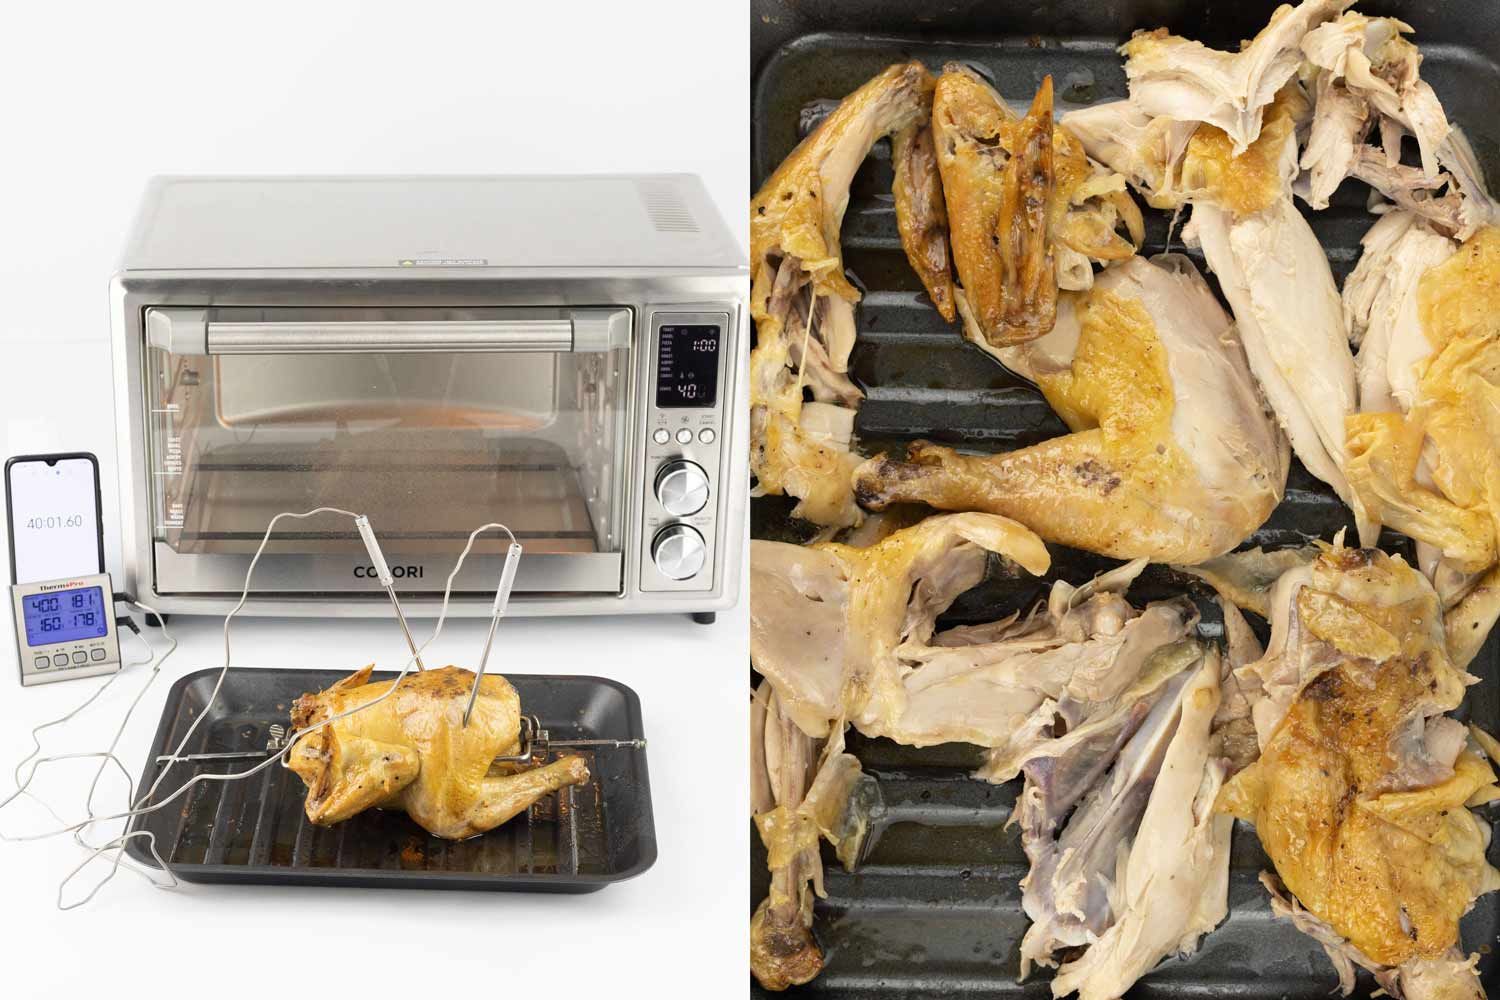
- 9/10: 155°F ≥ internal temperature ≥ 190°F; No pink spots
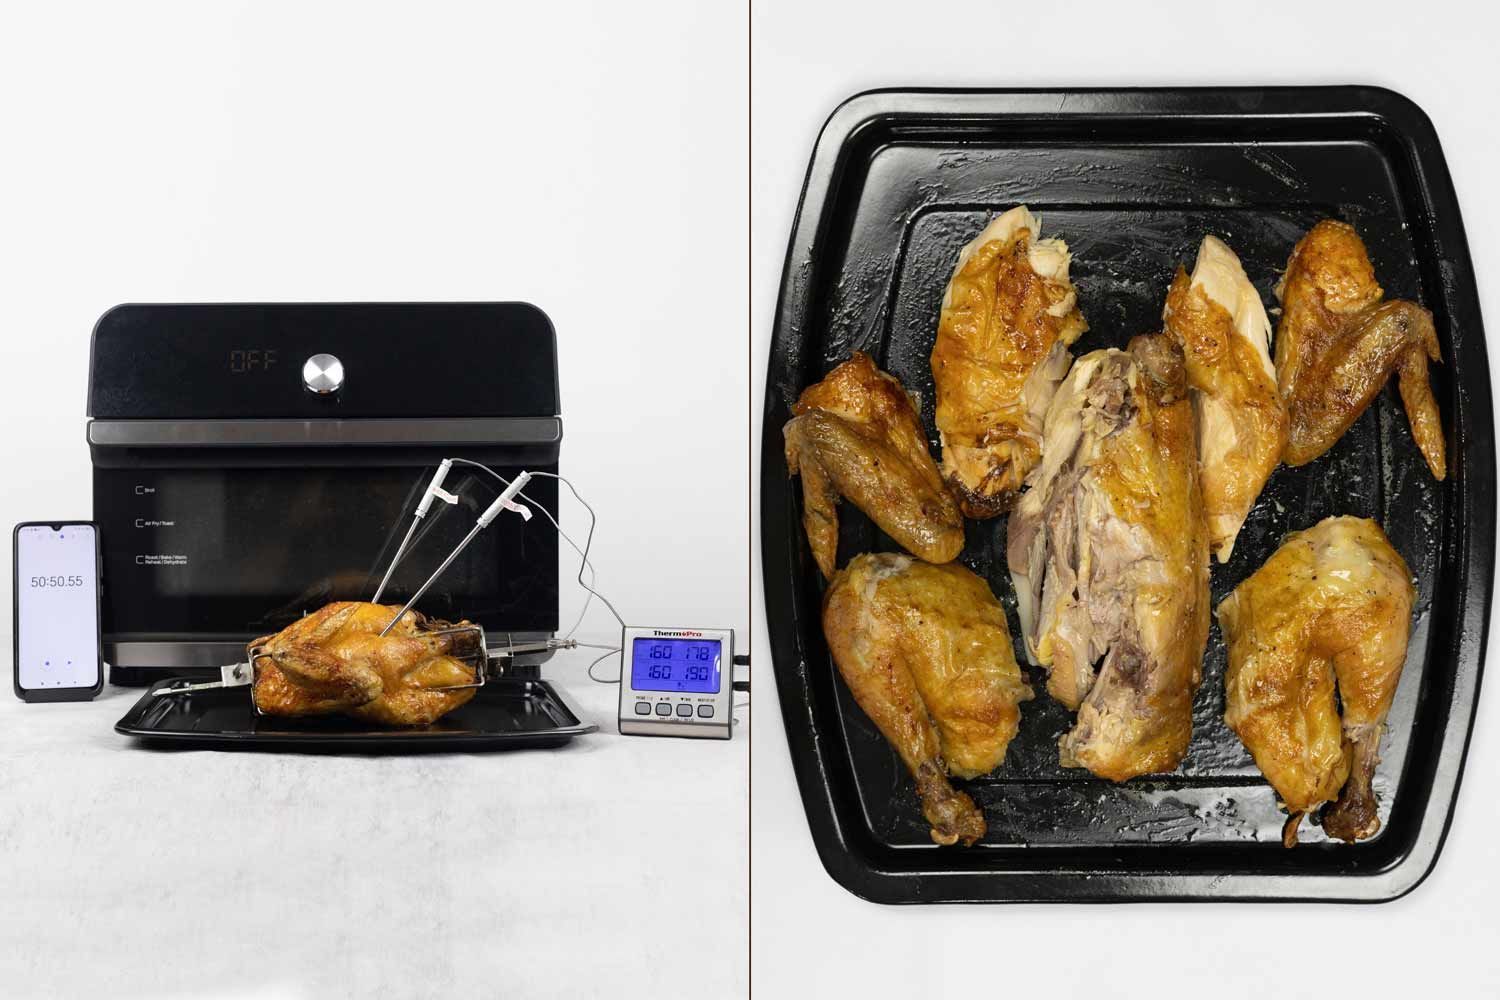
- 8/10: 155°F ≥ internal temperature ≥ 190°F; Very few pink spots near the bones
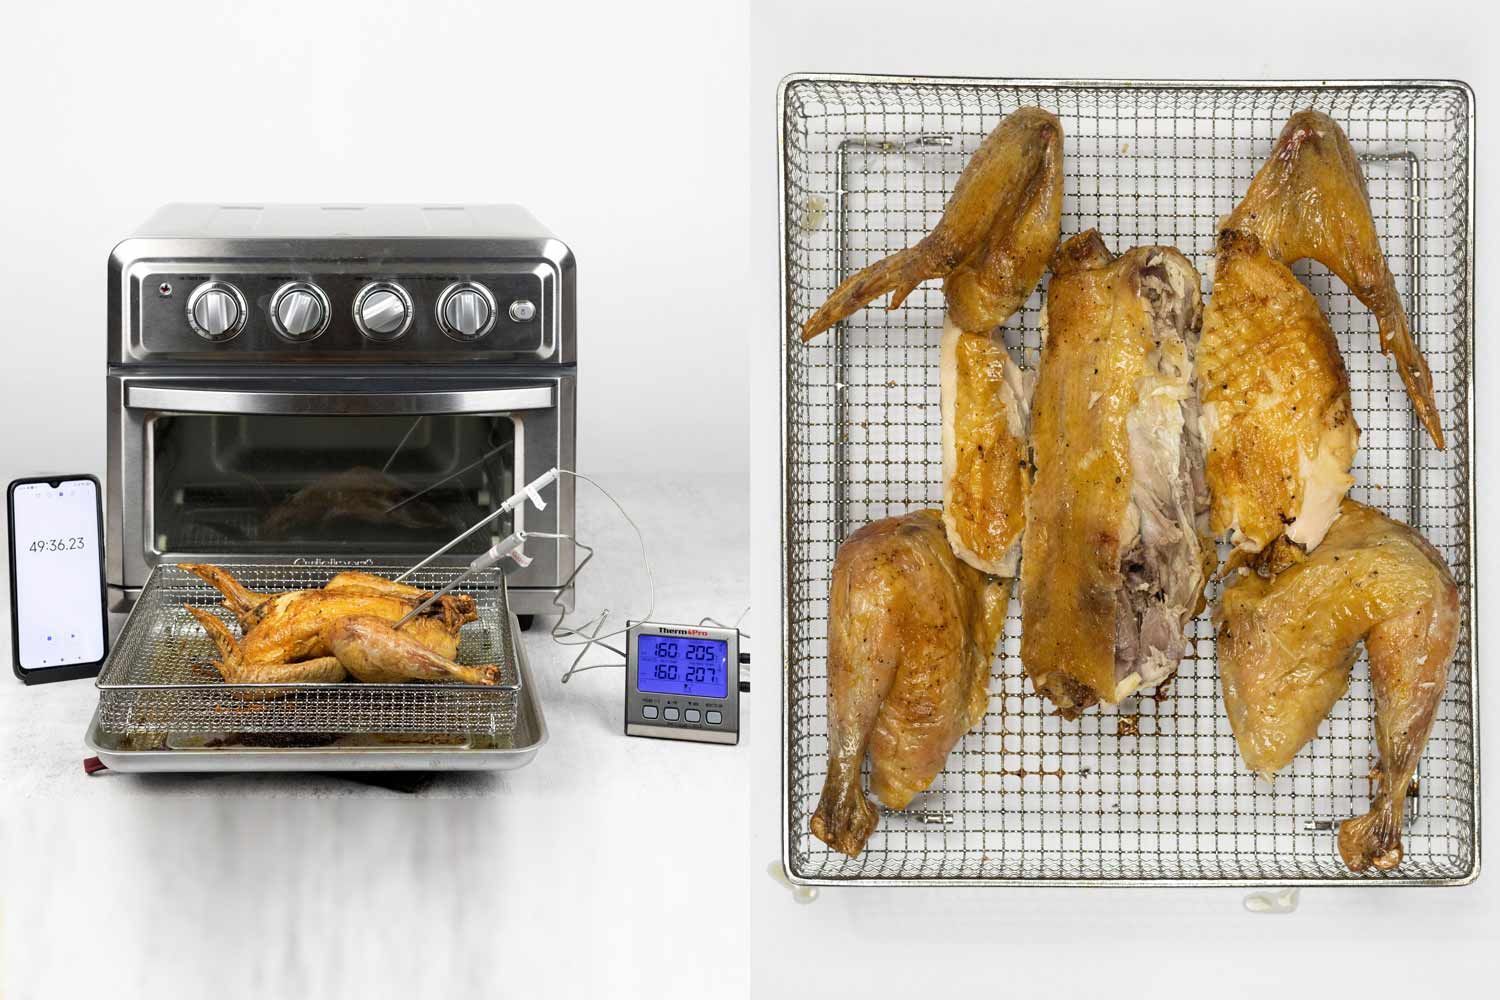
- 7/10: 145°F ≥ internal temperature ≥ 200°F; Very few pink spots near the bones
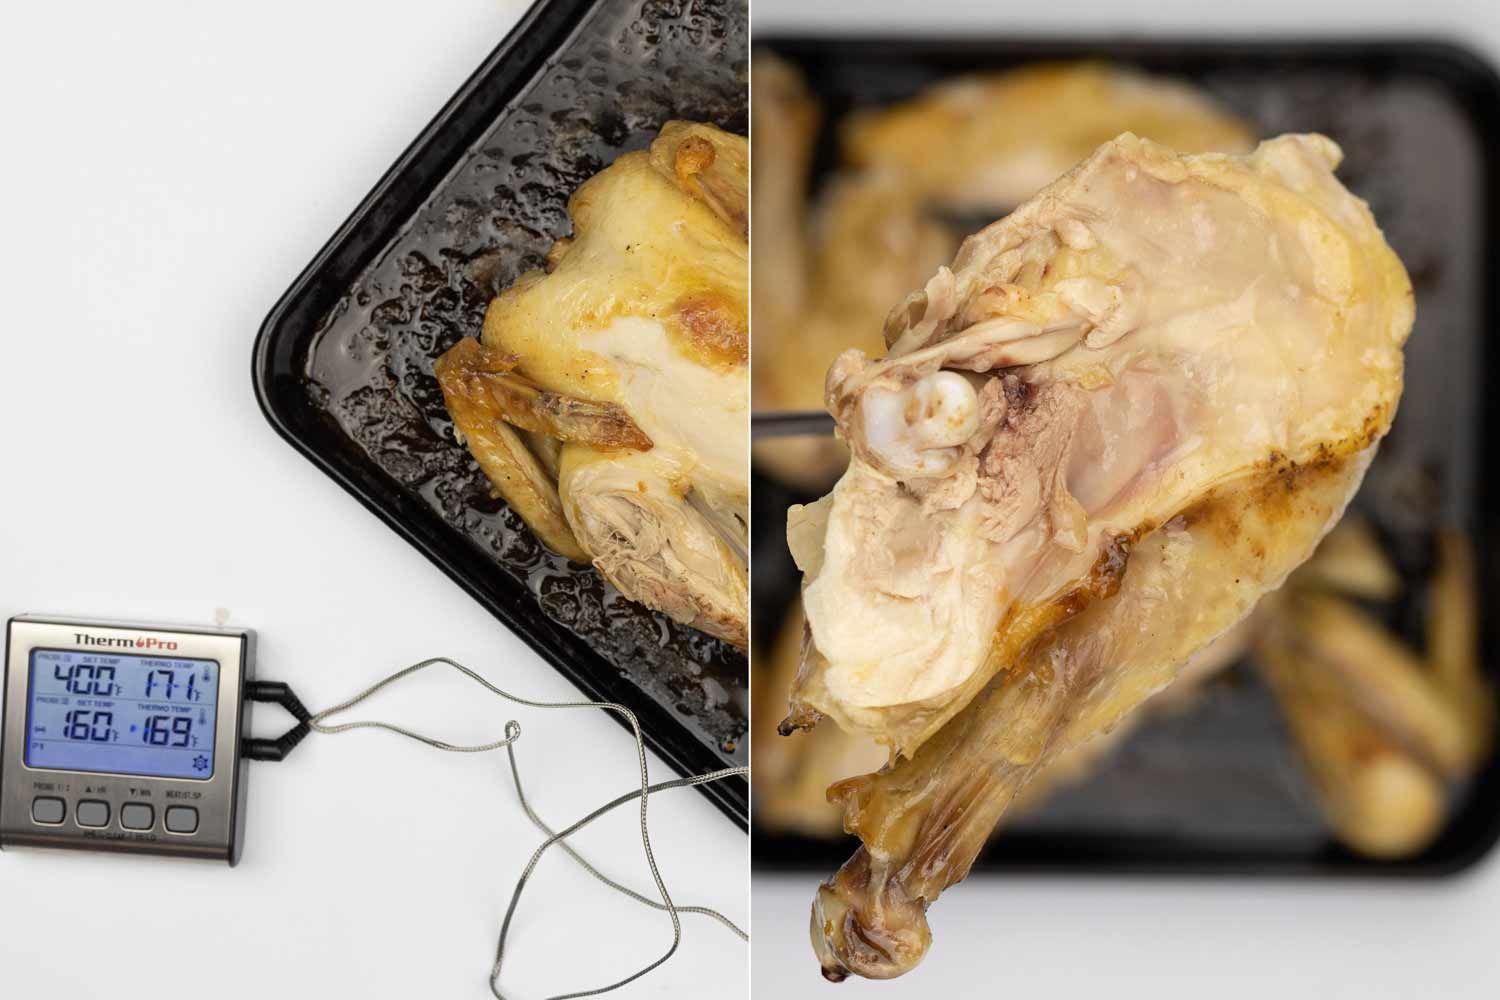
- 6/10: 145°F ≥ internal temperature ≥ 200°F; A few pink spots near the bones
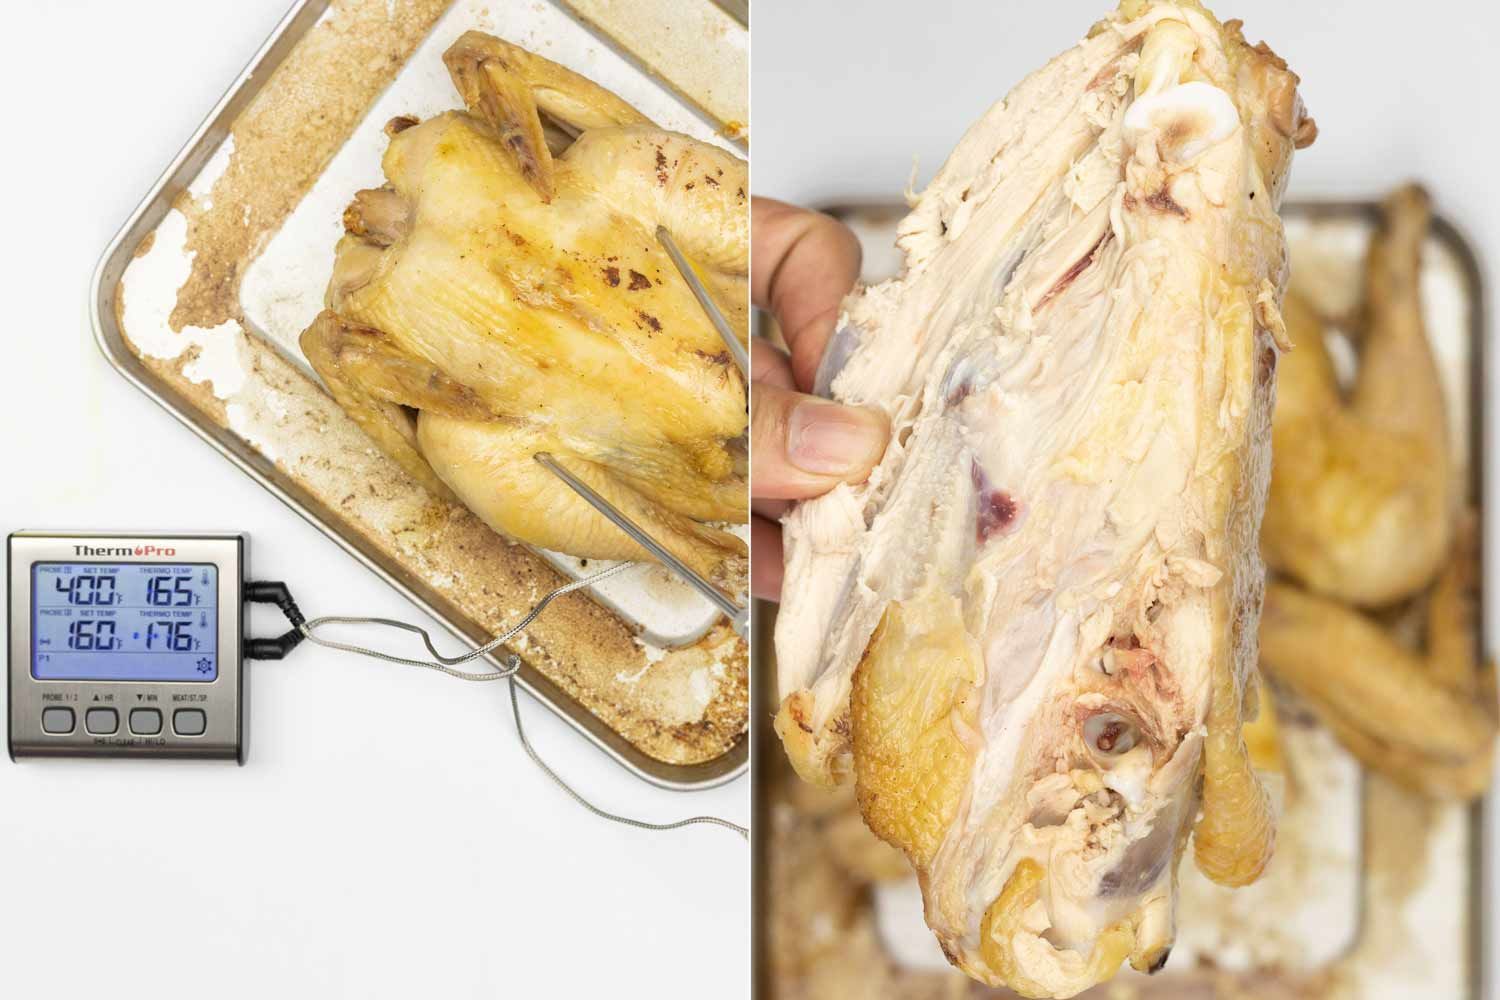
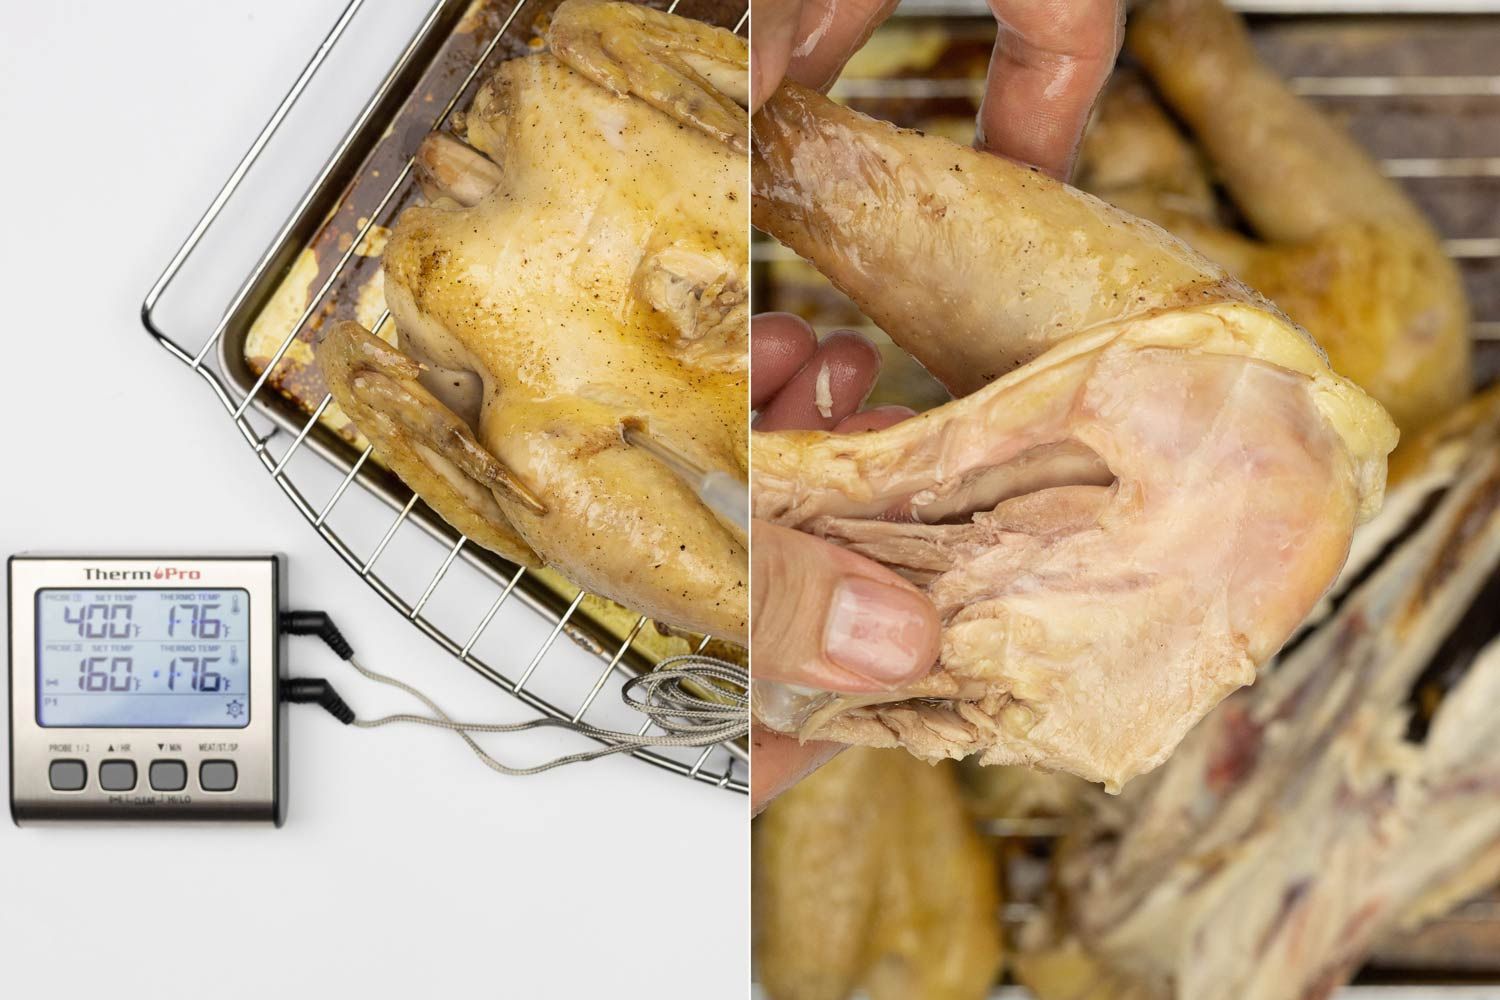
- 0/10: Undercooked; No color on the skin; Burnt meat
Taste
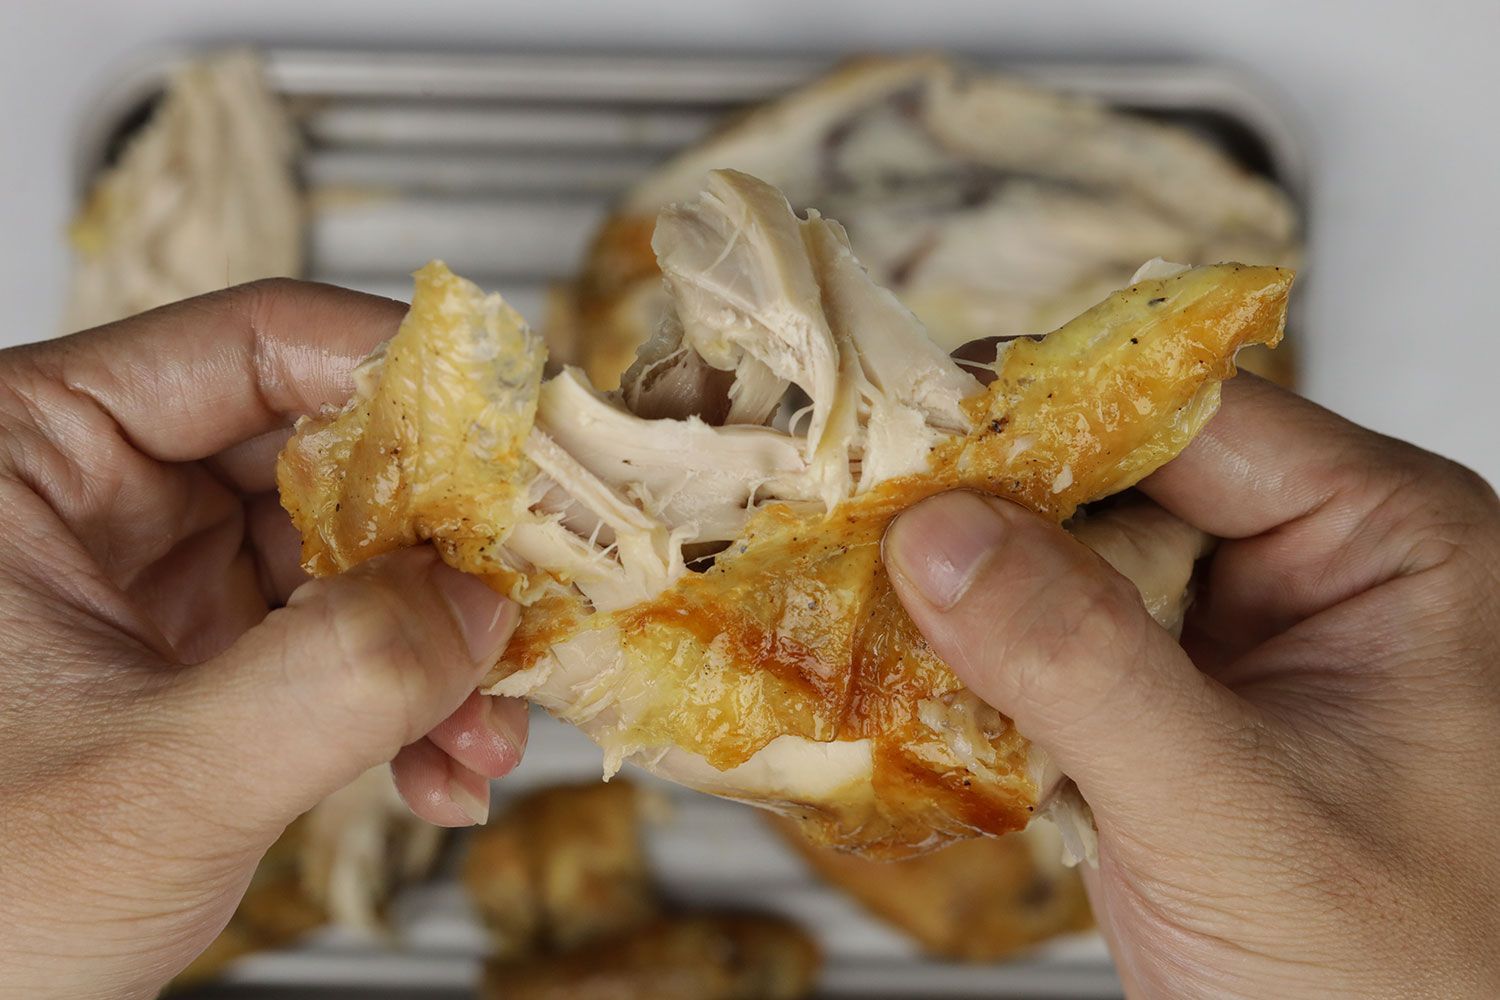
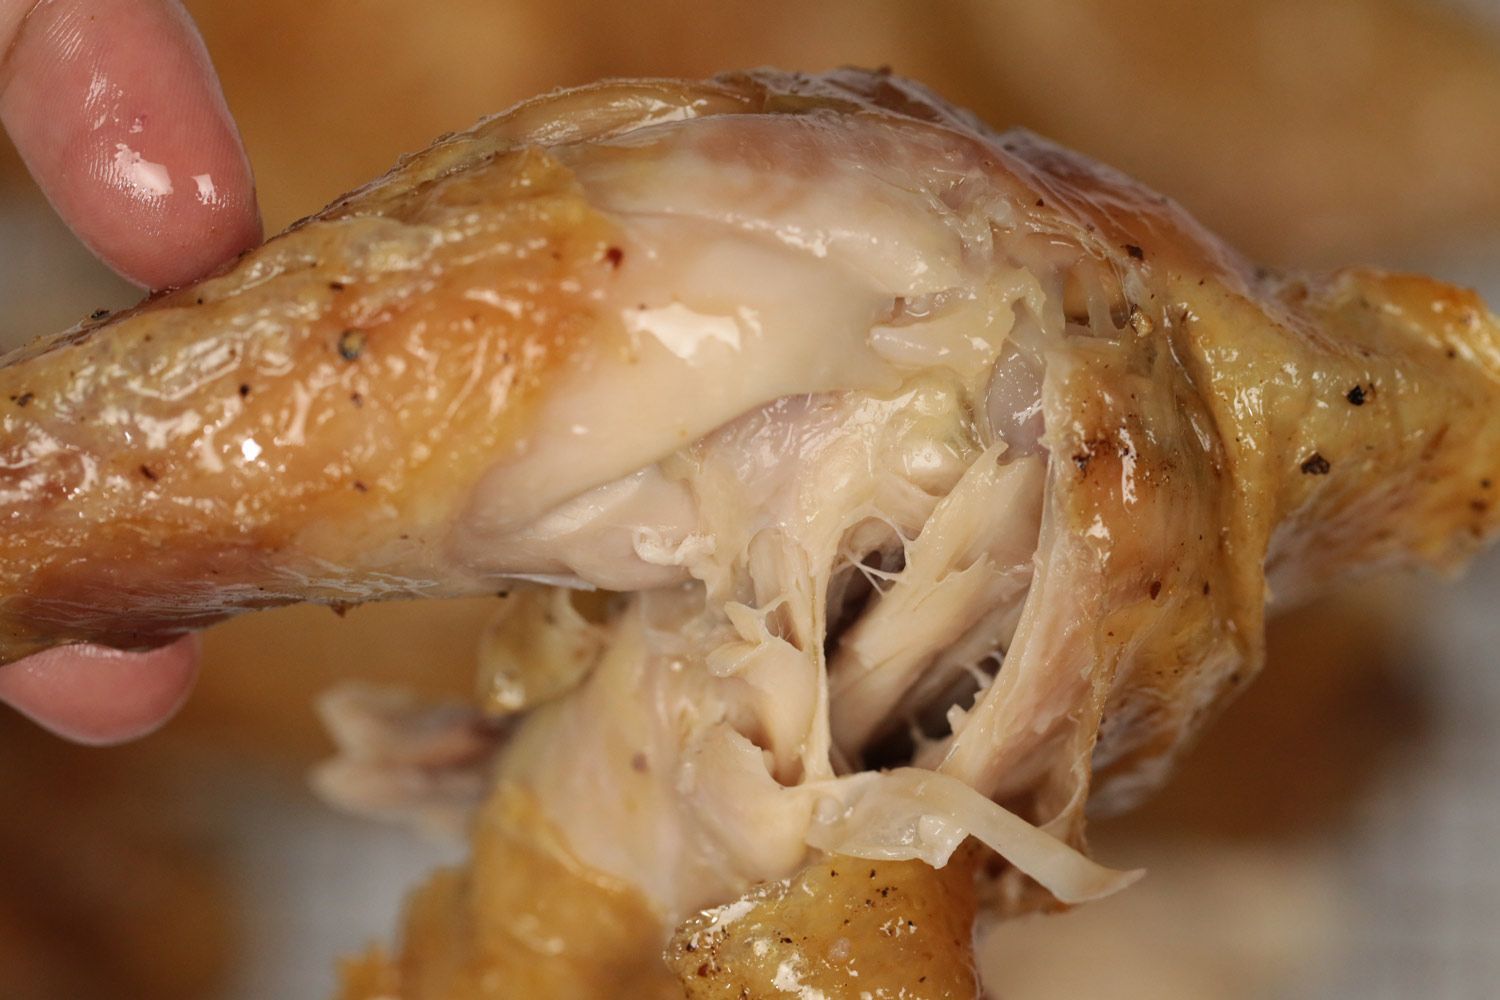
Deliciousness is a mostly subjective but essential criterion to evaluate any food, not just roasted chicken. For a diverse range of opinions, our team of judges includes one professional chef, one home cook, and two foodies. Tuyet Pham, our head chef with years of experience and many professional awards under her belt, decides our scoring table.
Nonetheless, there are still a number of aspects we can use to explain our evaluation.
- A cooking time longer than necessary can result in burnt and dry chicken. Meanwhile, a shorter time can result in uneven color and a lack of crispiness for the skin.
- A higher cooking temperature than necessary can result in burnt skin but undercooked chicken. Meanwhile, a lower temperature can result in a lack of color and crispiness for the skin.
- If the skin is too burnt, it will most likely have an unappetizing bitter taste.
