Our recommendations are made independently. We may receive commissions from purchases made via our links.
How to Vent a Range Hood on an Interior Wall: A Step-by-Step Guide
If you’re working on your kitchen’s ventilation system, here’s a guide on how to vent a range hood on an interior wall.
Any decent kitchen nowadays should come with a good range hood. The range hood doesn’t just circulate fresh air around the room, making it easier for you to breathe. It will also protect you from noxious fumes produced by the burning stovetop.
Range hoods are often vented via the ceiling because hot air rises. However, if this is not feasible for whatever reason, you can also vent your range hood on an interior wall.
In this guide, you will learn exactly how to vent range a hood on an interior wall.
How to Vent a Range Hood on an Interior Wall: Types of Range Hood
Main Types
There are several types of range hoods and not all of them require a ventilation duct. Therefore, make sure that the type of range hood you have requires a duct before proceeding.
Ducted Range Hood
Ducted range hoods are highly popular due to their efficiency at extracting cooking fumes and supplying clean air to the kitchen. A ventilation duct connects the range hood to the outside, where cooking fumes are released and fresh air is taken in.
With This type of range hood, you can vent it right through the ceiling using a vertical duct. But you can also vent it through the wall using a horizontal duct if needed. That also includes the option of venting on the house’s interior wall.
Ductless Range Hood
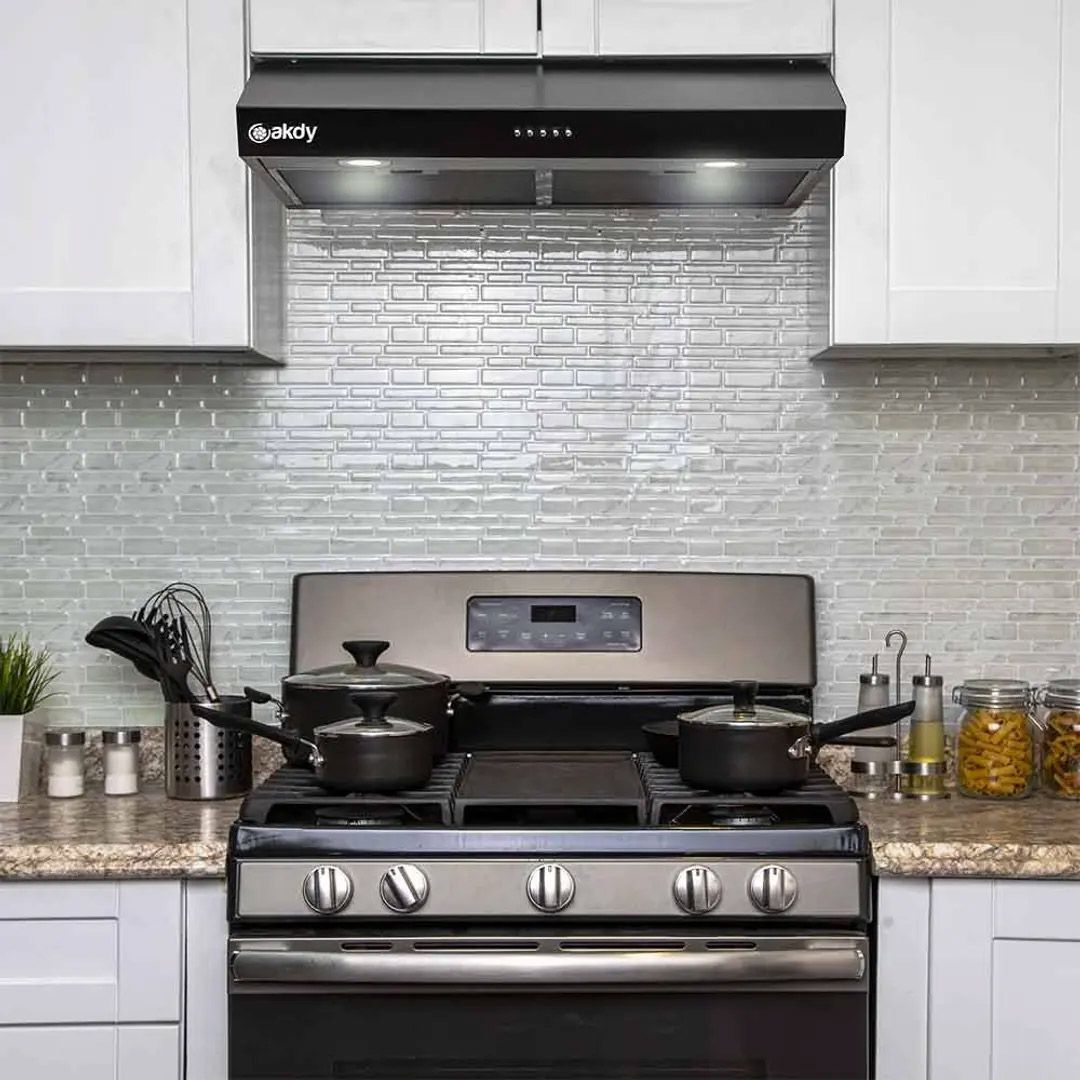
A ductless range hood does not need complicated ventilation ductwork to operate (hence “ductless”).
Inside a ductless range hood is a carbon air filter. The range hood sucks in the cooking fumes and the filter takes out all of the contaminants and odors. Then, the clean air is recirculated back into the kitchen rather than vented.
Ductless range hoods are preferred in small kitchens due to their affordability. Certainly, they’re less efficient than their ducted counterparts, but it’s better than having no range hood at all.
Convertible Range Hood
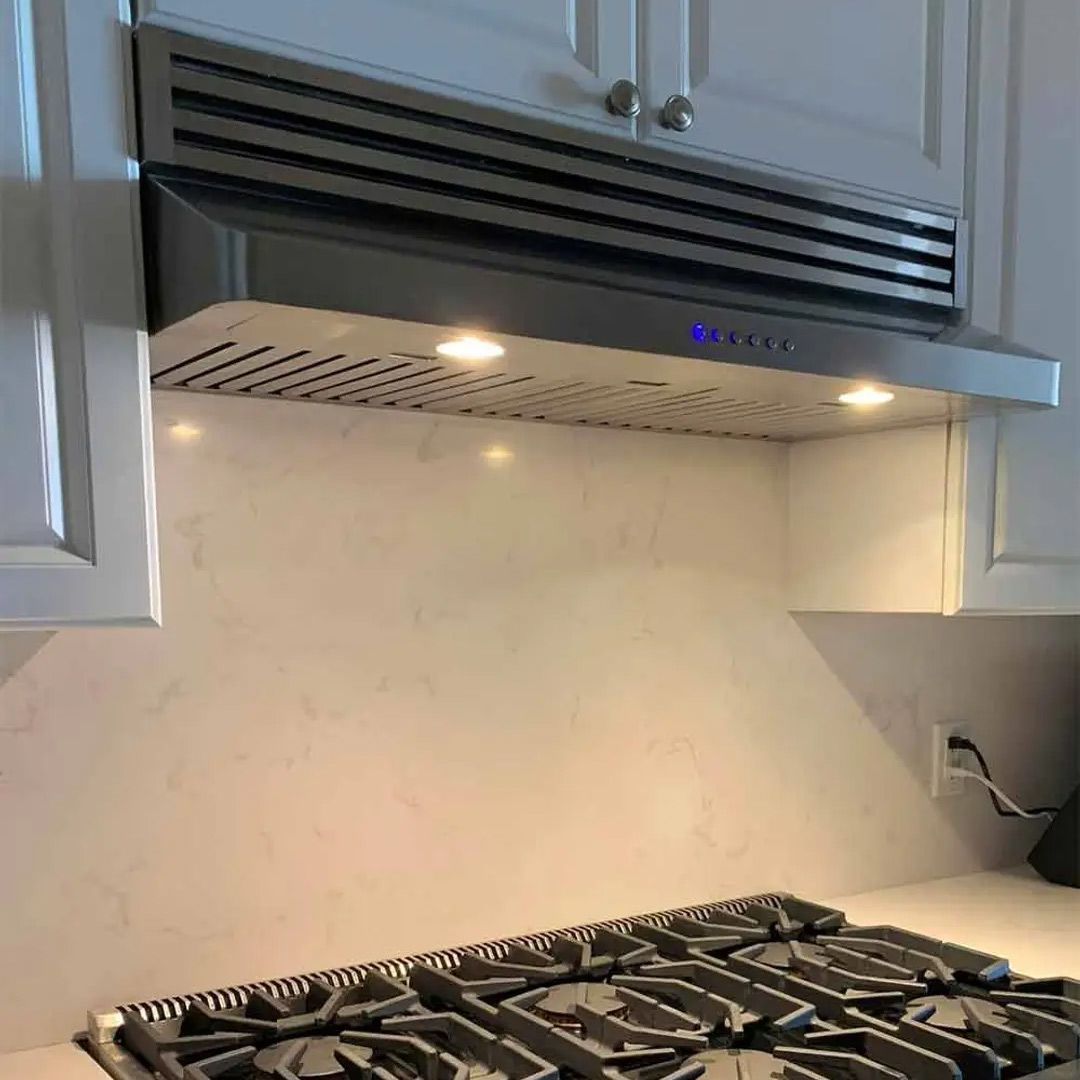
A convertible range hood is a combination of the two types discussed above.
Convertible range hoods are connected to a ducting system, so they function like your typical ducted range hood. But the special thing about a convertible is that, when needed, you can also seal off the ducts. When this happens, the charcoal filters filter and recirculate the air. This effectively turns the range hood from ducted to ductless.
Convertible range hoods are especially popular in colder regions. Ducted range hoods can draw in the cold air from outside, making the kitchen colder. In contrast, a ductless system keeps the warmth fully inside the house.
The ability to switch back and forth is hugely appreciated among users.
As expected, convertibles are quite expensive. But most people consider them to be well worth the price.
Mount Types
Wall-Mounted Range Hoods
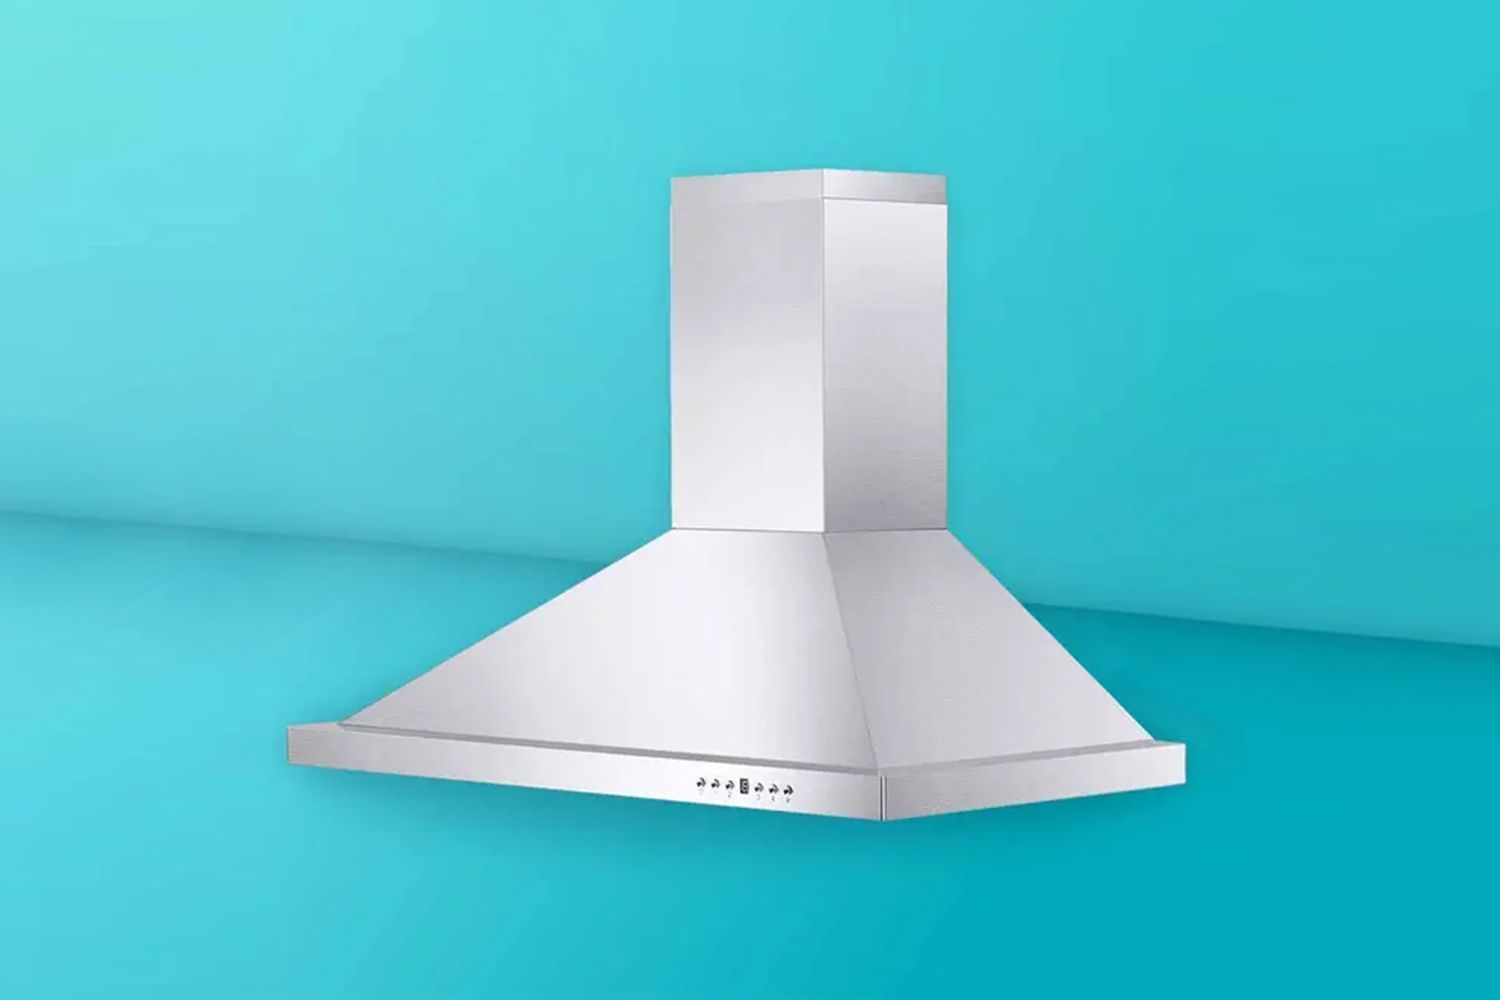
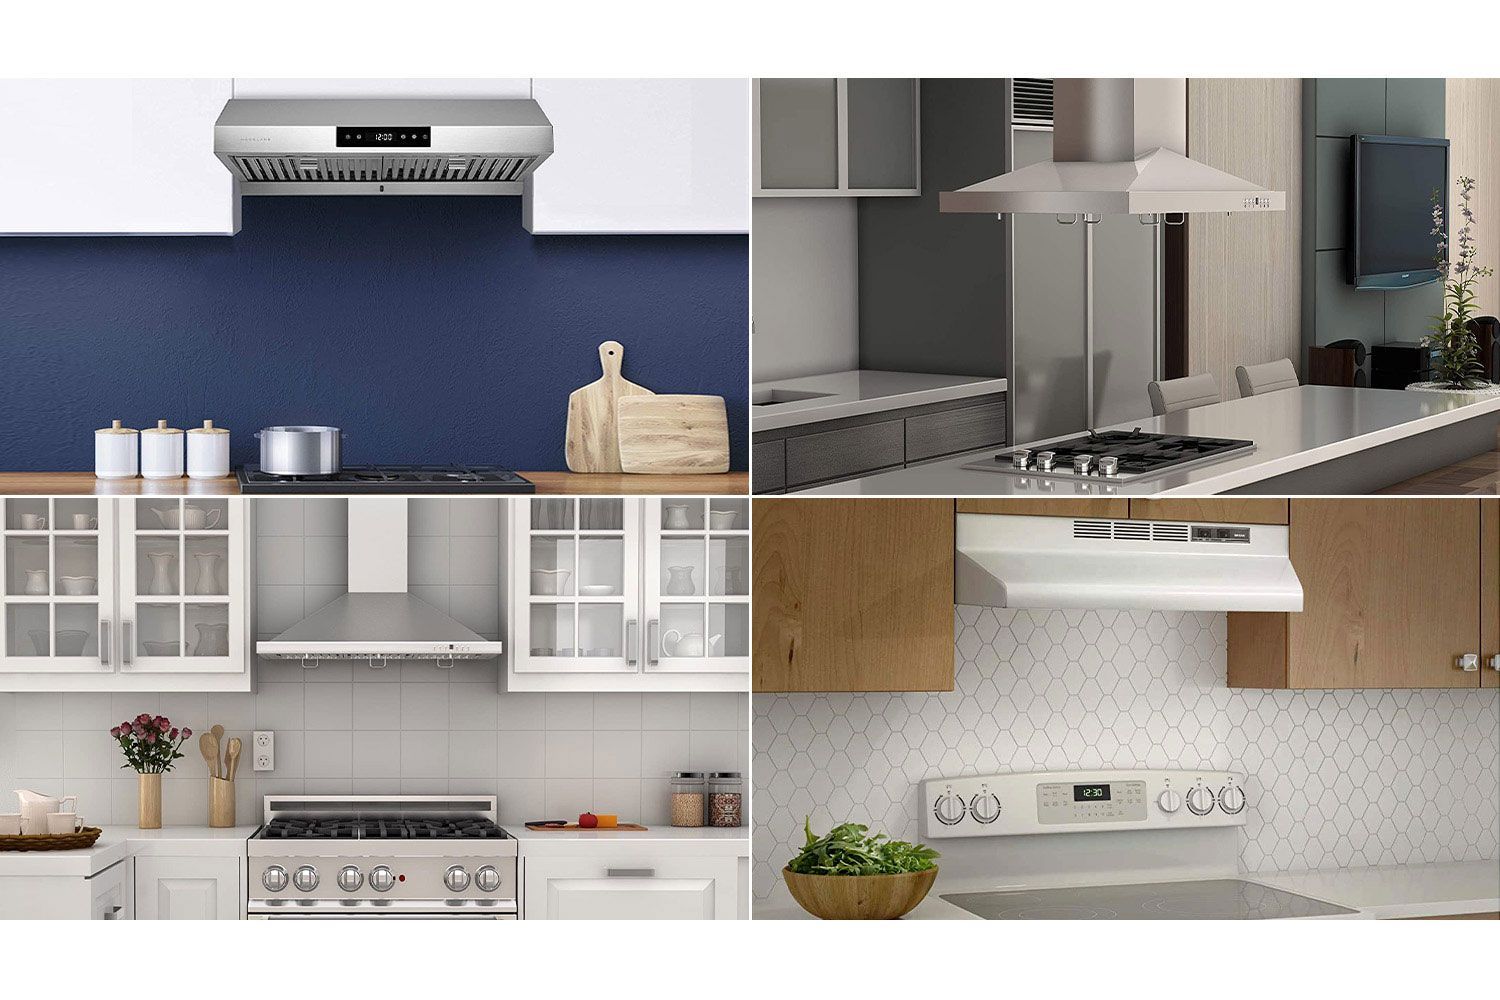
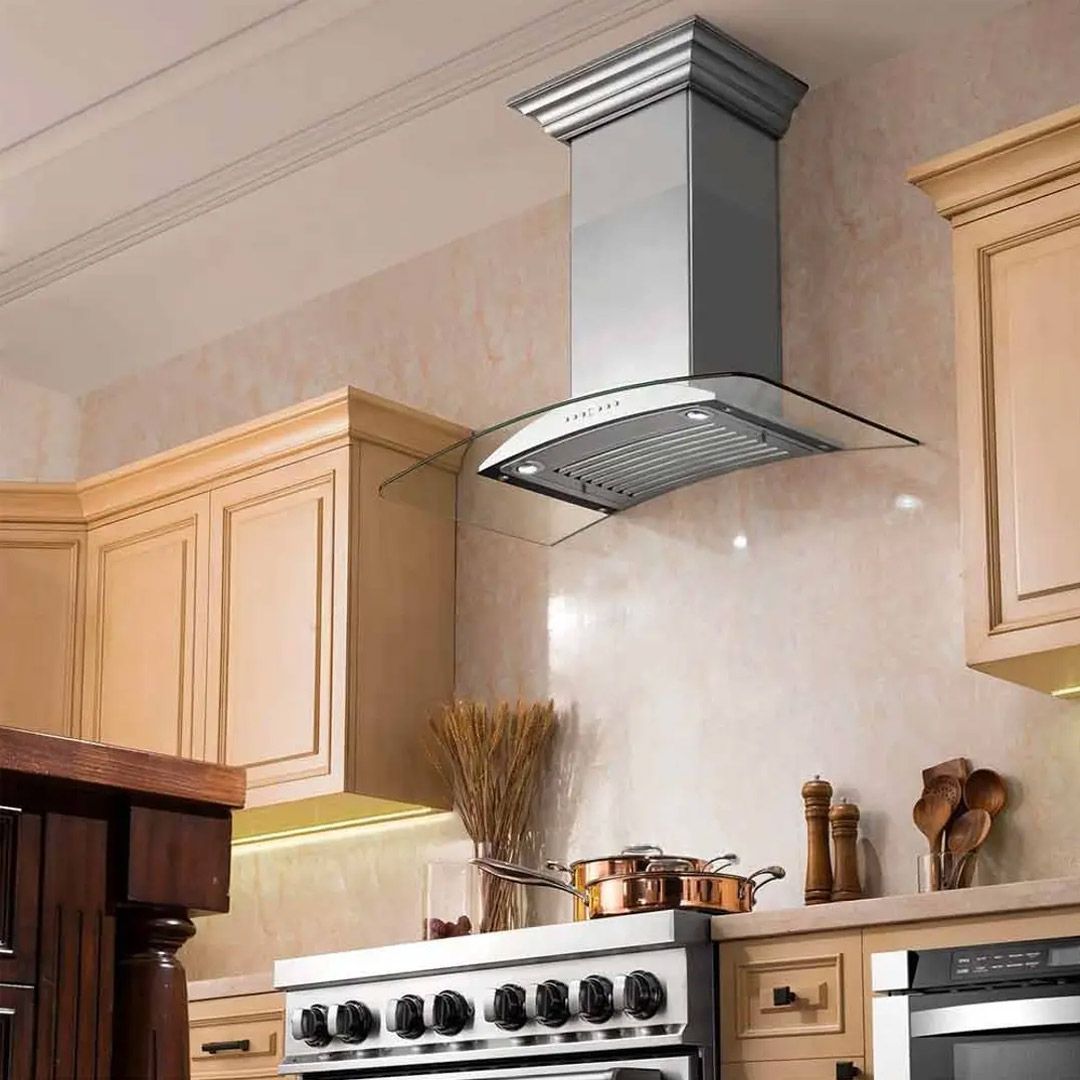
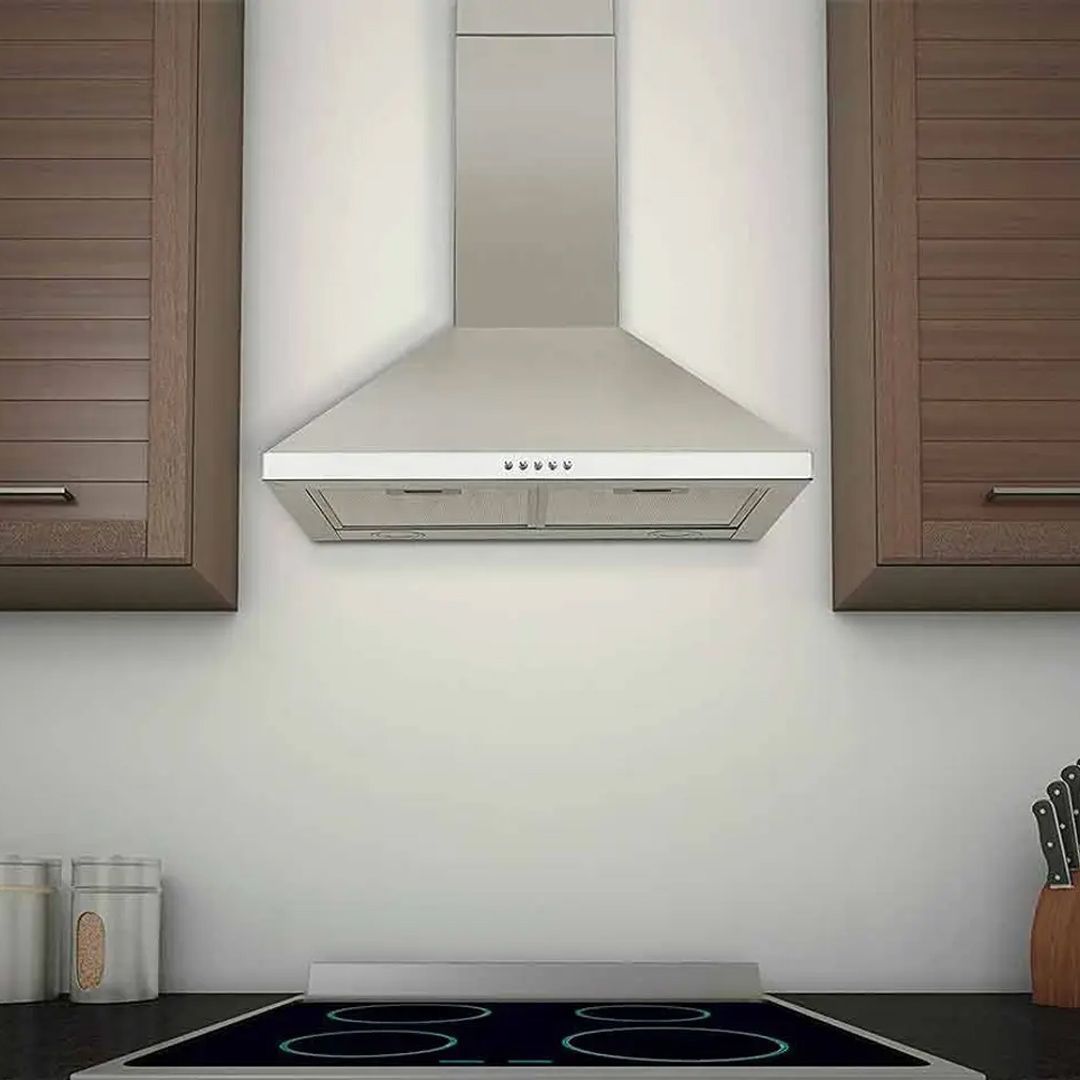
Wall-mounted range hoods are attached to the wall of the kitchen. They come with an adjustable chimney for more flexible ventilation control. This type is often the go-to for large kitchens.
Usually, when you install a wall-mounted range hood, a cabinet compartment is removed to make space for the unit. If your kitchen doesn’t have a cabinet, the range hood can ruin the overall aesthetic of the space.
Wall-mounted range hoods can be vented vertically and horizontally.
Island Mount Range Hoods
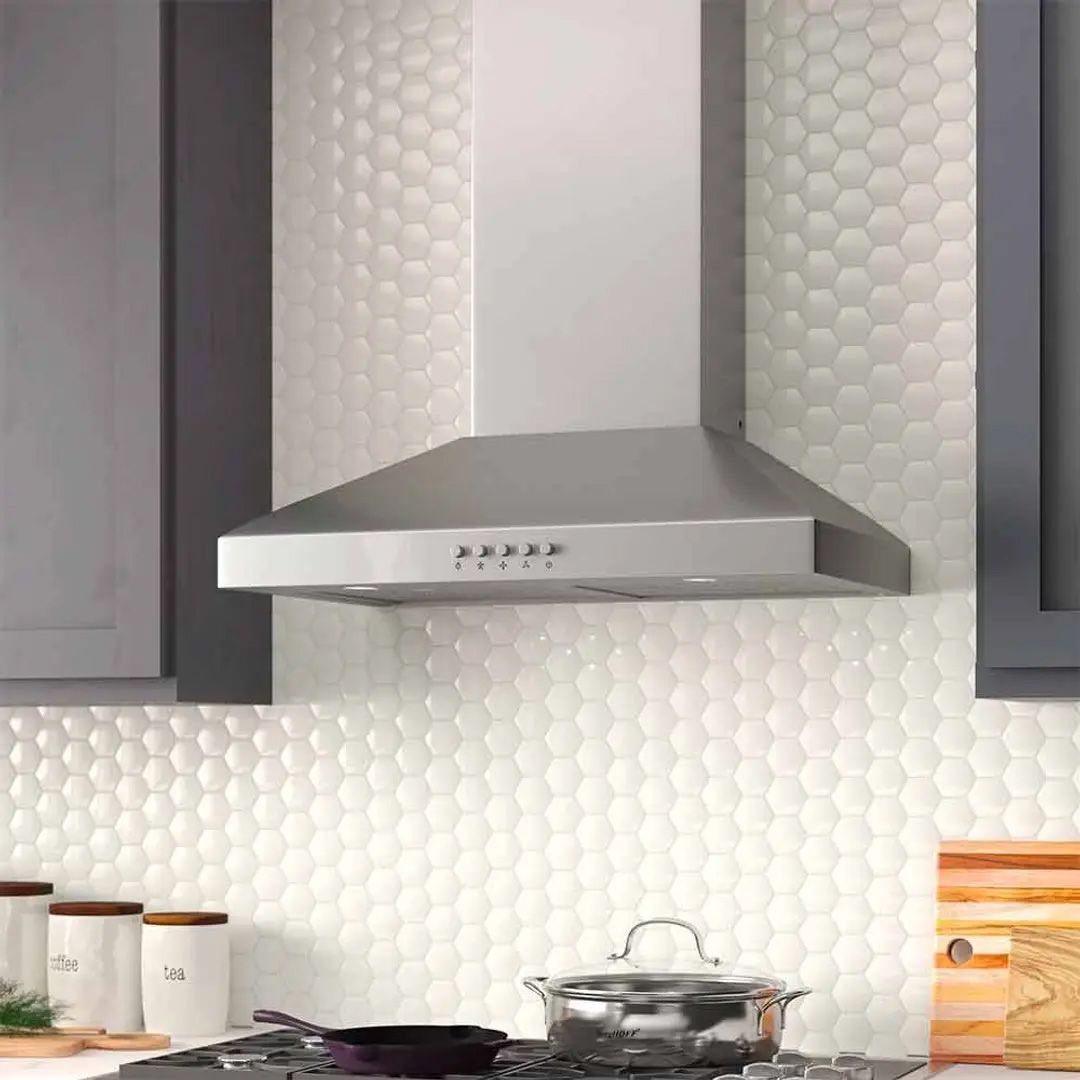
Island mount range hoods are preferred in large kitchens with a central island counter.
Despite being ducted, island mount range hoods usually aren’t as efficient as wall-mounted ones. This is because there are no surrounding walls to contain the cooking fumes, so they can spread around more easily. So, you always have to buy island mount range hoods that are a size or two larger to properly ventilate all the fumes.
Unlike a wall-mount range hood which partly rests on the wall, an island mount’s weight is entirely supported by the ceiling. Therefore, you have to be extra cautious of all the bracings and supports when installing this kind of duct.

Under Cabinet
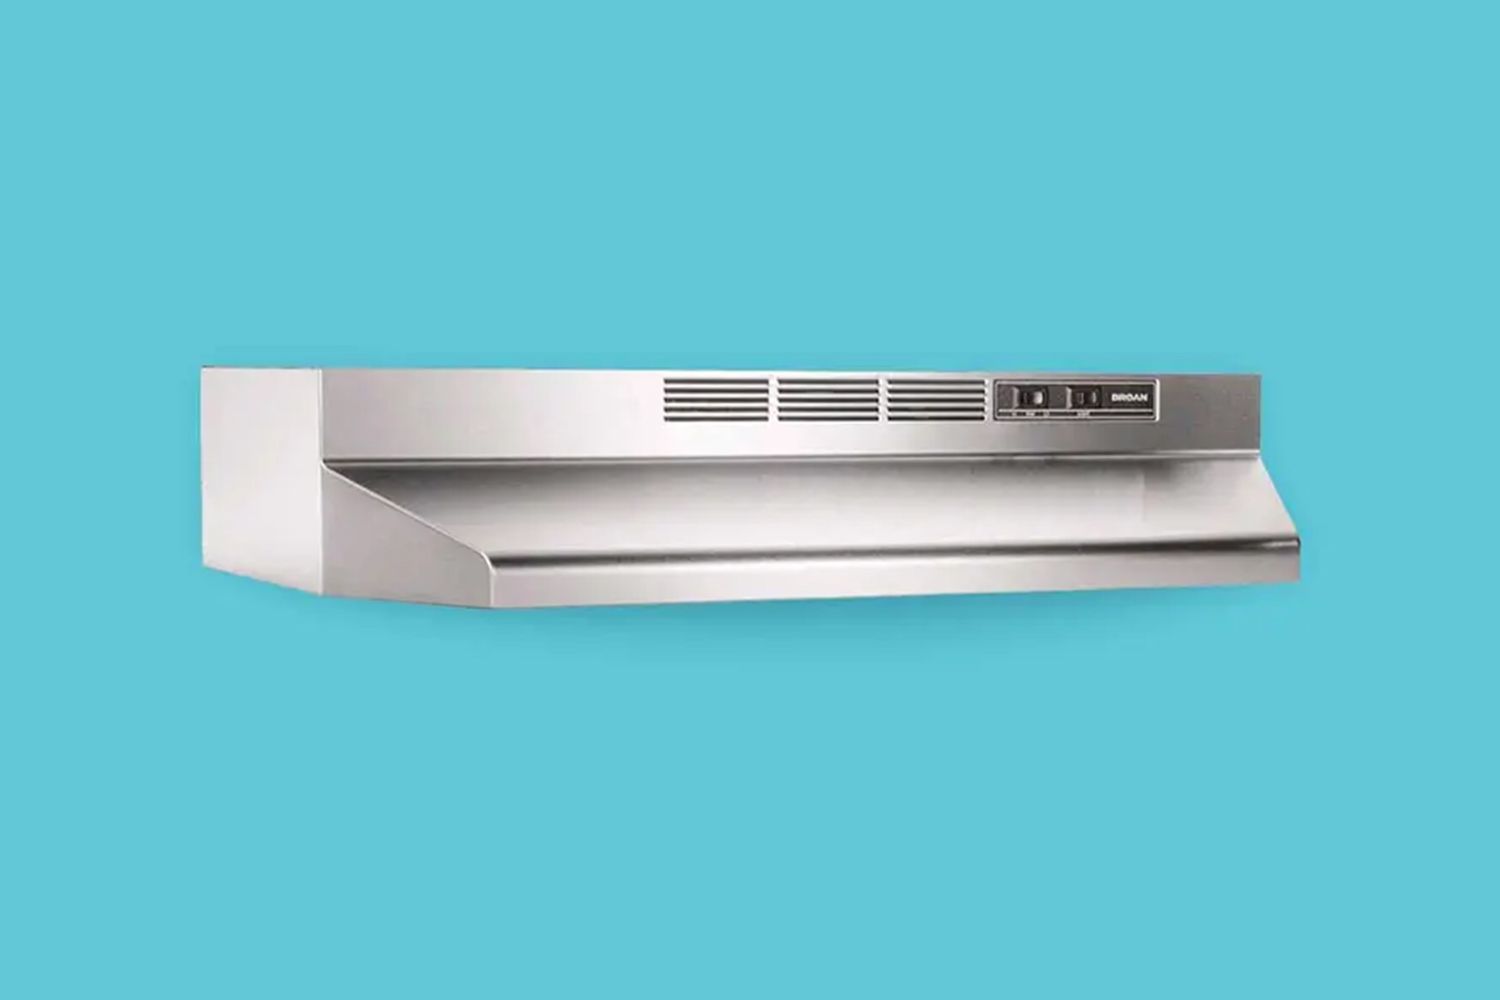
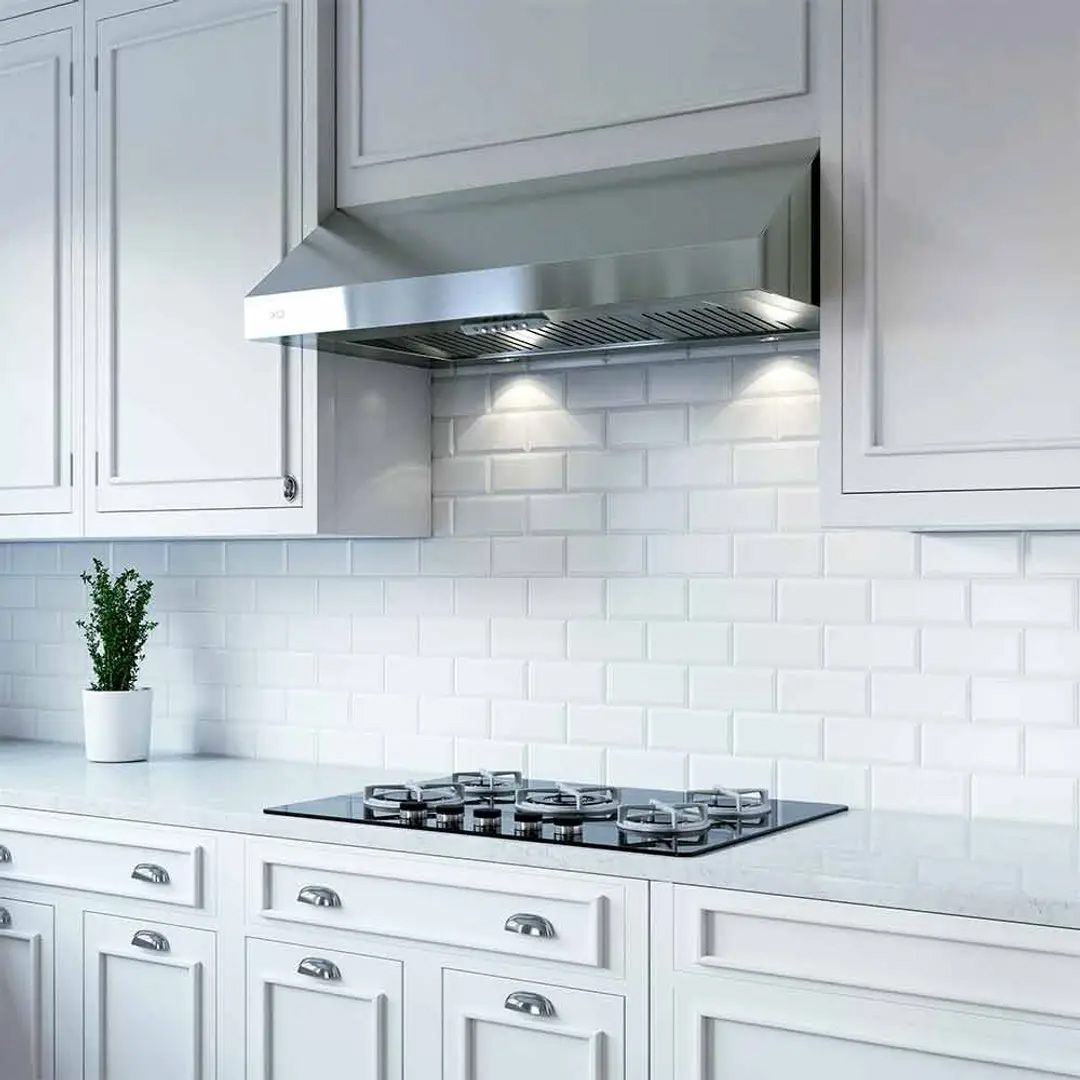
Under cabinet range hoods are installed in the bottom of the cabinets above the stove top. Compared to wall-mount or island mounted, this type is significantly more compact. For this reason, it is often the preferred type for small kitchens that don’t have a lot of space to spare.
This type is often ductless, but can also be ducted.
Which Types Will Require Ducting?
Only two types will require you to set up a ventilation system: ducted and convertible. You only have to construct ductwork for either wall-mounted or island mount range hoods.
If you bought a ductless, under cabinet range hood, this guide won’t be of much help to you. All you have to do is hang your ductless range hood over your stovetop and you can call it a day.
Before Getting Started
Before getting your hands dirty, there are a few things that you have to take into consideration.
Duct Diameter
Ventilation Strength and Stovetop Power Rating
Ventilation strength must be taken into account before constructing your ductwork. The stronger your range hood’s ventilation is, the larger the duct’s diameter ought to be.
The strength of a range hood is measured in cubic feet per minute (CFM). It is a common measurement unit to calculate airflow velocity. The CFM rating of the range hood is then compared to the BTU (British Thermal Unit) rating of your stove top.
Typically, it is recommended that for every 100 BTUs that your stove top is rated for, the range hood should have 1 CFM of ventilation strength.
So, for example, if you have a 60,000-BTU stove top, you should vent it with a 600-CFM range hood.
If the duct is too small, your range hood is going to choke. The ventilation motor will work over time trying to remove the high volume of fumes, wearing it down quicker.
Minimum and Recommended Duct Diameter
To size your ductwork properly, there are two concepts that you must familiarize yourself with aside from ventilation strength and stovetop power rating. They are minimum duct diameter and recommended duct diameter.
The minimum duct diameter is the smallest duct diameter that you can construct for a range hood of a certain strength rating.
For example, with a 400-CFM range hood, it is not recommended to build a duct that is smaller than 4 inches in diameter for it.
The recommended duct diameter is the most optimal. At this size, the duct will be able to fully ventilate the range hood even when it’s working at maximum capacity.
As another example, a 400-CFM range hood is best ventilated with a 6-inch duct.
You can refer to the table below to get an idea of which duct size is suitable for which stove top’s power rating. You can also find out the minimum and recommended duct diameter for each class of range hood.
Range Hood Strength | Stovetop Power Rating | Minimum Duct Diameter | Recommended Duct Diameter |
|---|---|---|---|
Less than 400 CFMs | Less than 40,000 BTUs | 4 inches | 6 inches |
400 to 600 CFMs | 40,000 to 60,000 BTUs | 6 inches | 8 inches |
600 to 900 CFMs | 60,000 to 90,000 BTUs | 7 inches | 8 to 10 inches |
900 to 1,200 CFMs | 90,000 to 120,000 BTUs | 8 inches | 10 to 12 inches |
Greater than 1,200 CFMs | Greater than 120,000 BTUs | 10 inches | 12 inches |
Duct Length
Length is just as important as duct diameter. The shorter the duct length, the more efficient your range hood is going to be.
As a matter of fact, even if you purchase an underpowered range hood, it will still be able to work fine if the ducting is short. This is because the air needs less time and velocity to make it out of the ducting and back outside.
The length of your ventilation duct should not exceed 30 feet, if possible.
Another thing to consider are elbows, which are essentially bends in the duct. Make sure to construct your ductwork with as few elbows as possible. They reduce the speed of the vented air and make the whole system less efficient.
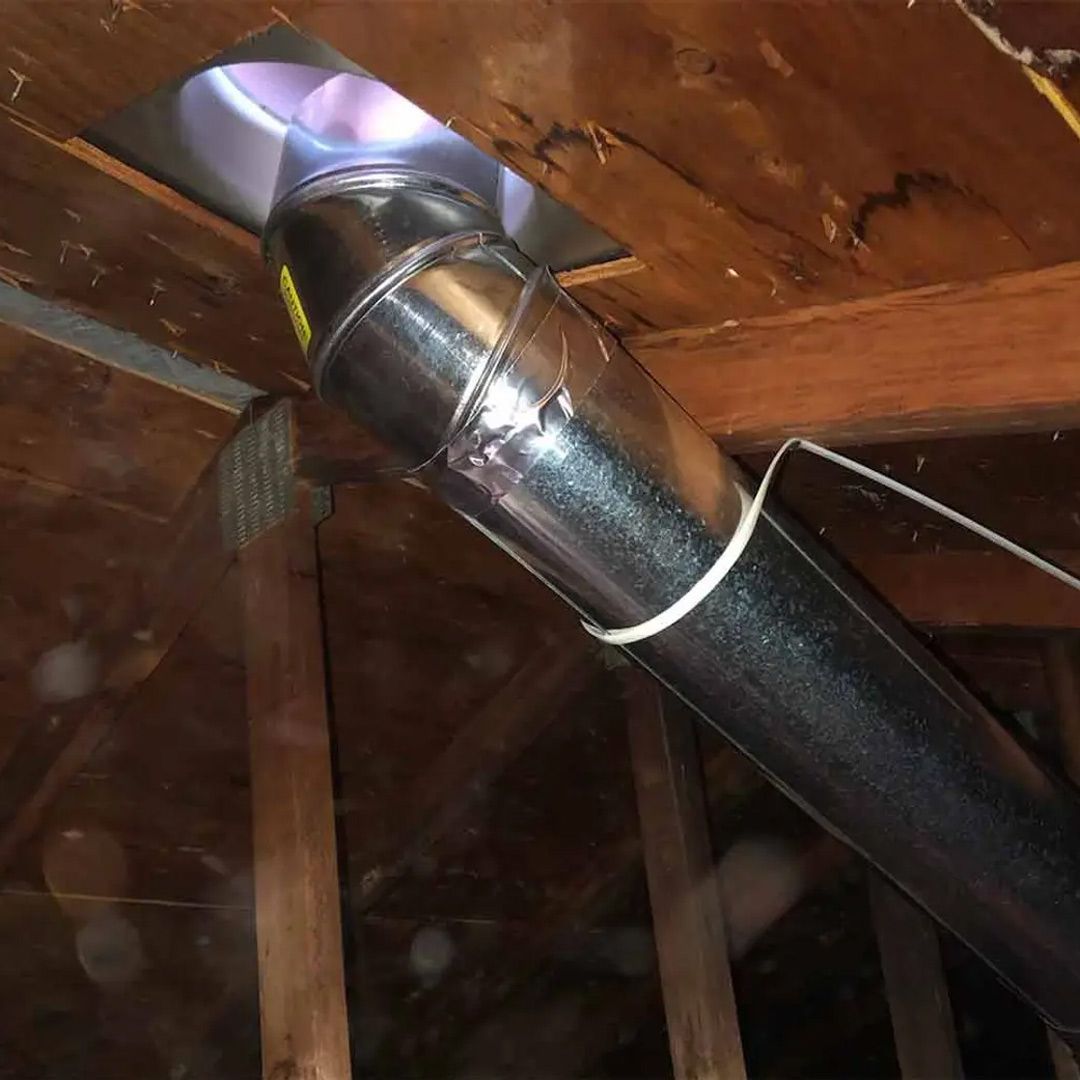
For every elbow in the duct, the recommended length for your ductwork is reduced by 10 feet. In other words, instead of the usual 30 feet, the ideal length of a duct with one elbow is 20 feet.
Range Hood Venting Options
There are three venting options available if you are going to install your ducting on an interior wall. Depending on the design of your kitchen, choose accordingly.
Vent Down into the Basement
This is a good option if your house has a basement. The basic strategy is to conduct the air vertically downward. Then it gets redirected via an elbow to run horizontally the rest of the way outside.
The advantage of this approach is that you can install the blower fan in the basement instead of right on top of the range hood. It will save you some cabinet space and with the blower fan hidden away in the basement, there will be much less noise
But there is one challenge. The duct has to be constructed in-between the joists of the interior wall. As a result, the range hood and your stove top must be perfectly centered with the joist. If they aren’t, you have to move the entire stove top and the range hood until they are properly aligned with the center joist.
This method is appropriate for wall-mounted range hoods.
Vent Through the Ceiling
This arrangement is noisier and takes up more cabinet space than venting down into the basement. However, because hot air rises, it is far more efficient.
The method is quite straightforward. The duct runs upward, through the ceiling of the kitchen, and terminates on the roof of the house. You must install a special stainless-steel roof cover to protect the discharge outlet against the weather.
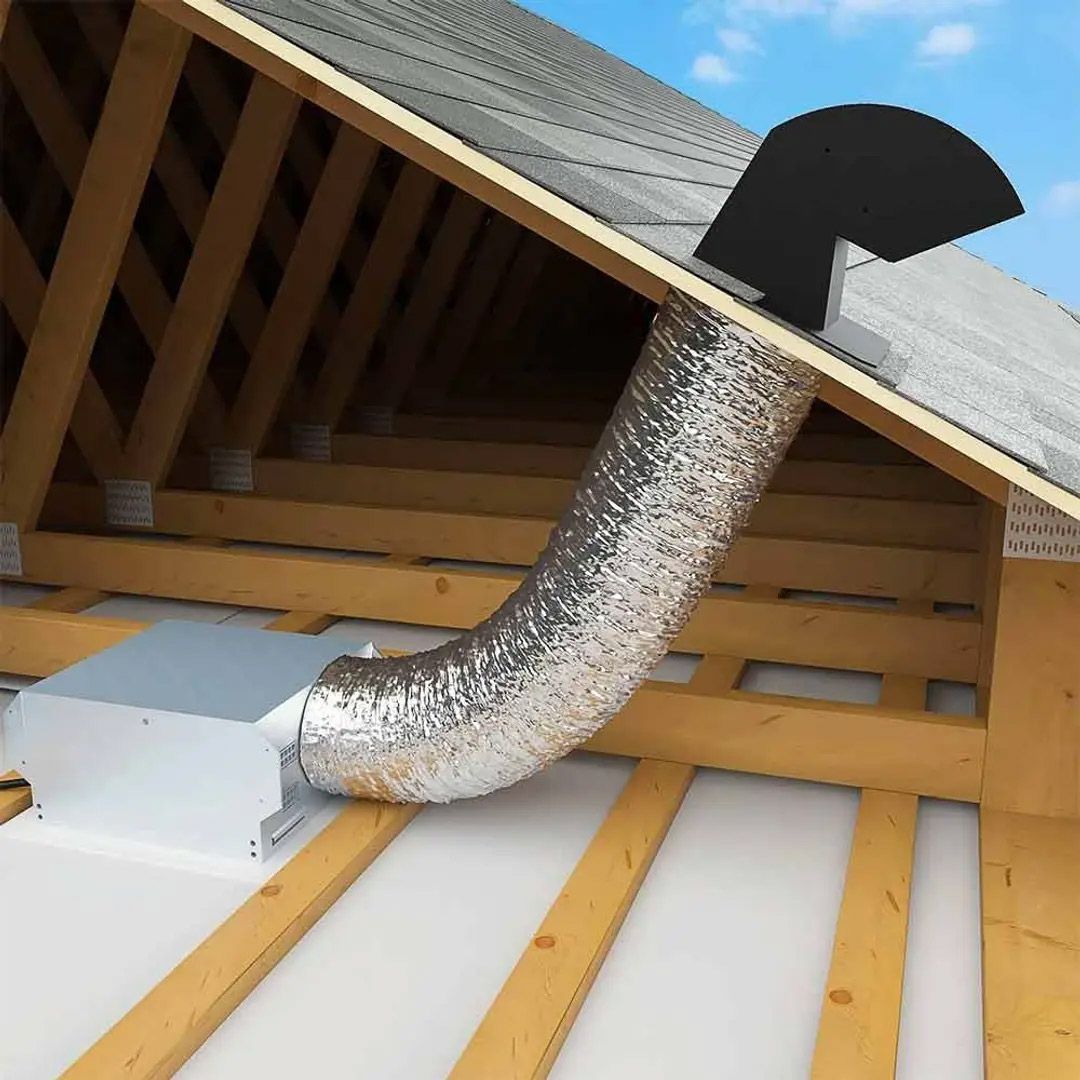
If your house has an attic, the duct will pass through it on its way to the roof. Because your attic is naturally colder than your kitchen, condensation can form. As a result, you may have to insulate the portion of the duct that passes through the ceiling.
You can use this method for a wall-mounted range hood. Venting through the ceiling is also the only way to vent an island mount range hood.
Vent Horizontally Through the Wall
This is the most common method for those who decide to vent their range hood through the interior wall. The duct simply goes horizontally, punches through the wall, and runs directly to the exterior wall and the outside.
There are two methods to do this. In the first method, you can run the duct over the top of the kitchen cabinets. If that’s not possible, you can lead it up the ceiling, instead.
You can consider using this method with a wall-mounted range hood.
How to Install Ducts on an Interior Wall
Determine the Least Obstructed Path to the Outside
Keep in mind the 30-foot rule. You do not want your duct to exceed 30 feet in length. There shouldn’t be more than two elbows in the structure, either. To do this, you must determine the least obstructed path from the range hood to the outside.
You must be very familiar with the inner structure of your house to do this. Ideally, you should select a path with no stud, piping, or electrical wiring.
Create Access Points
To construct your ventilation duct, you must have access to key points along the route of the ducting. This will be much easier if you choose to vent your range hood down into the basement or through the attic to the roof.
However, if you decide to vent through the walls, you may have to cut through them.
If you aren’t sure what is in your walls, do not attempt to cut them yourself. Consult a professional first.
Thread the Duct Through
Depending on your chosen venting option, thread the duct accordingly through the walls to the outside. Use the access points that you cut into the walls to make the job easier.
One part that you have to be careful with is the size of the hole that your ductwork runs through to reach the range hood. To make it easier for the ductwork to connect, make sure that the hole is around 2 inches wider than the diameter of the duct.
Connect the Duct to the Range Hood
Once the construction of the ductwork is complete, it’s time to connect it to the range hood. This step should be fairly easy and will usually be detailed in the user manual for the range hood.
Usually, all you have to do is join the duct together with the transition piece using stainless-steel duct tape.
Attach the Wall/Roof Cap
Head over to the place where the duct ends. If the duct ends on an exterior wall, attach a wall cap.
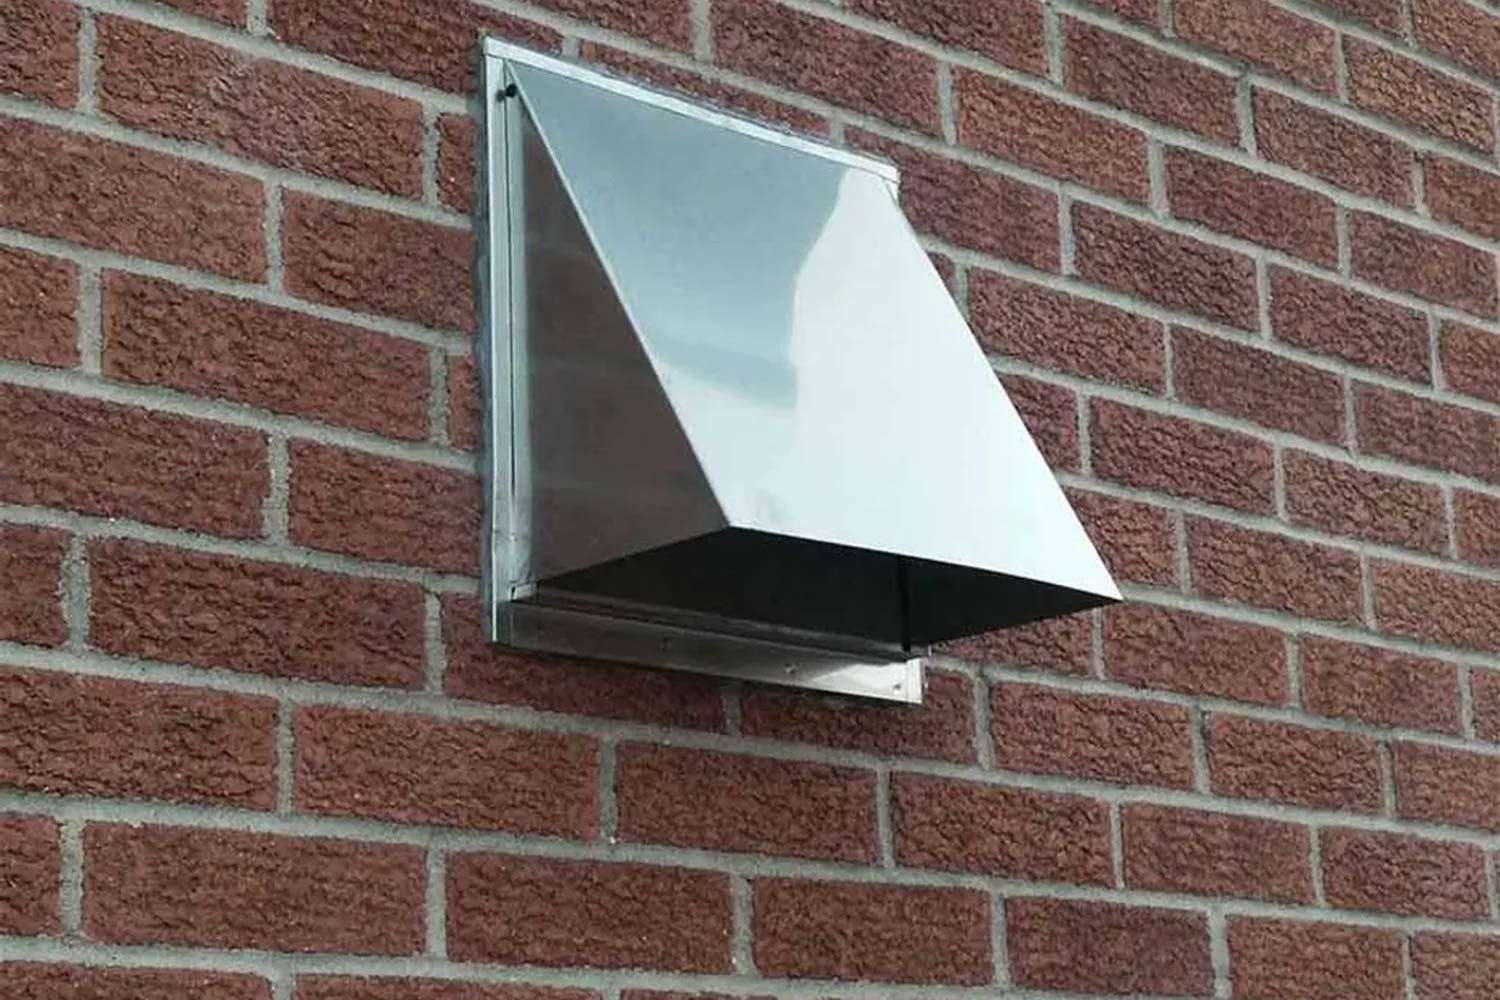
If it ends up on the roof, use a roof cap.
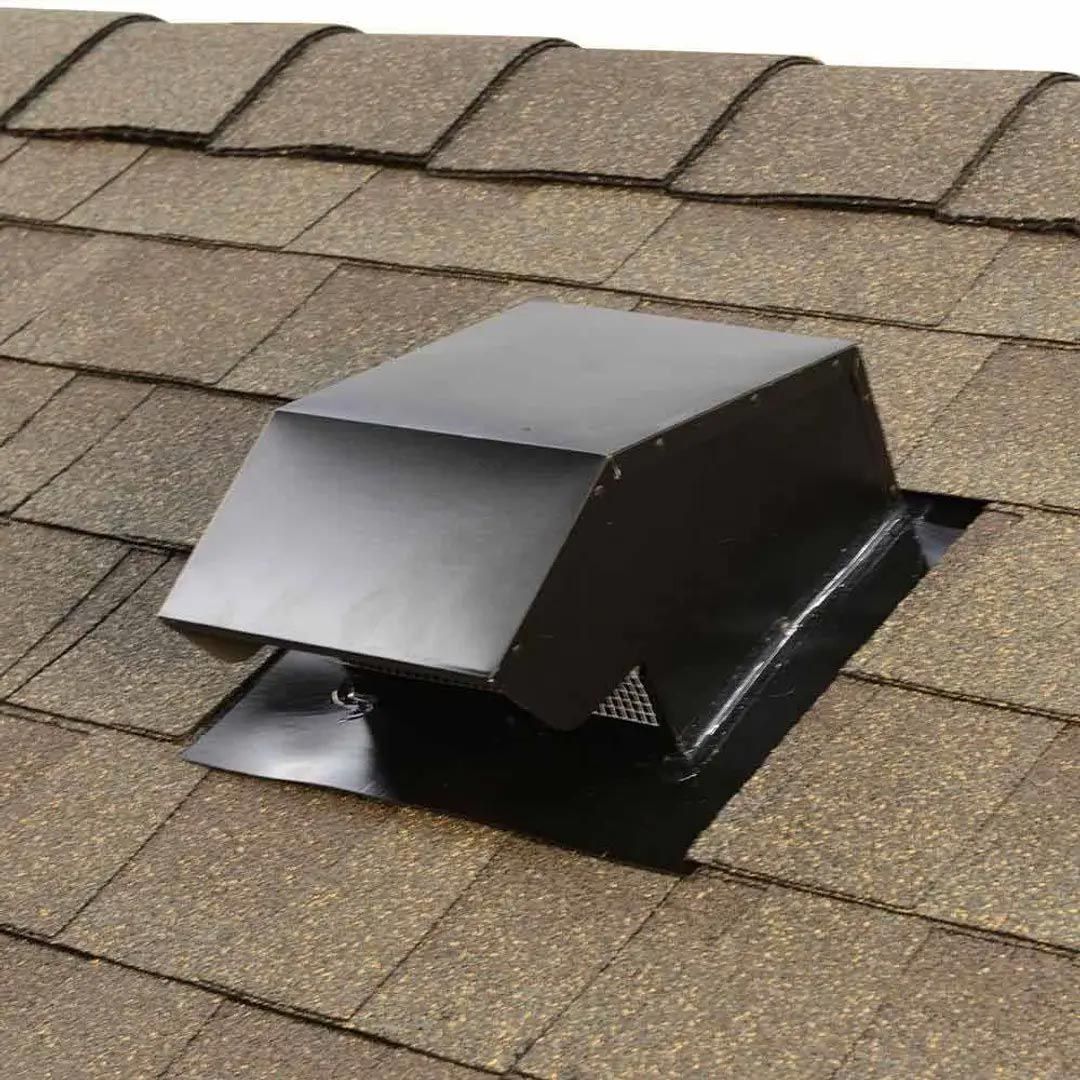
The cap will help protect the duct from debris and the elements, protecting it from damage and helping it run for longer.
Conclusion
Installing an entire ventilation system by yourself is a huge undertaking. But with proper information on how to vent a range hood on an interior wall, you should be able to do it in a few hours.
Nonetheless, keep in mind that this is a very complicated process. We only recommend undertaking this project if you know your way around power tools and construction. The ductwork affects the structural integrity of your home as well as its aesthetic.
If you’re unsure, we absolutely recommend that you call in a professional instead of doing it by yourself.
