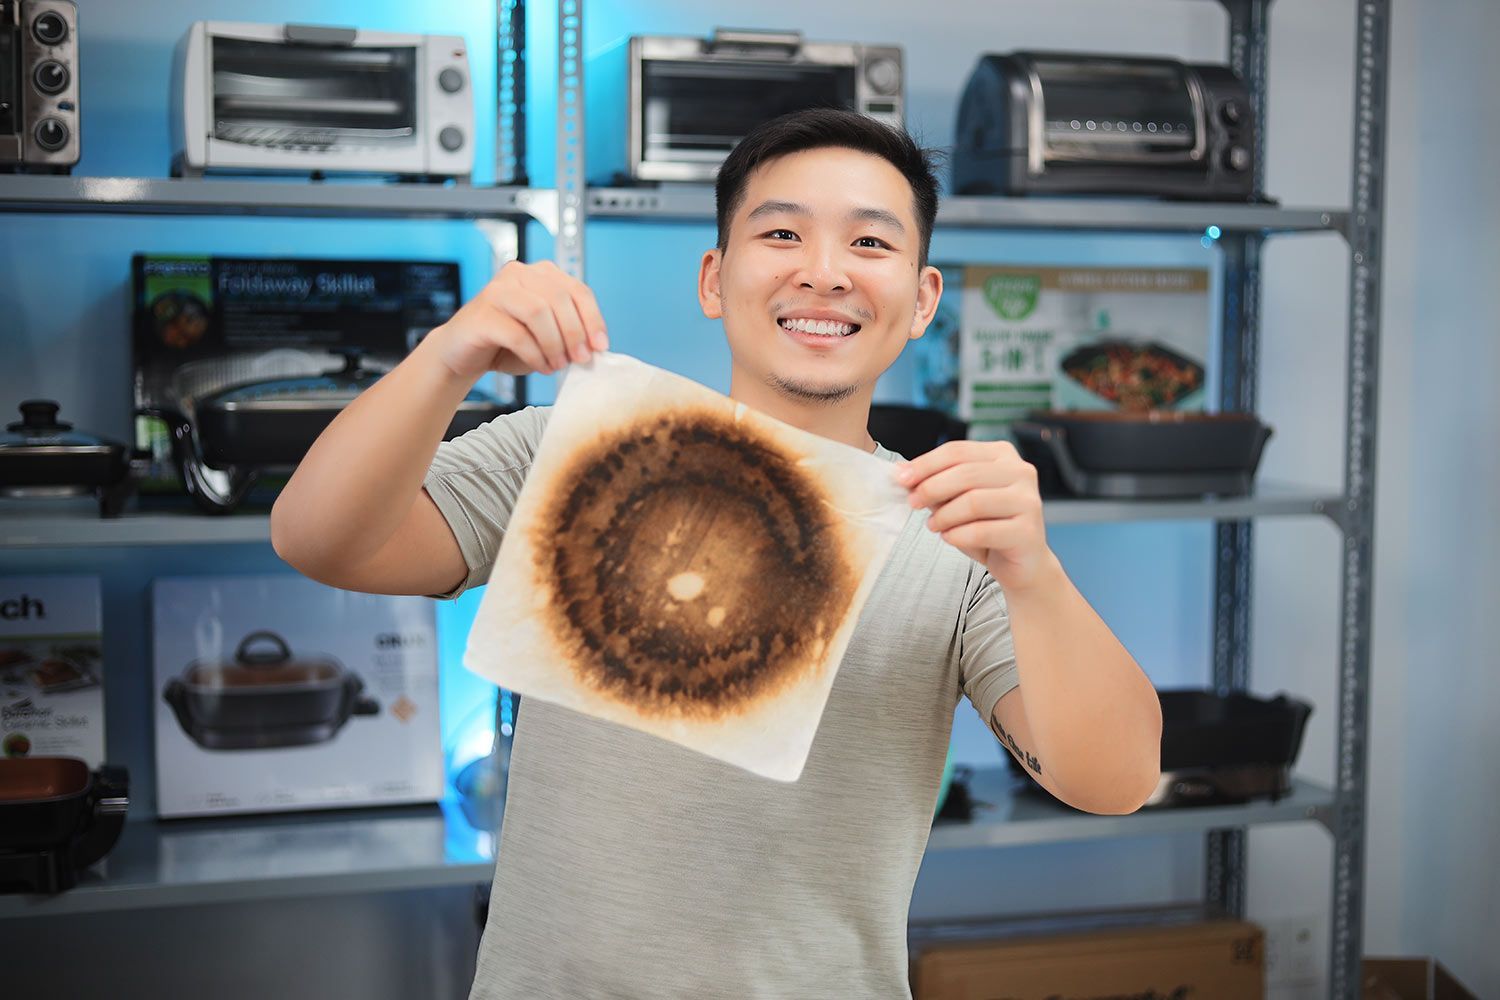
Our recommendations are made independently. We may receive commissions from purchases made via our links.
Cooking Steaks Test for Electric Skillets
Testing electric skillets with our steak-cooking expertise! Explore our recipe and expert tips for achieving the perfect medium-rare steak using an electric skillet.
This test is part of How Shouldit Tests Electric Skillets v1.0
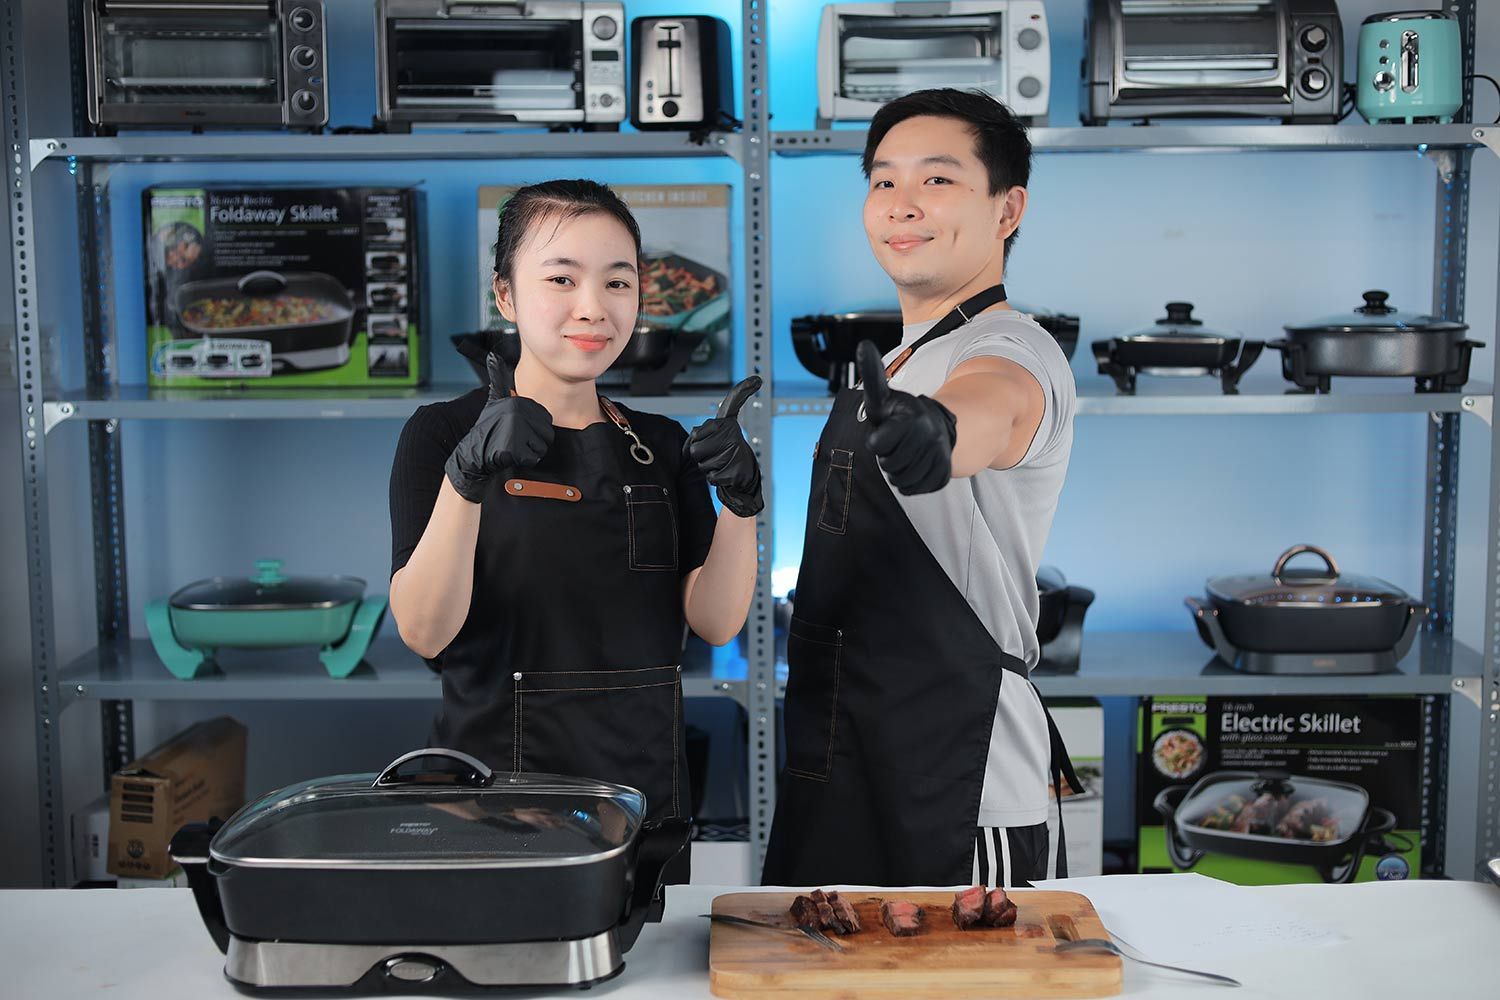
Every gastronome loves a good steak! For this reason, and others, we chose cooking steaks as one of our two food tests for electric skillet performance. Cooking Steaks takes up 40% of the performance score.
In this test, evaluate the skillet’s preheating time, high heat for good crusting, stable temperature for ideal doneness and juiciness, and not to mention ease-of-cleaning.
And, all of this can be done with the most basic of recipes!
Our Electric Skillet Steak Recipe
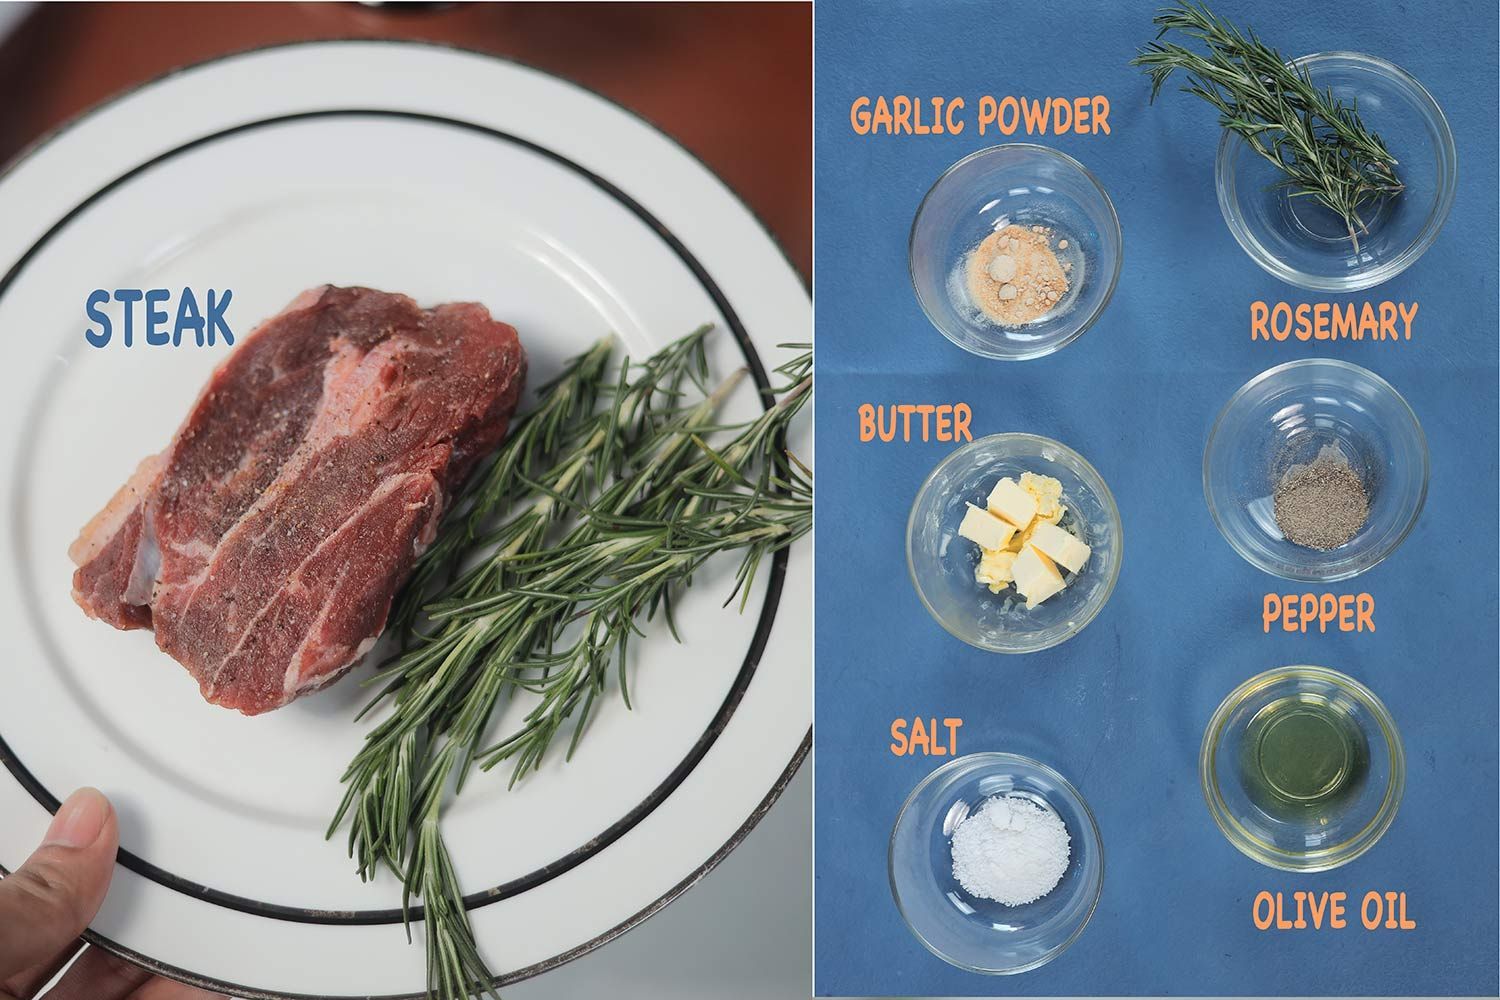
To keep our team focused on testing and evaluating, we decided to go with the most basic steak recipe. This one was developed by our head chef Tuyet Pham who dropped by from Healthy Recipes 101:
- An 8 oz, 1.38-inch thick top blade steak (226.8 g, 3.5 cm)
- 1 tbsp olive oil (0.47 oz, 13.3 g)
- 1/2 tsp salt (0.07 oz, 2 g)
- 1/2 tsp pepper (0.04 oz, 1.2 g)
- 1/2 tsp garlic powder (0.03 oz, 0.8 g)
- 1 tbsp unsalted butter (0.5 oz, 14 g)
- 1 sprig rosemary
Searing a steak requires high heat equal to 400–450°F. Therefore, we chose to preheat all the subject skillets to 400°F (checked with an infrared thermometer). This is also commonly the highest temperature setting on most electric skillets.
To run the test, we insert a meat thermometer horizontally into the center of the steak to keep track of the internal temperature. The USDA recommends a safe minimum of 145°F.
For our 1.38-inch top blade steak, searing the two sides and the edges is enough to cook the meat through to a medium-rare. If you have a ≥ 1.5 inch steak, you can simply cover the lid and allow the meat to cook a little further.

We had the best results across skillets when cooking the first side for 3 min 30 sec and then the second side for 4 min. The second side takes longer because, at 400°F, electric skillets tend to cycle off around the 6-minute mark to prevent the temperature from rising too high.
For the edges, ones with a fat cap took around 2 minutes and those without took 1 min to 1 min 30 sec each.
We then added fresh rosemary and butter for added aroma and flavor. We left each side of the steak in the fragrant butter for 30 seconds before turning off the skillet.
The steak’s internal temperature should be around 135°F at this point. Then, after allowing the meat to rest for at least 3 minutes, the residual heat should continue raising the internal temperature to around 145°F, resulting in a perfect medium-rare steak.
What We Learned from Cooking Steaks in Electric Skillets
Because electric skillets heat up in cycles, the pan won’t get as hot as an iron skillet on a gas stove. The crust won’t be as thick and crispy, but still plenty delicious. With all the butter basting and the meat juice, the skillet can get quite dirty— which allowed us to really test how easy it is to clean!
If the skillet takes too long to cook the steak, it may be because the temperature isn’t high enough. This can lead to the outside of the steak lacking in color and the inside overcooked.
Our head chef’s supervision proved invaluable in the process otherwise we would have wasted too many valuable steaks.
Chef’s tips: Let the steak cool down to room temperature to allow the muscle fibers to relax which ensures even cooking later. Season the steak about 15 minutes before cooking to allow the meat to absorb the flavors. Pat the steak dry with a paper towel if necessary before searing.
Testing Steps
1. Let the steak cool down to room temperature.
2. Season with salt, pepper, and garlic powder.
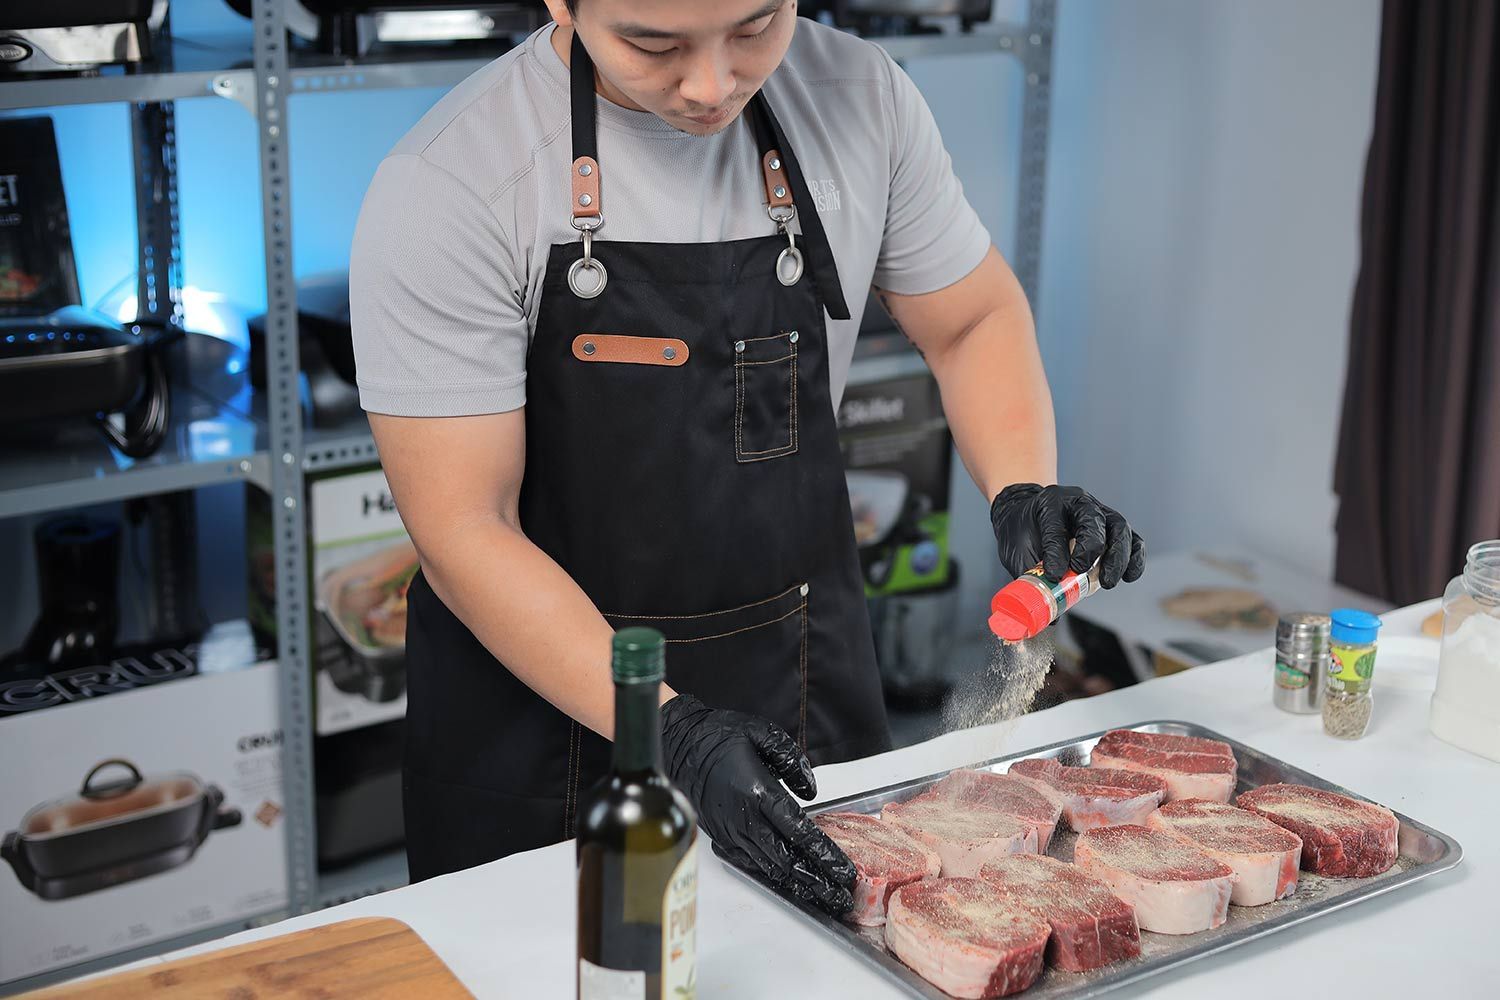
3. Insert a meat thermometer horizontally to the center of the steak to monitor the internal temperature.
4. Prepare one infrared thermometer, fixed on a stand, and point it at the center of and 12 inches away from the subject skillet.
5. Turn on the thermometer and the subject skillet until the temperature reads 400°F on the thermometer.
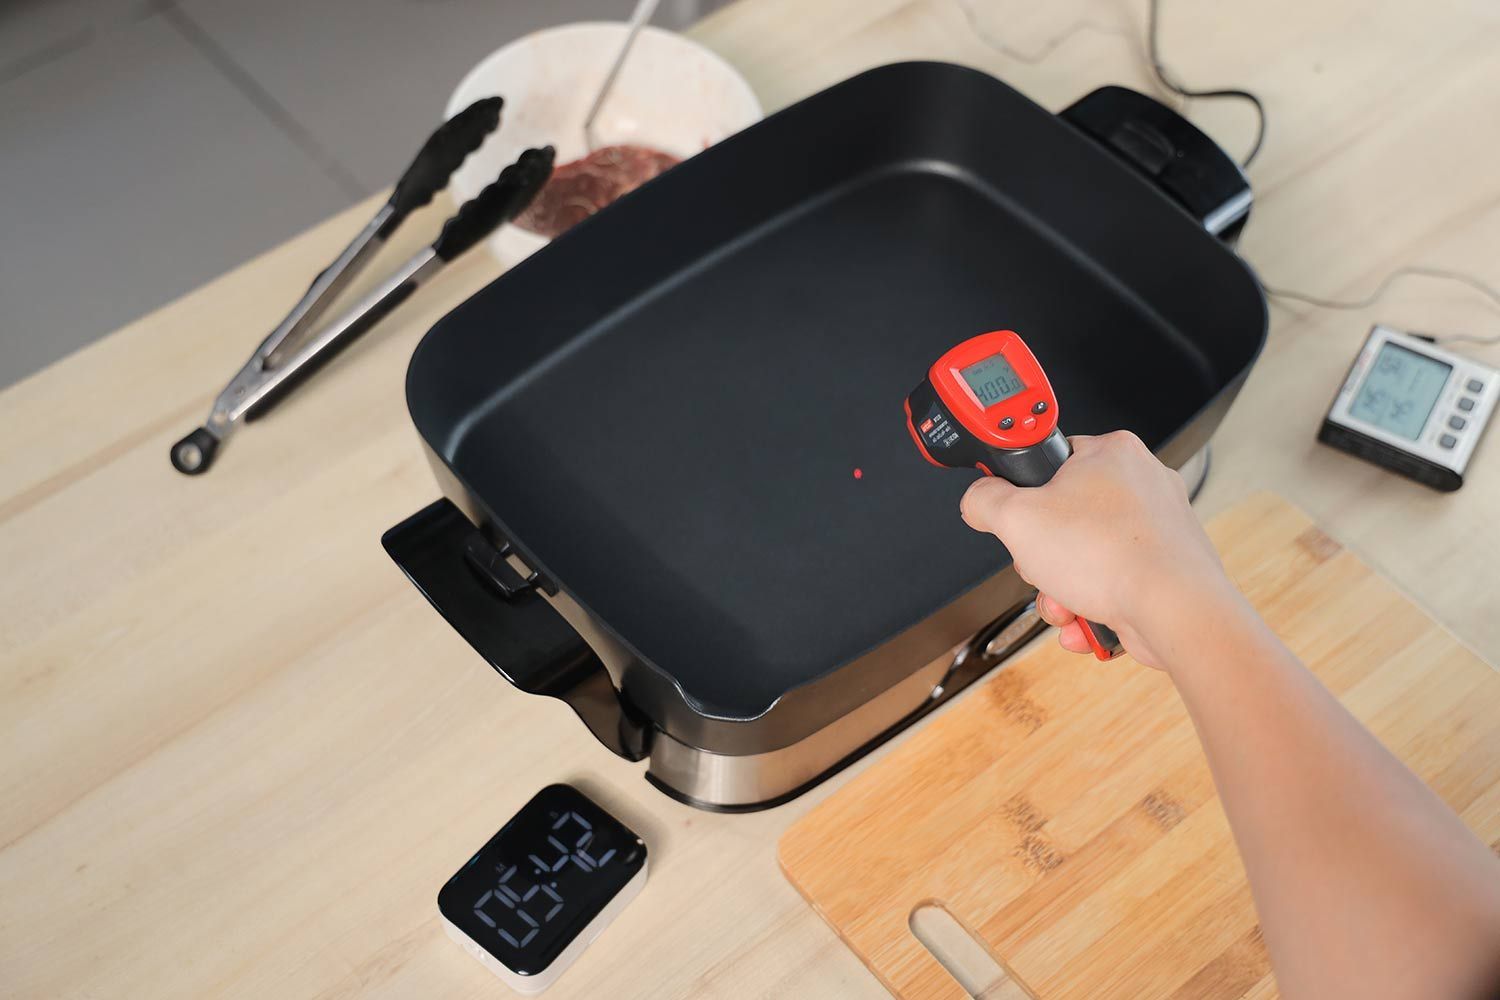
6. Add olive oil and place the steak in the skillet.
7. Sear the first side until completely caramelized. It should take about 3 min 30 sec.
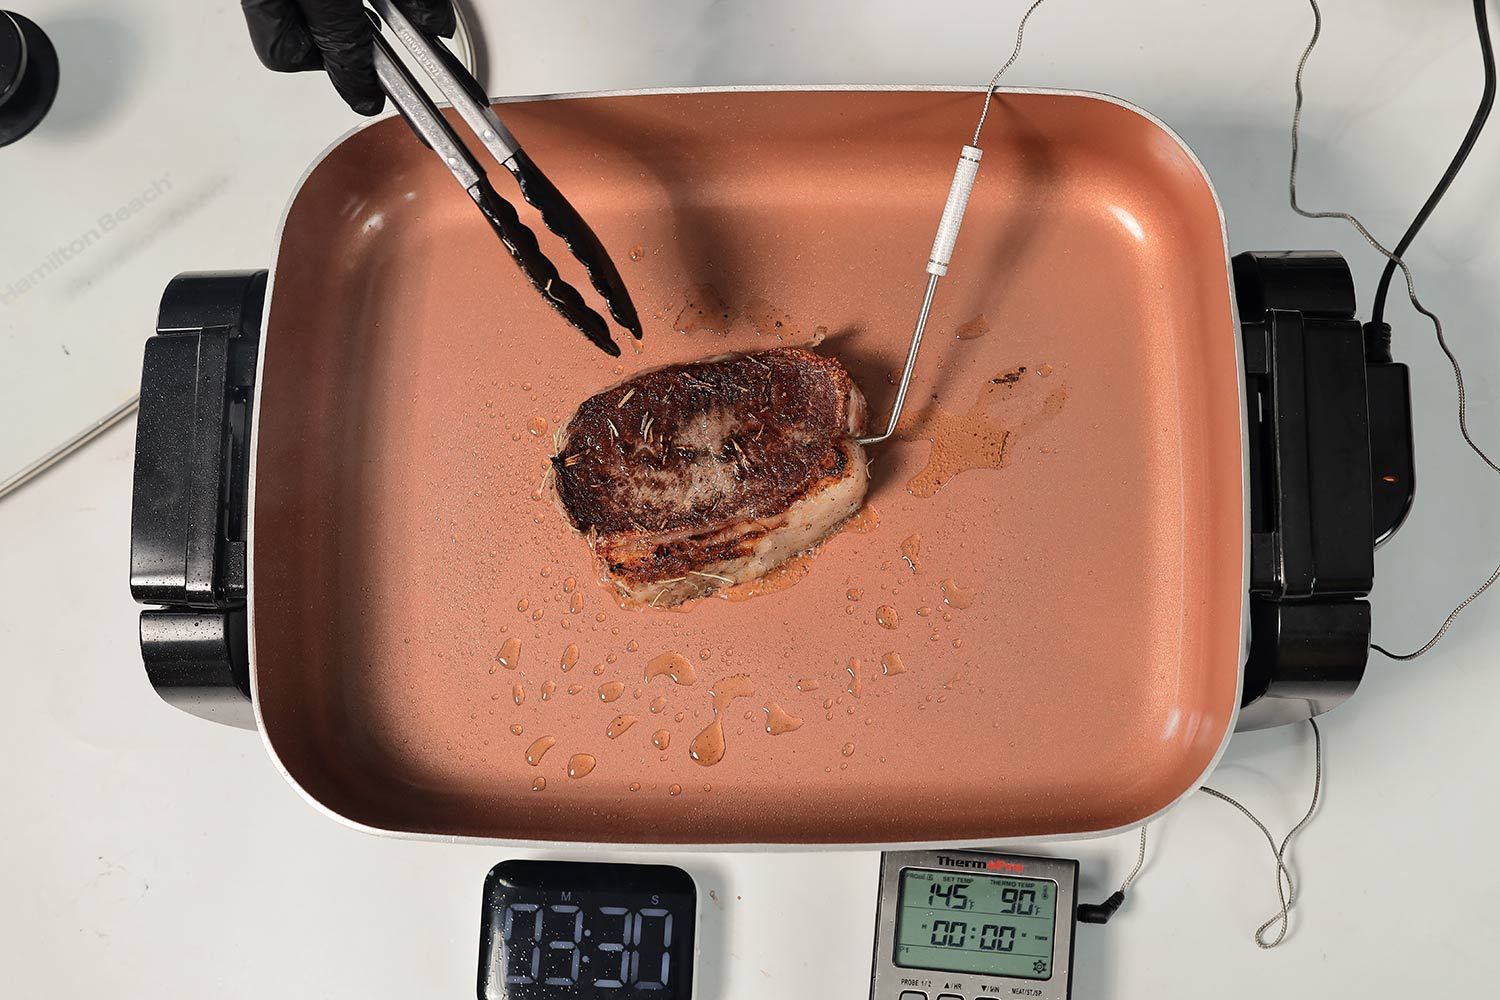
8. Flip the steak and sear the other side to the same degree. This side should take a total of 4 minutes.
9. Sear the edge with the fat cap for around 2 minutes.
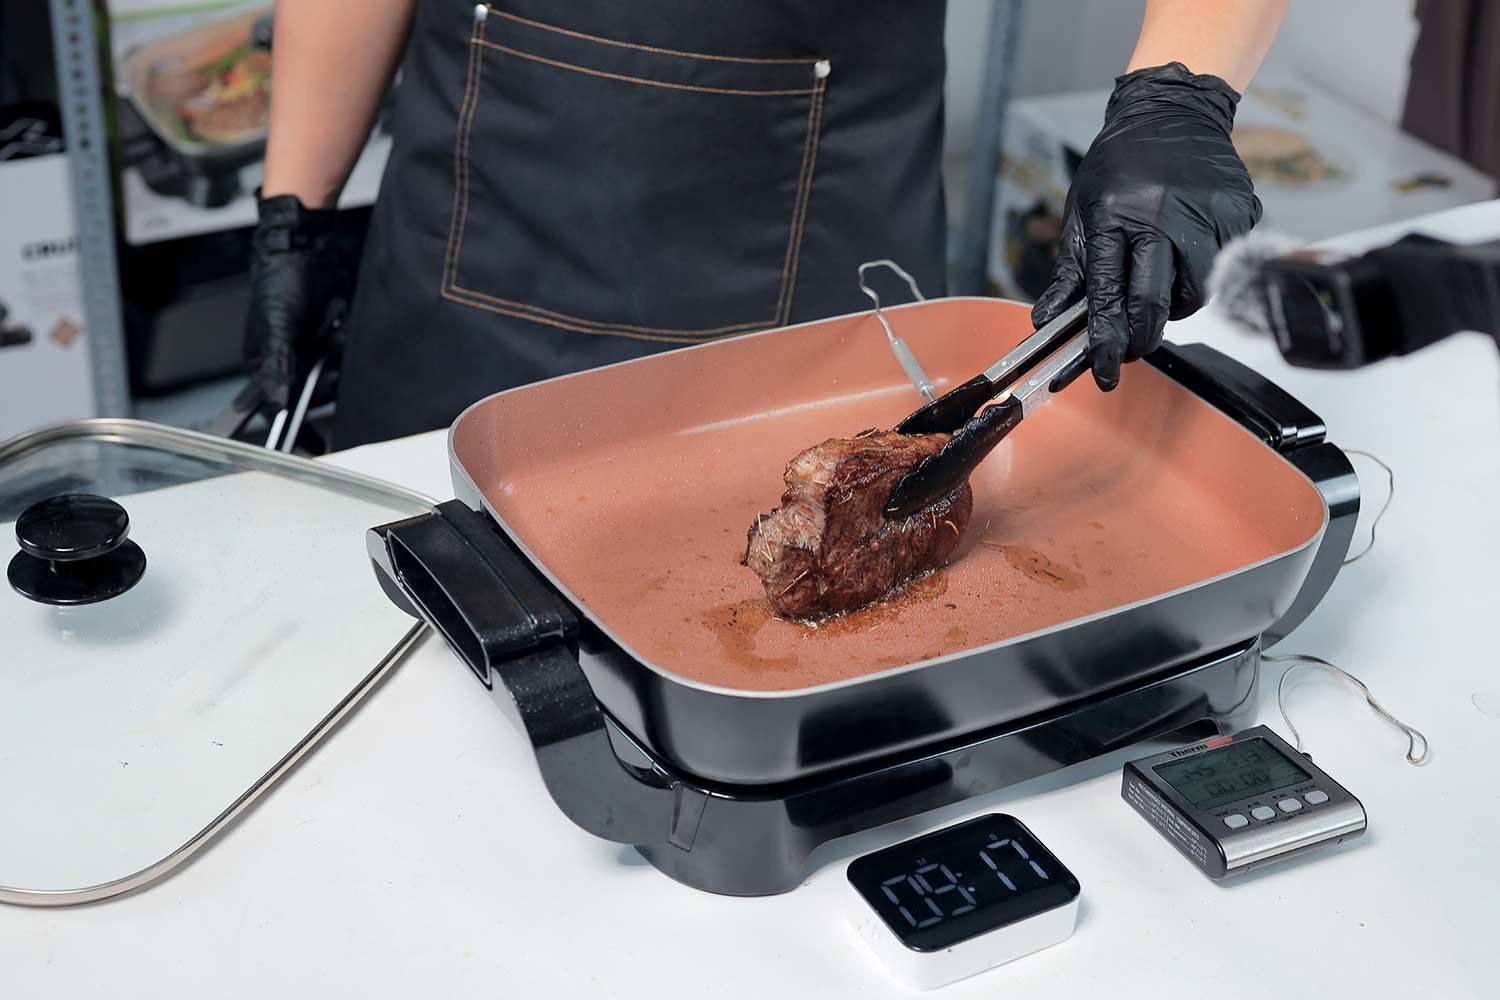
10. Sear the other edges for around 1 min 30 sec each.
11. Lay the steak down on the first side then add butter and rosemary on top.
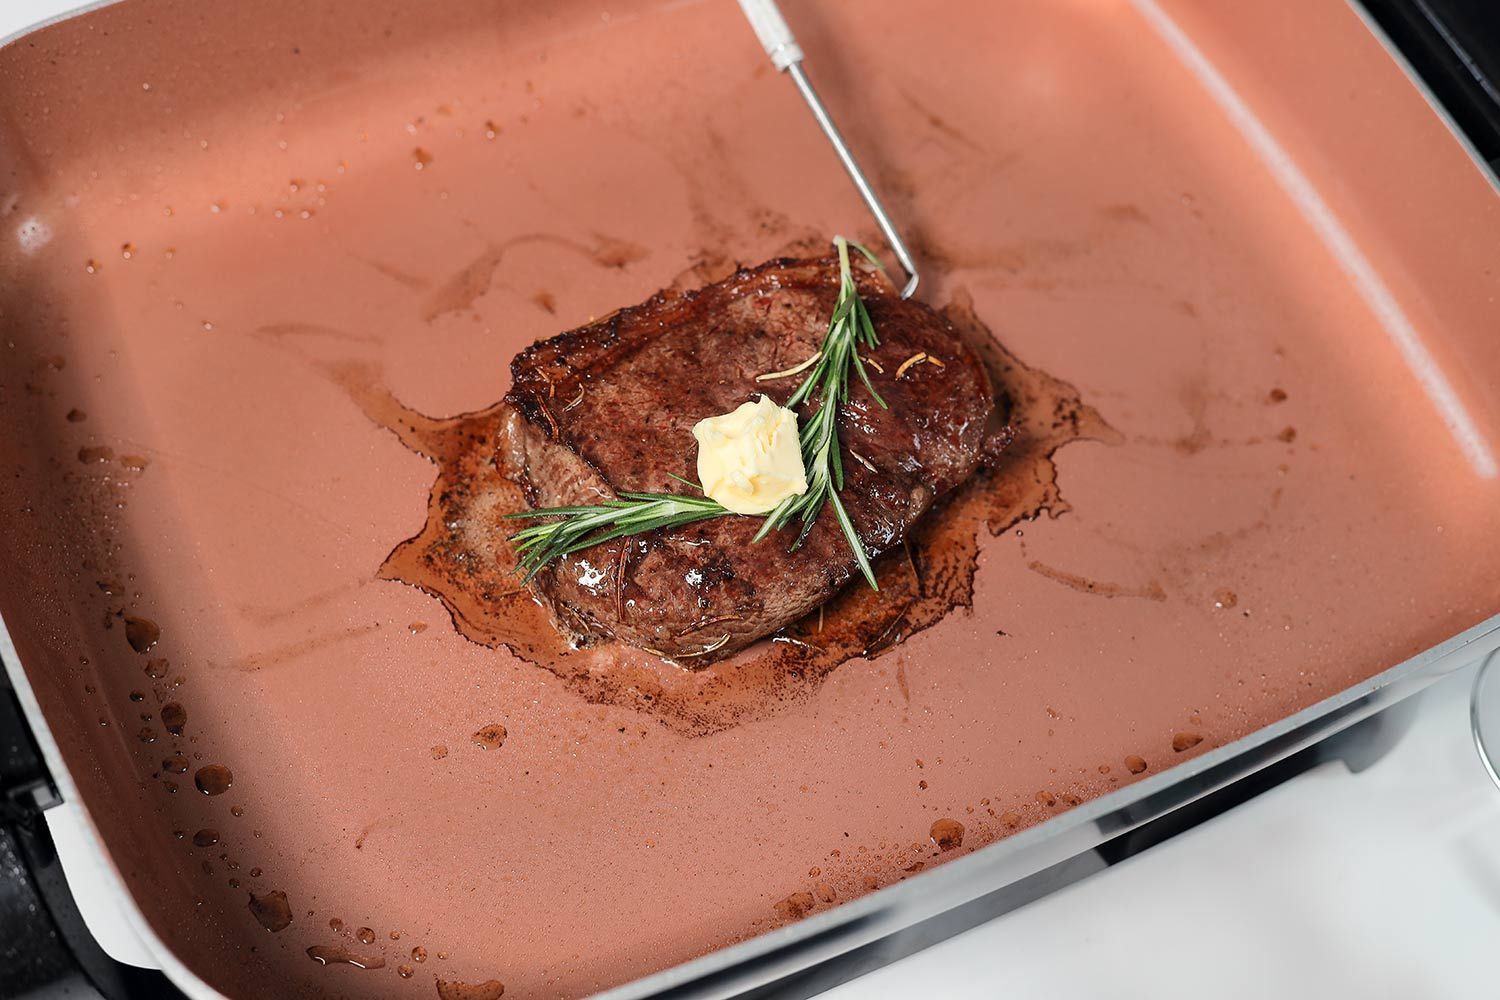
12. Flip the steak and make sure to coat it in butter evenly.
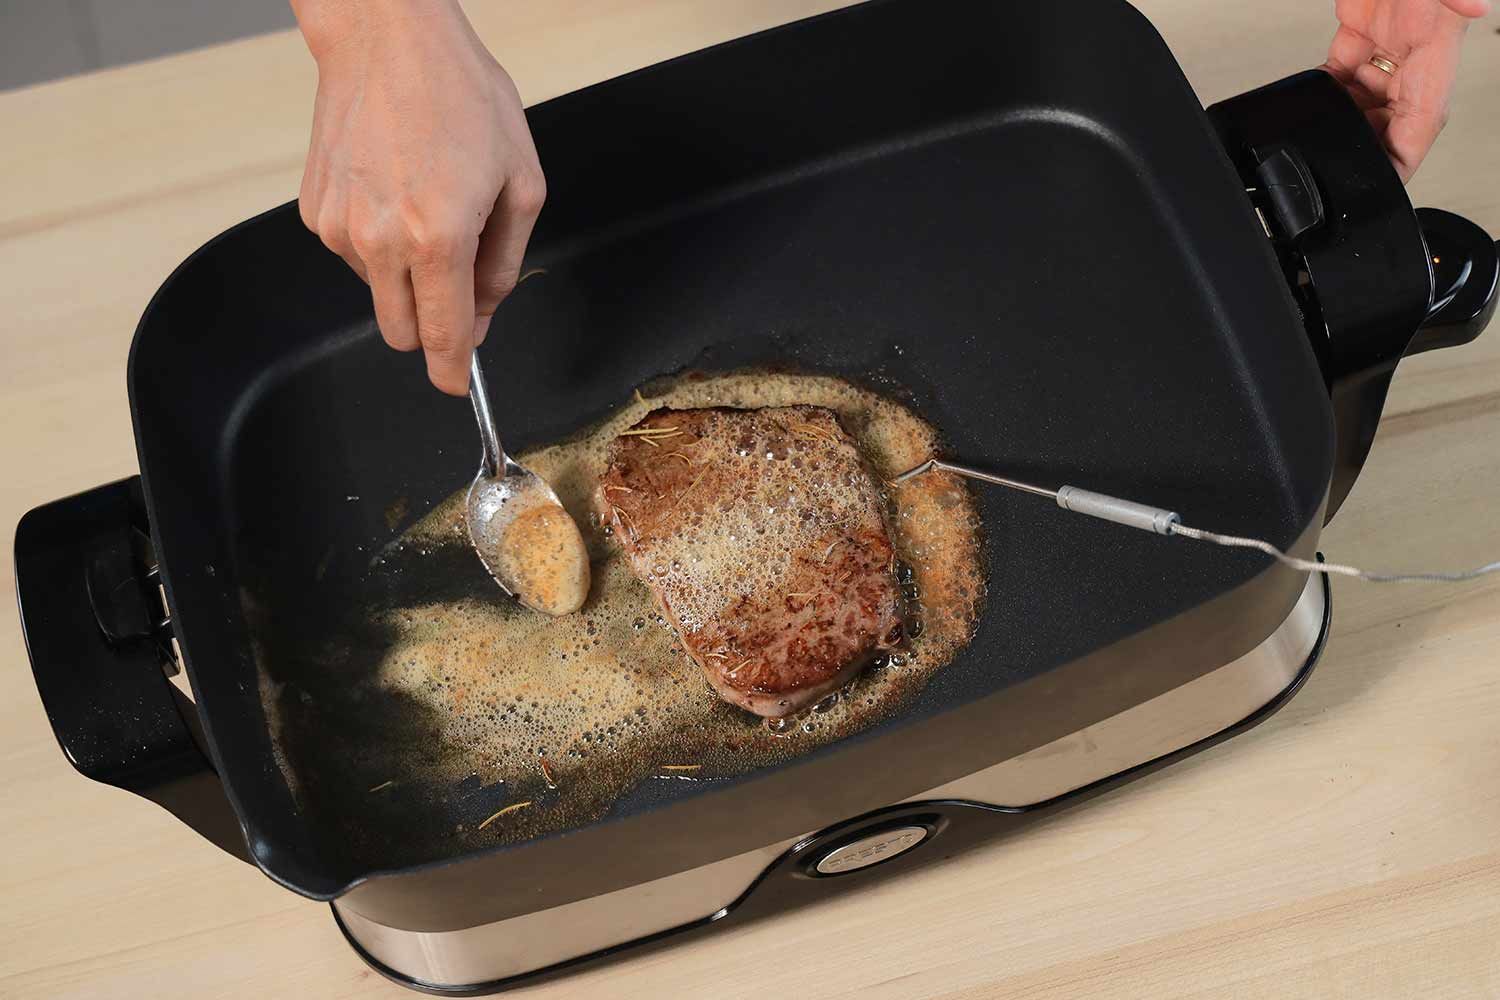
13. Continue searing each side in butter for around 30 seconds.
14. Once the internal temperature reaches around 135°F, remove the steak from the skillet, and place it on a cutting board.
15. Let it rest for at least 3 minutes (or half the cooking duration).
16. Cut the steak, taste, and evaluate.
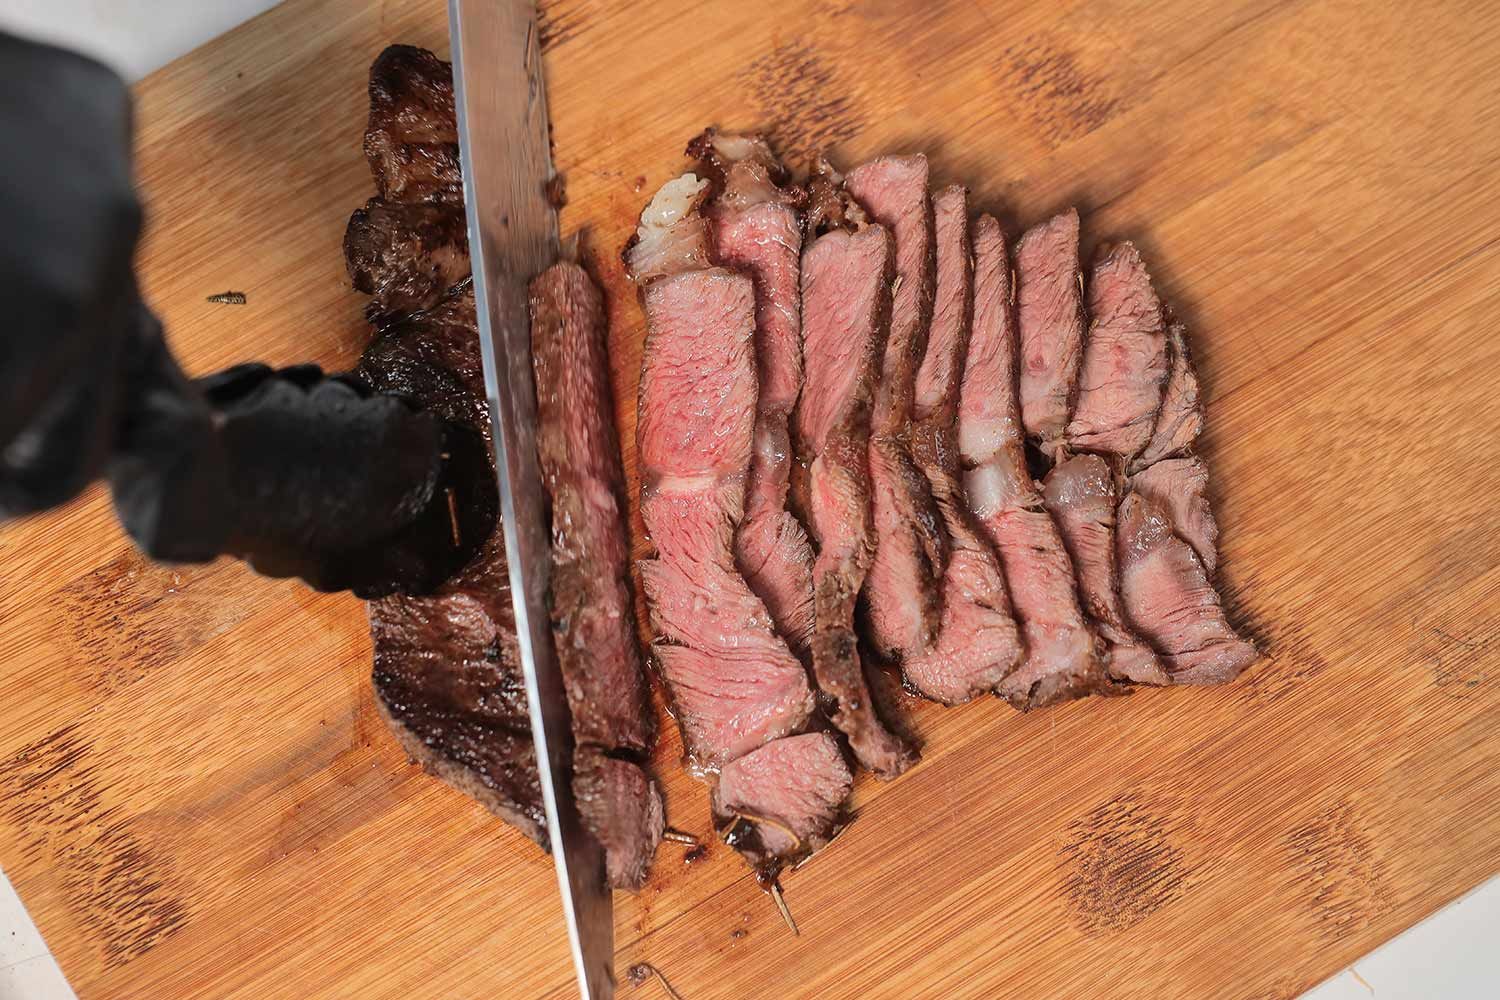
17. Clean the pan once everything cools down.
How We Score
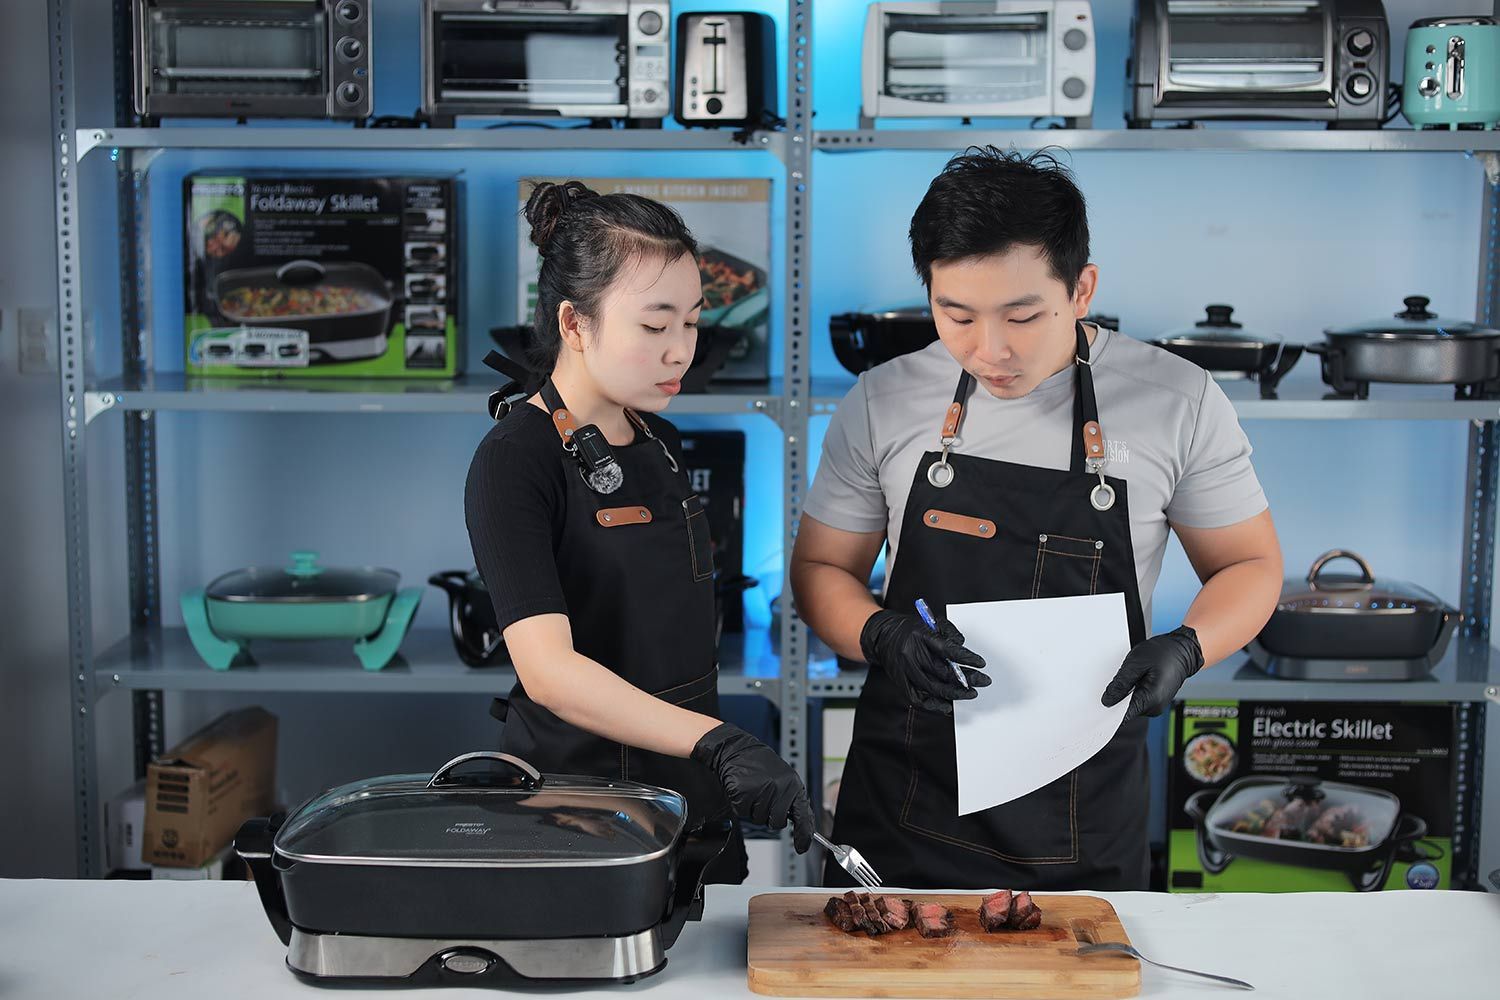
To make sure the steaks produced by each electric skillet are as (close to) perfect as possible and within the ideal cooking time, we have our head chef Tuyet Pham to supervise the process and evaluate the finished steaks.
Preheating Time
Since the cooking length varies each time, we don’t assess it but the preheating time—the time the skillet takes to preheat to 400°F in comparison with others.
According to our data, the fastest skillets did the job in less than 2 minutes, so we took that as the benchmark for a 10/10 score. Then, we simply deduct 1 point for each minute increase in duration. We deemed 10 minutes to be too long just to preheat the pan so that would be our limit for a 0/10.
- 10/10: 2 minutes
- 9/10: 3 minutes
- 8/10: 4 minutes
- 7/10: 5 minutes
- 6/10: 6 minutes
- 5/10: 7 minutes
- 4/10: 8 minutes
- 3/10: 9 minutes
- 2/10: 10 minutes
- 0/10: > 10 minutes
Steak’s Edibility
Evaluating the steaks answers to the question, “Can you cook steaks perfectly in an electric skillet?”.
Our experienced and award-winning chef grades the steaks based on the color and crispiness of crust, the doneness and juiciness of the meat, and the overall taste.
Rookie opinions matter as well, so the scoring team called in three foodies to try the steaks for themselves.
Since the temperature is fixed to minimize variables, our chef decides the balance between the cooking time and the result—when to flip the steak, how long to sear each side, and so on.
The perfect steak should have:
1. Crusting: A 100% even, deep golden brown color on all sides, including sides with a fat cap.
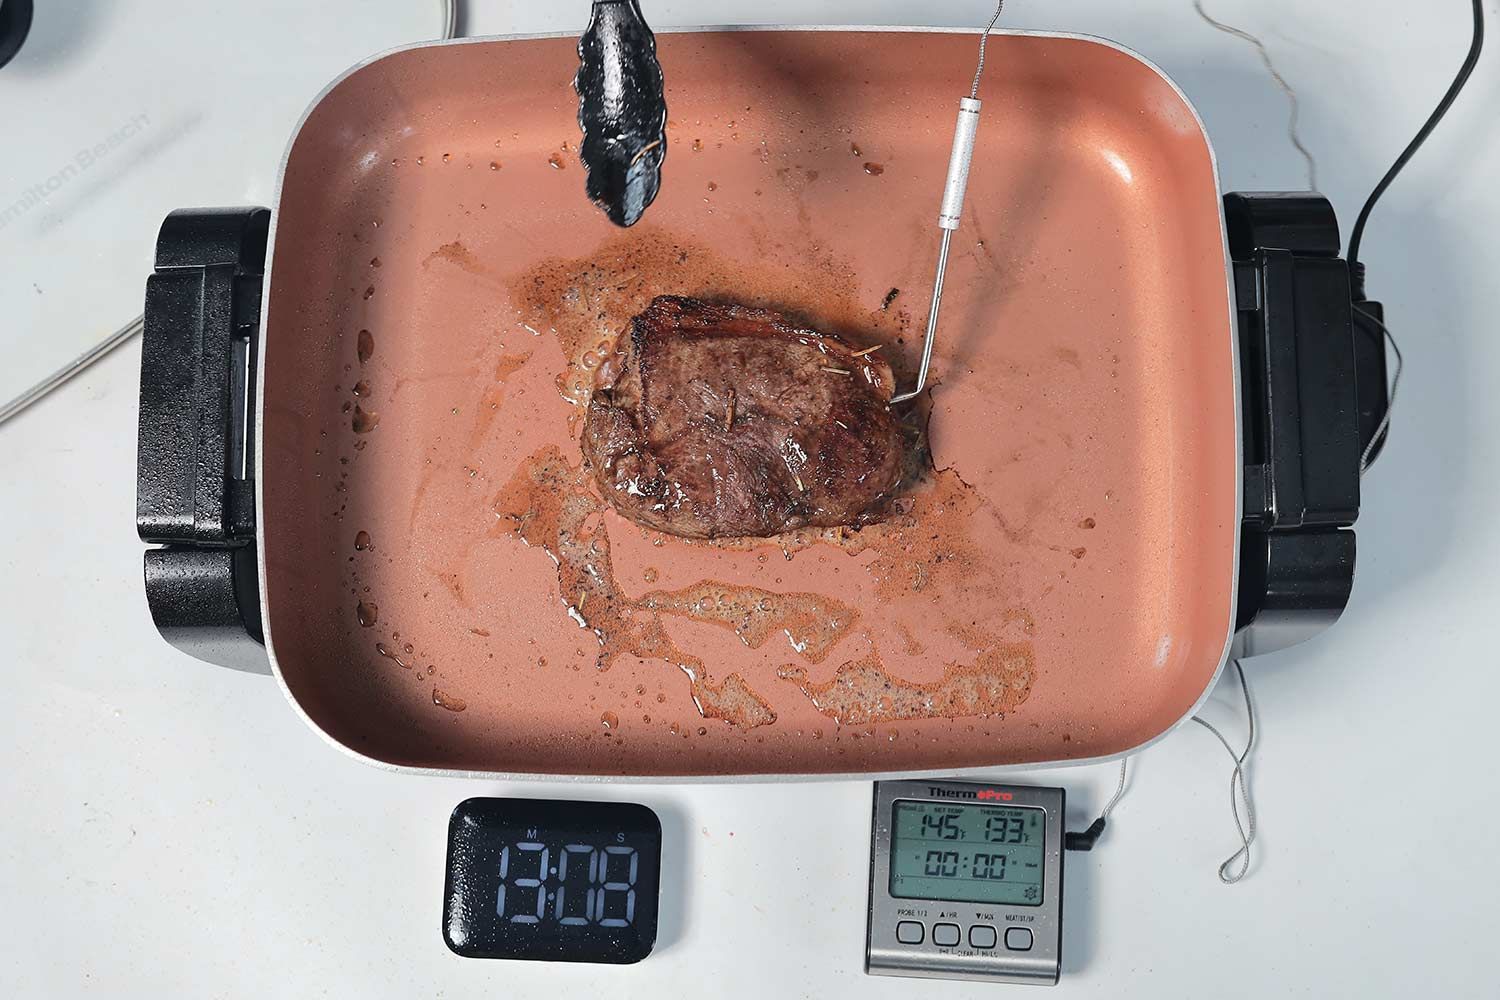
2. Doneness: Exactly medium-rare which should be around 145°F at the center of the steak.
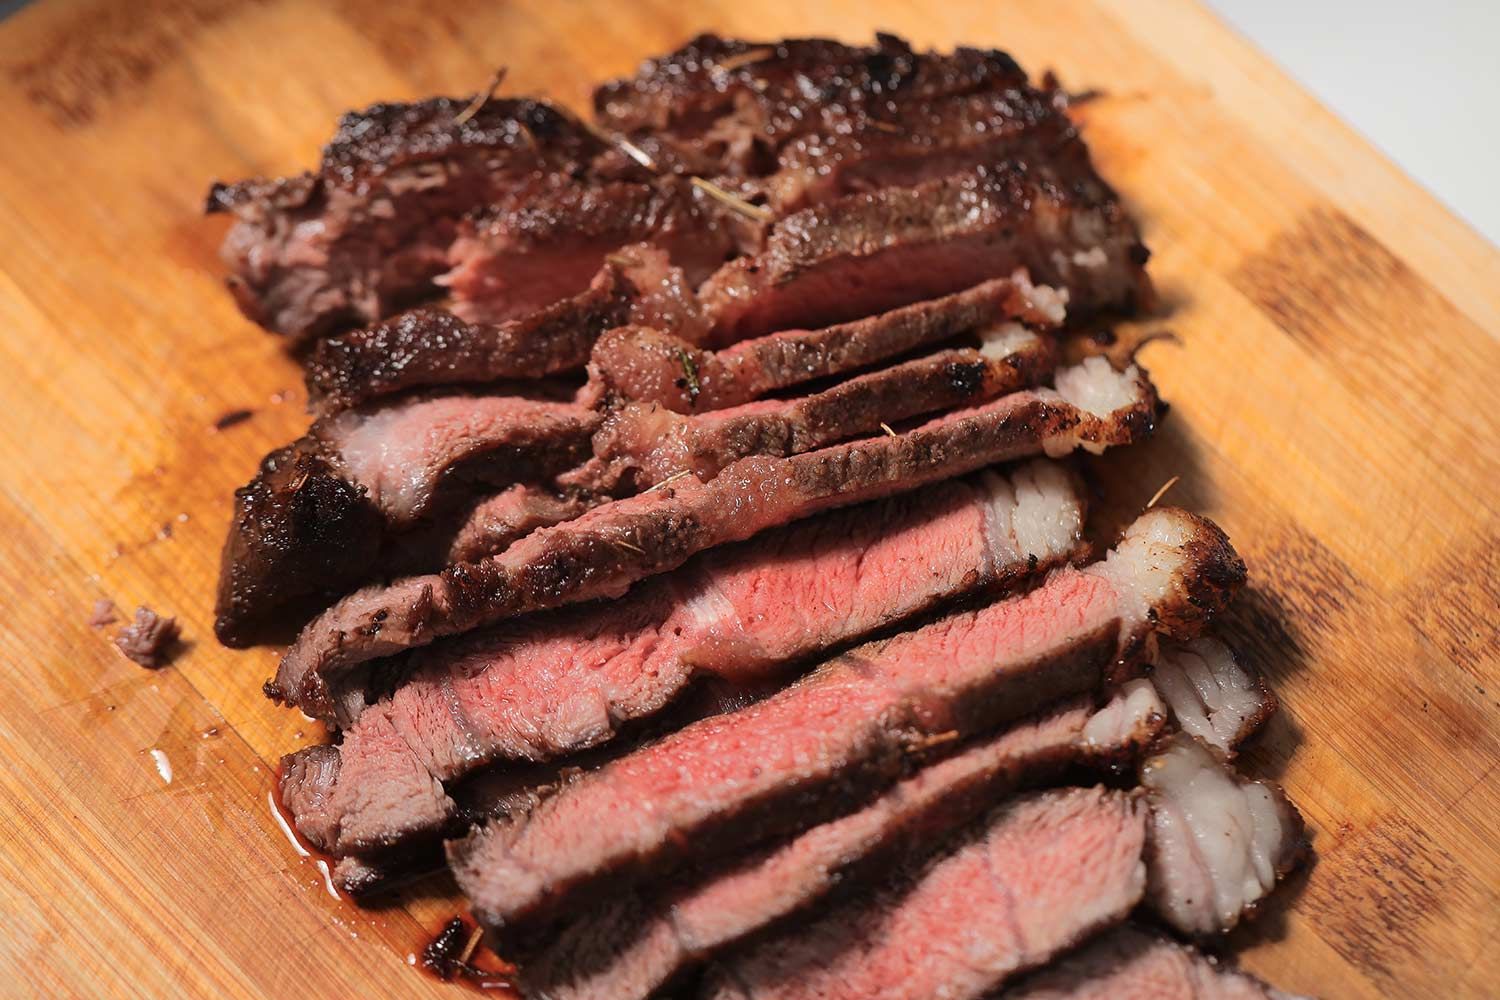
3. Taste: A good crust with a rich, savory taste and a crispy bite in combination with a doneness and juiciness that spreads the steak’s flavor across your entire palate.
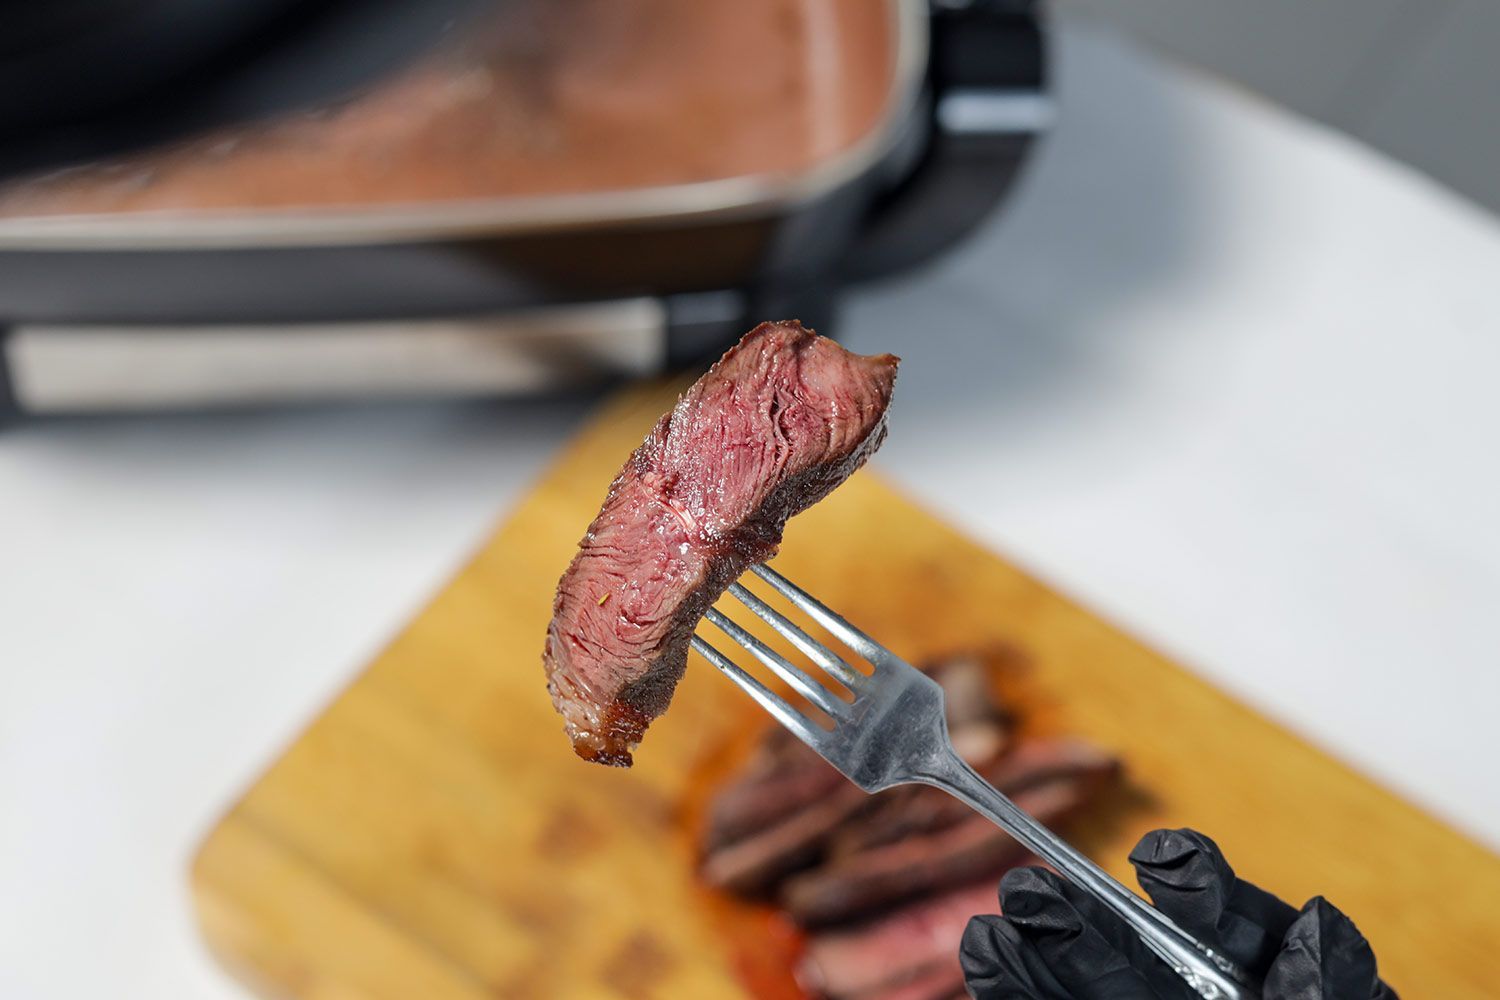
4. Non-stick evaluation: If the steak sticks to the pan and tears apart, a point is deducted. For the cleaning, the grease should come off by just wiping with a paper towel and nothing should stick to the pan that requires laborious scrubbing or soaking.

