Our recommendations are made independently. We may receive commissions from purchases made via our links.
Analyzing Heat Distribution Test for Electric Skillets
Analyzing heat distribution in electric skillets through our rigorous testing process. Explore how we utilize oil absorbent sheets, saturated sugar-water, and infrared thermometers to assess performance!
This test is part of How Shouldit Tests Electric Skillets v1.0
Analyzing Heat Distribution is the first thing we do when assessing an electric skillet’s performance. This test takes up 20% of the performance score and gives an indication of what to expect in the two follow-up cooking tests. Check out how we do this with oil absorbent sheets, sugar-water, and two infrared thermometers!
Using Sugar as Our Surface Heat Indicator
Sugar changes color very noticeably when exposed to heat, so it’s an excellent indicator of heat distribution on the surface of a skillet. One can also use flour but it’s messier, plus flour isn’t translucent like sugar.
However, just spreading sugar on the pan can result in unevenness. In addition, it’s very difficult to capture consistent data, not to mention the cleaning afterwards.

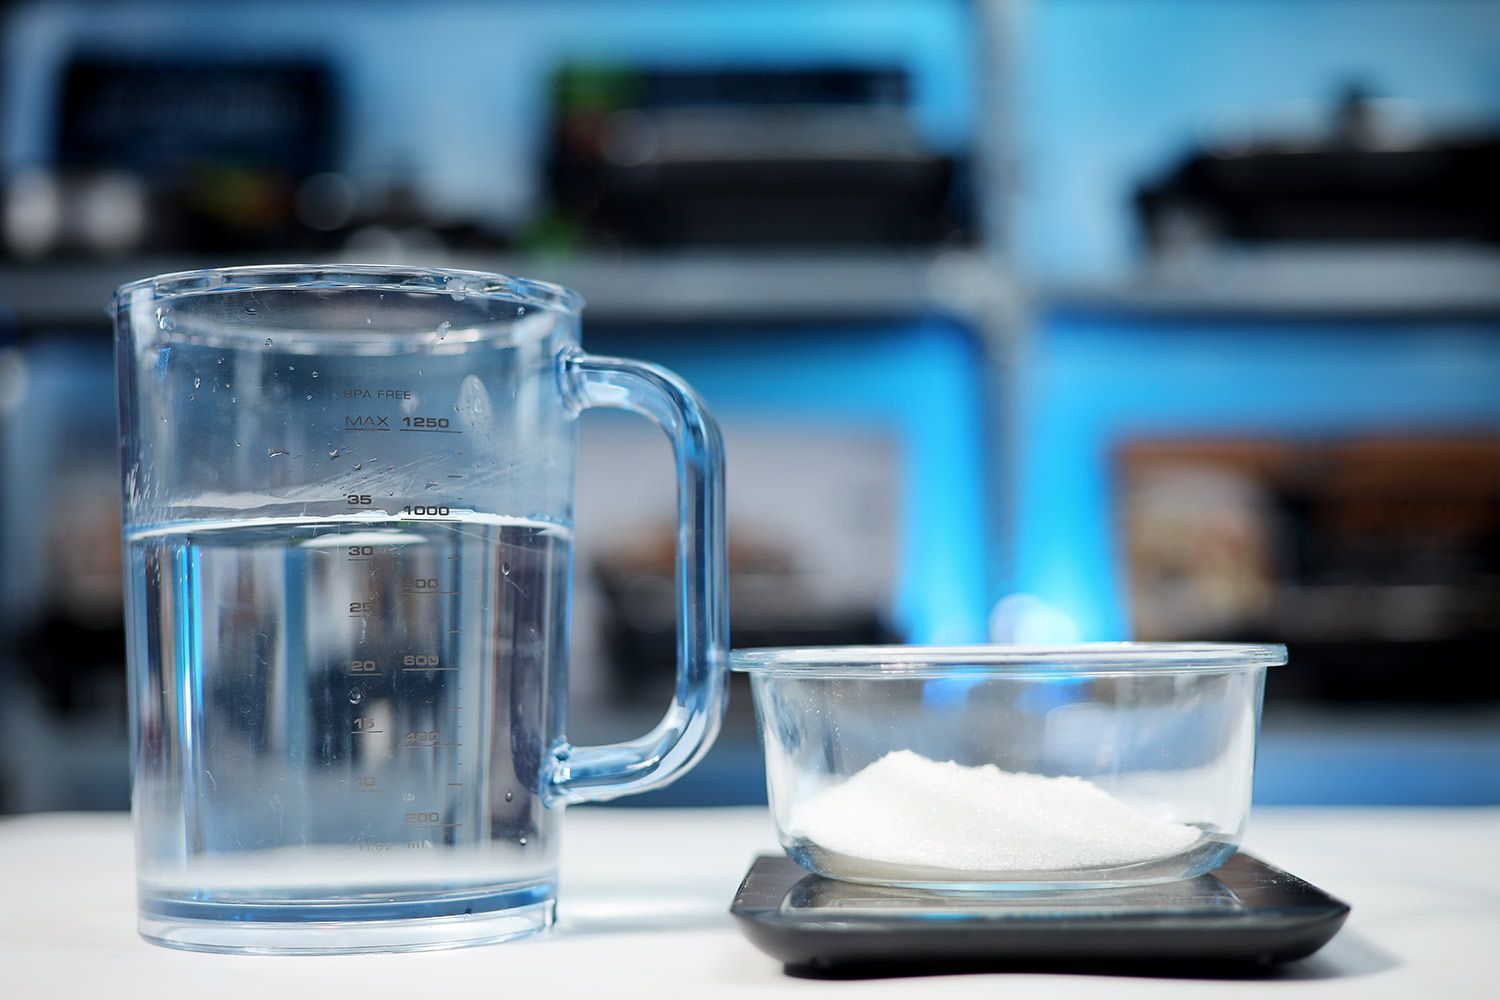
Therefore, we take room temperature water (77°F / 25 °C), saturate it with sugar (1.8 kg of sugar to 1 liter of 25 °C water), and use an oil absorbent sheet to soak up the mixture.
Much more resilient than paper towels, we use these sheets to cover the pan’s entire surface. This produces a uniform surface impression which can be used as a fair assessment for any skillet.
Throughout the process, we used up less than half a liter (< 17 oz) of saturated sugar water for twenty 8 x 8 inches (20 x 20 cm) sheets. For the large electric skillets (> 14 inches), we had to add half a sheet to a full sheet and place them as close to one another as possible.
Preparing the Infrared Thermometer for Measuring Temperature
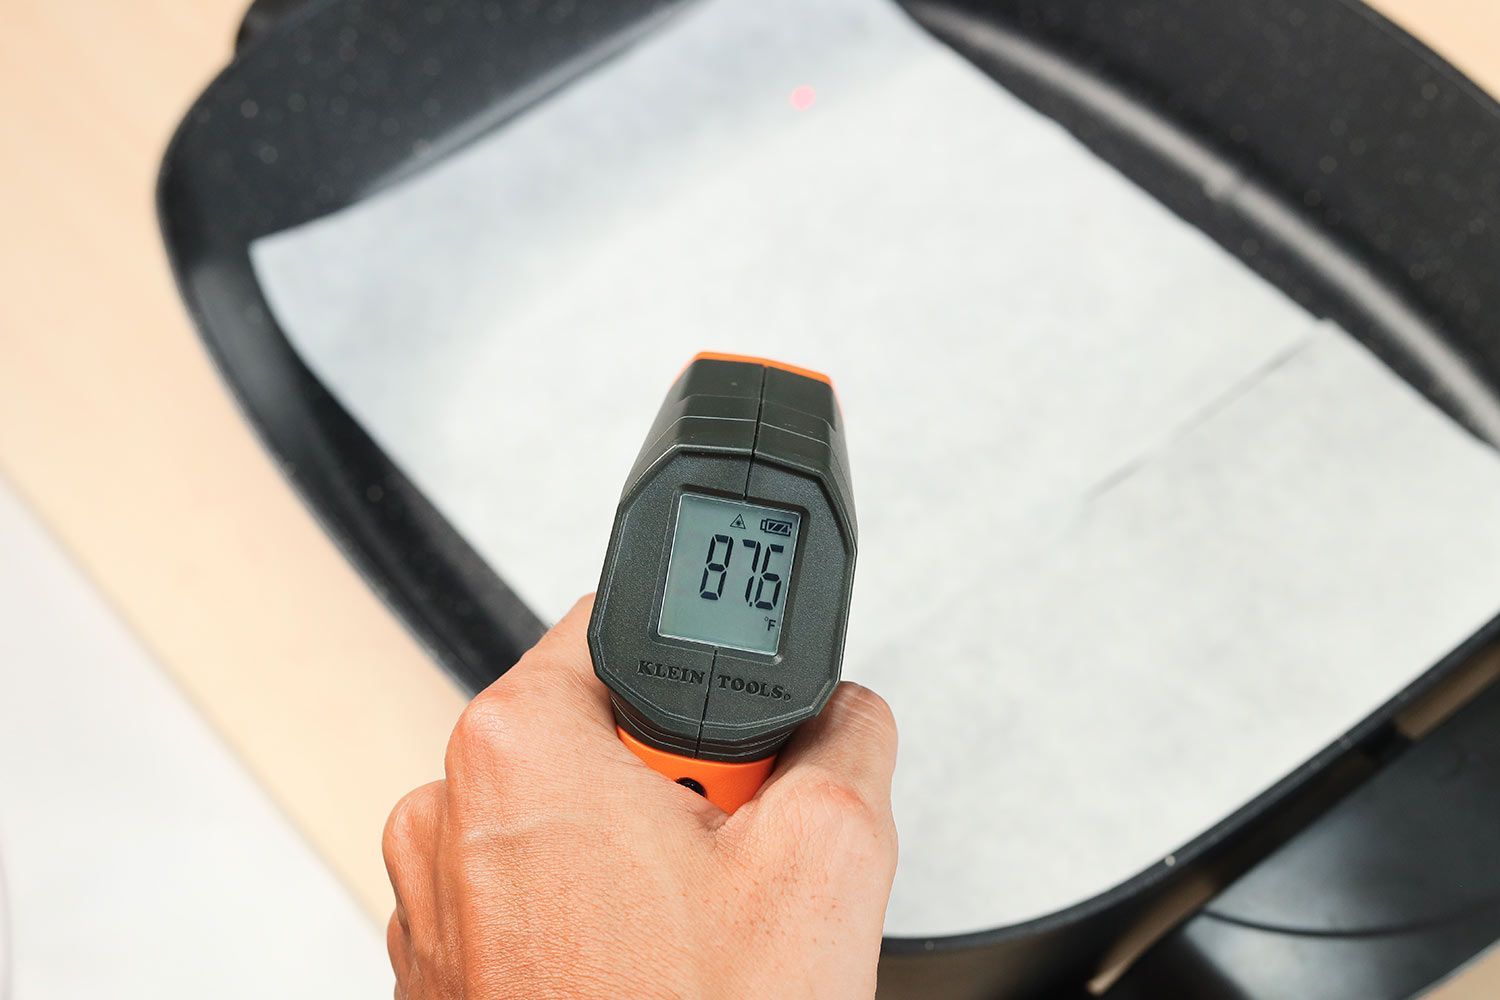
We use infrared thermometers for measuring temperature. They are calibrated following our testing procedures. The sheets ensure consistent emissivity, and we make sure to keep the proper distance to spot ratio.
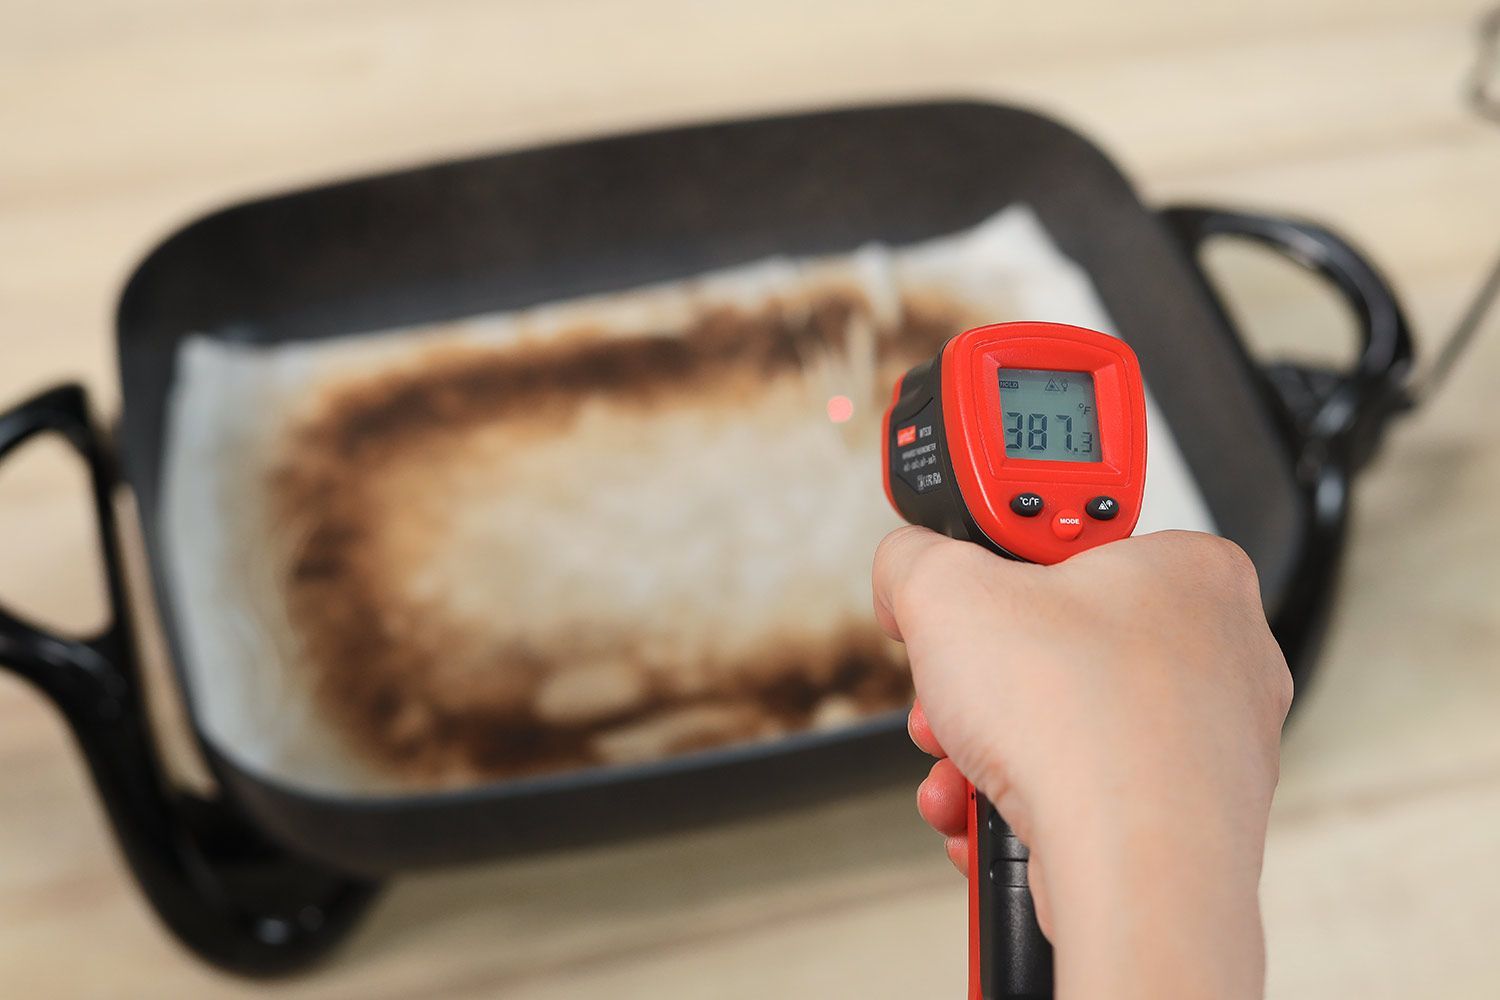
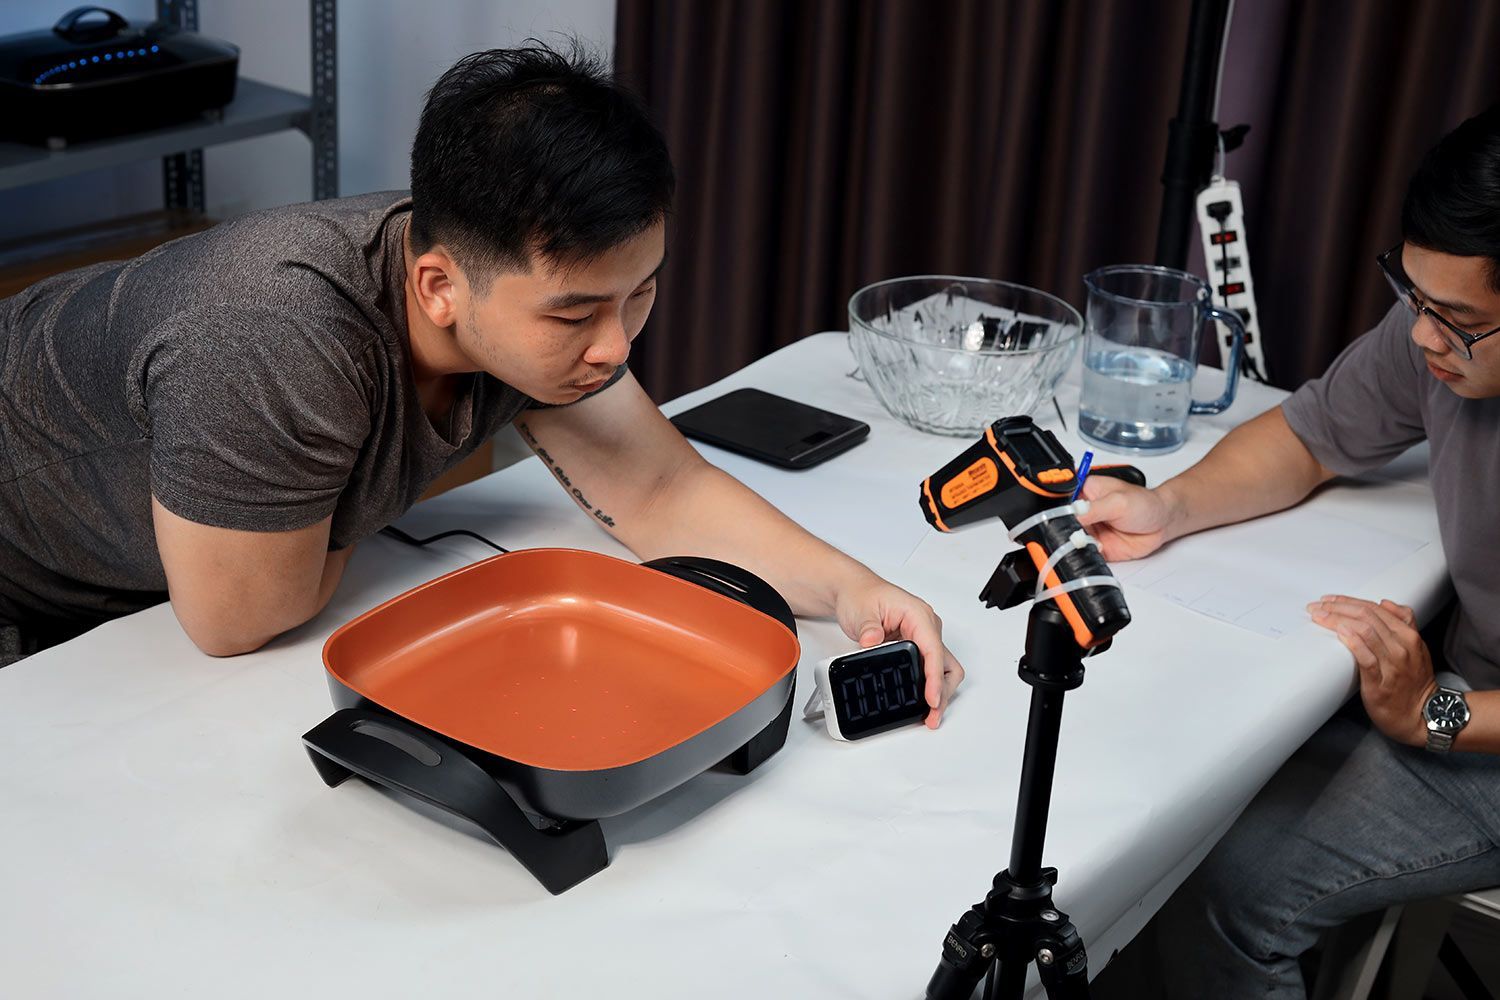
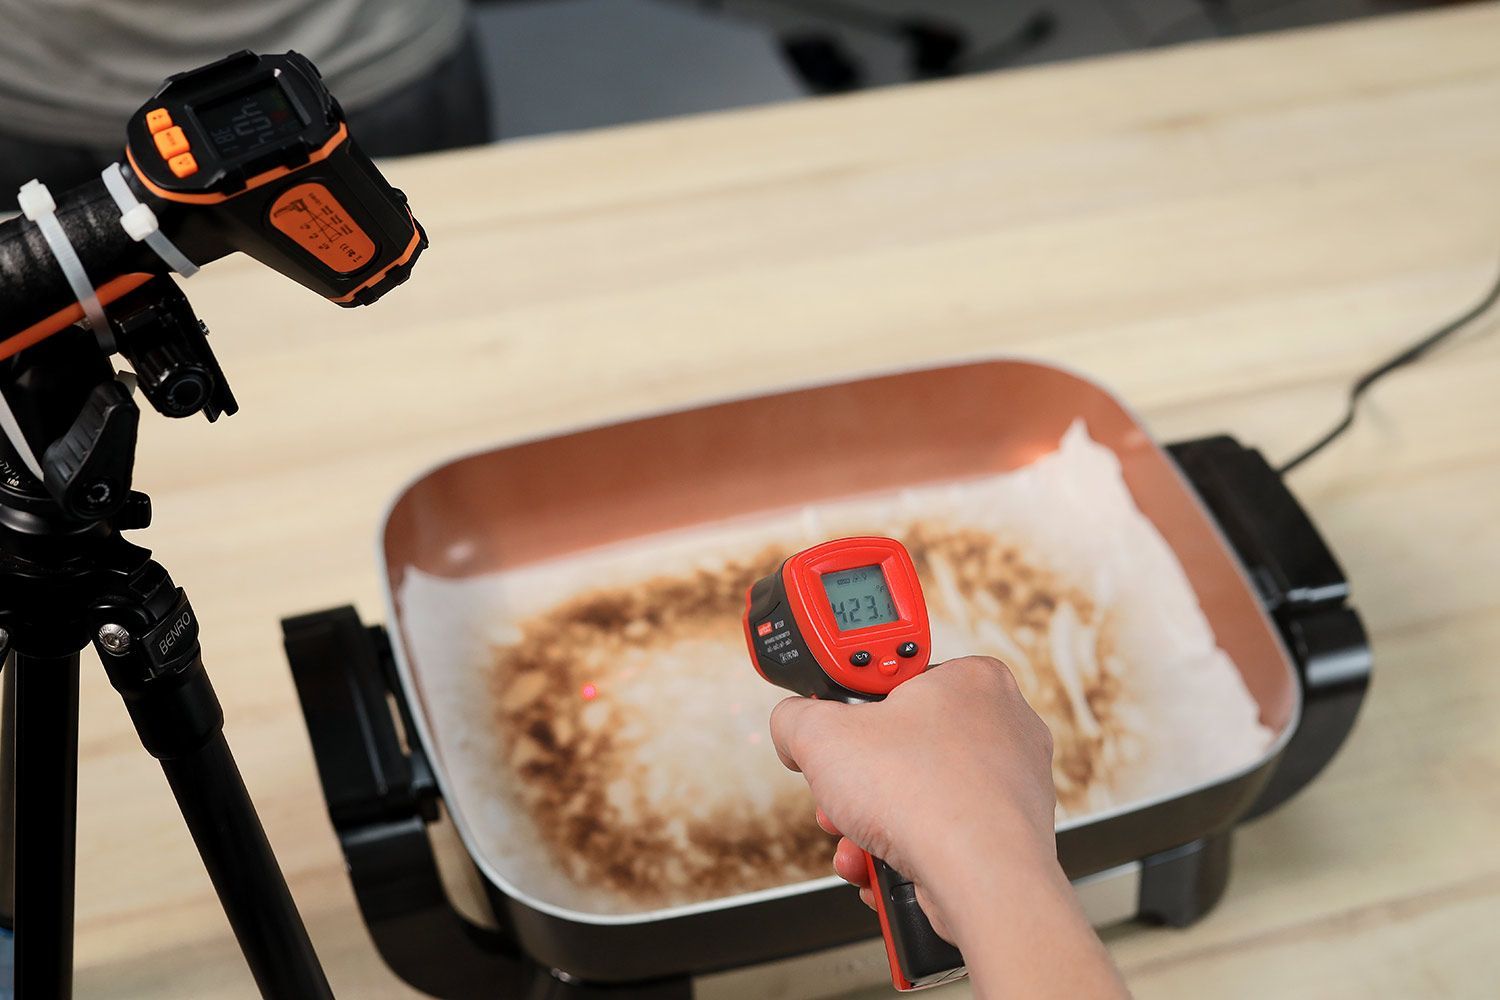
We have one infrared thermometer fixed on a stand and point it at the center of the skillet. Once the temperature there reaches 400°F, we use another thermometer to measure the temperatures of 5 points on the skillet’s surface to get the average for the final scoring.
We decided the points would include the center, halfway to one edge towards the heating element socket, one edge towards the heating element socket but not touching the pan’s wall. Likewise, we measure halfway to one edge away from the heating element socket, and one edge away from the heating element socket but not touching the pan’s wall.
We noticed during our testing that the temperature at the edges towards the heating element socket are usually lower than away from it. This is because the two ends of the heating element are closer to one another and, therefore, further away from the edges of the pan.
Testing Steps
These are all the steps we followed in testing each and every electric skillet we purchased:
1. Prepare one infrared thermometer, fix it on a stand, and point it at the center of and 12 inches away from the subject skillet.
2. Prepare a mixture of saturated sugar water (1800 g sugar to 1 liter of 25 ℃ water) in a shallow, fitting container like a baking pan.
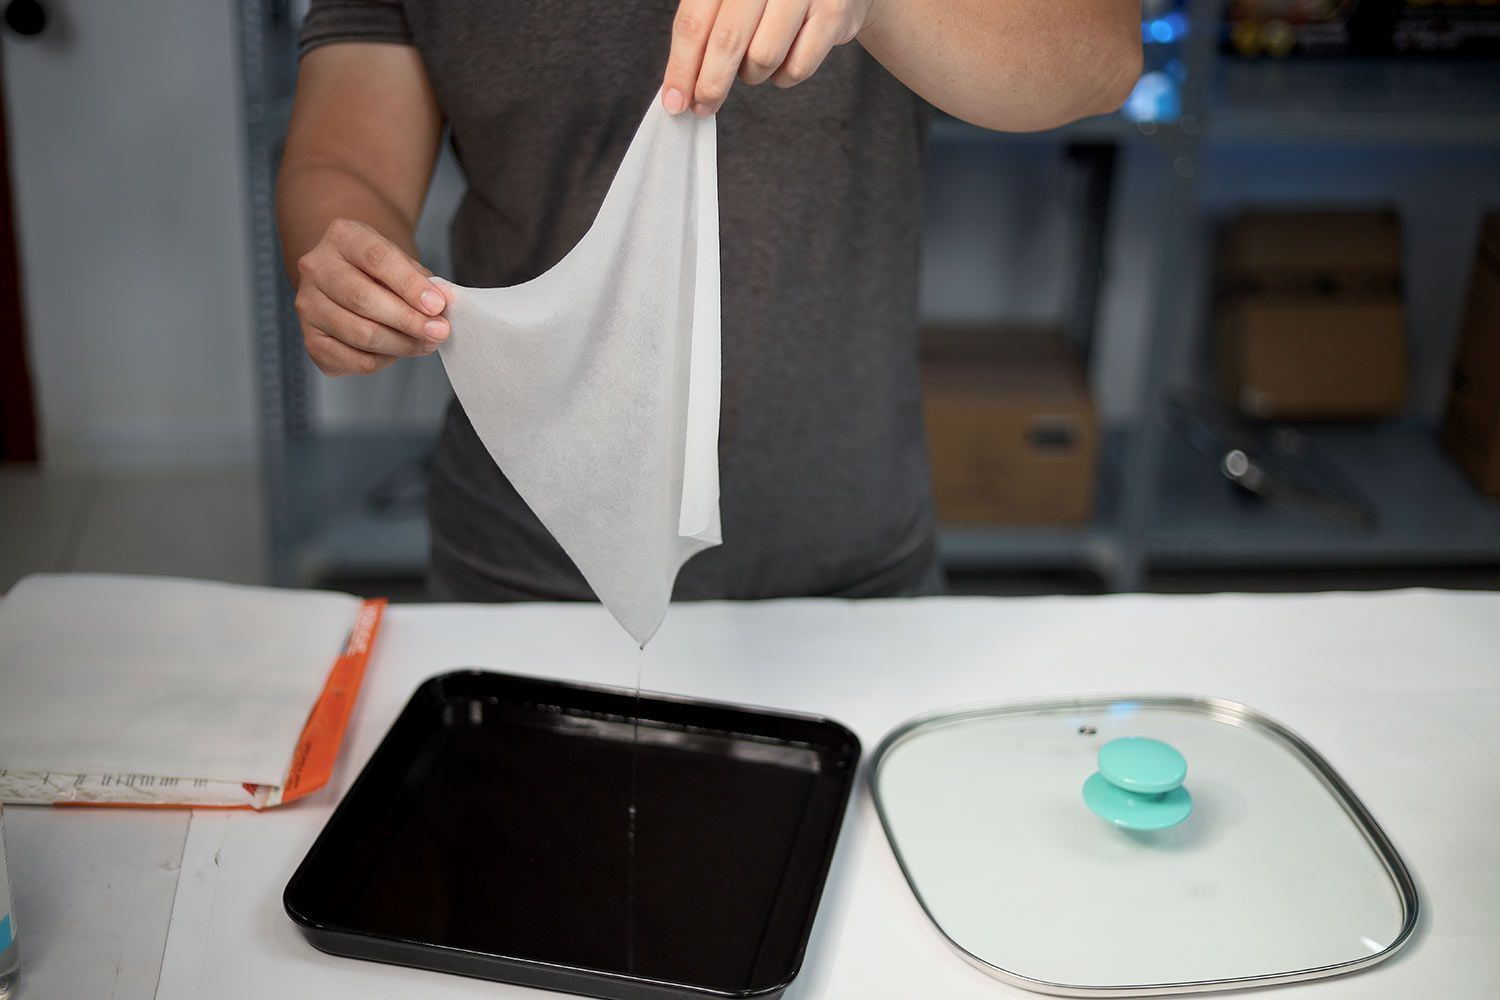
3. Lay an oil absorbent sheet flat into the sugar water.
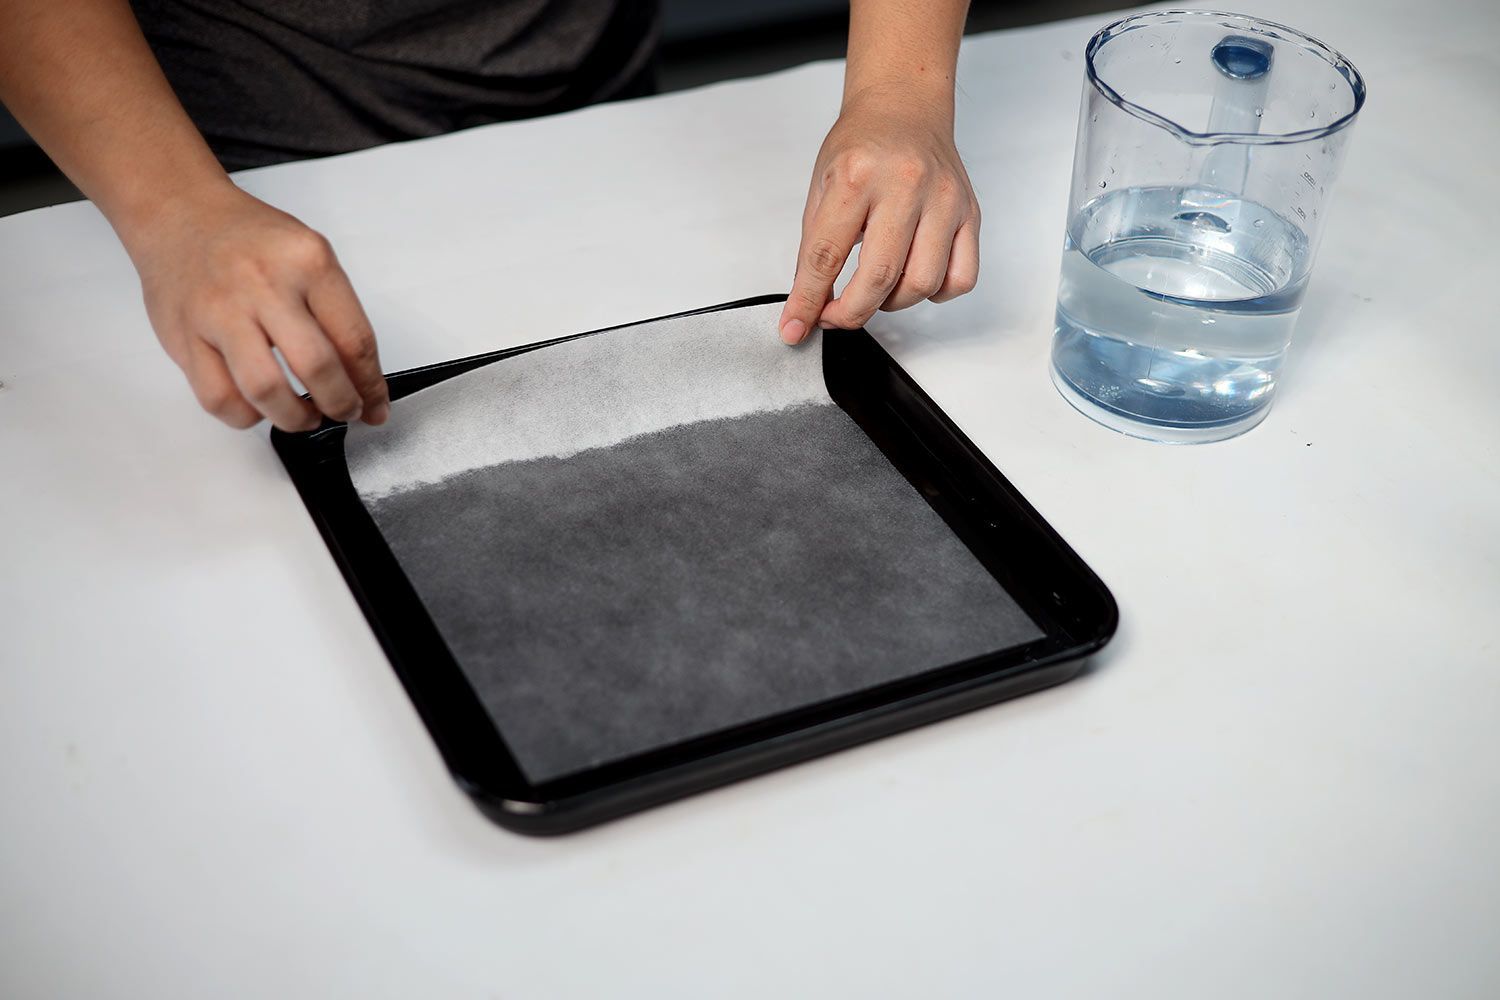
4. Lift up the sheet to drain the excess liquid. Be careful not to fold the sheet into itself.
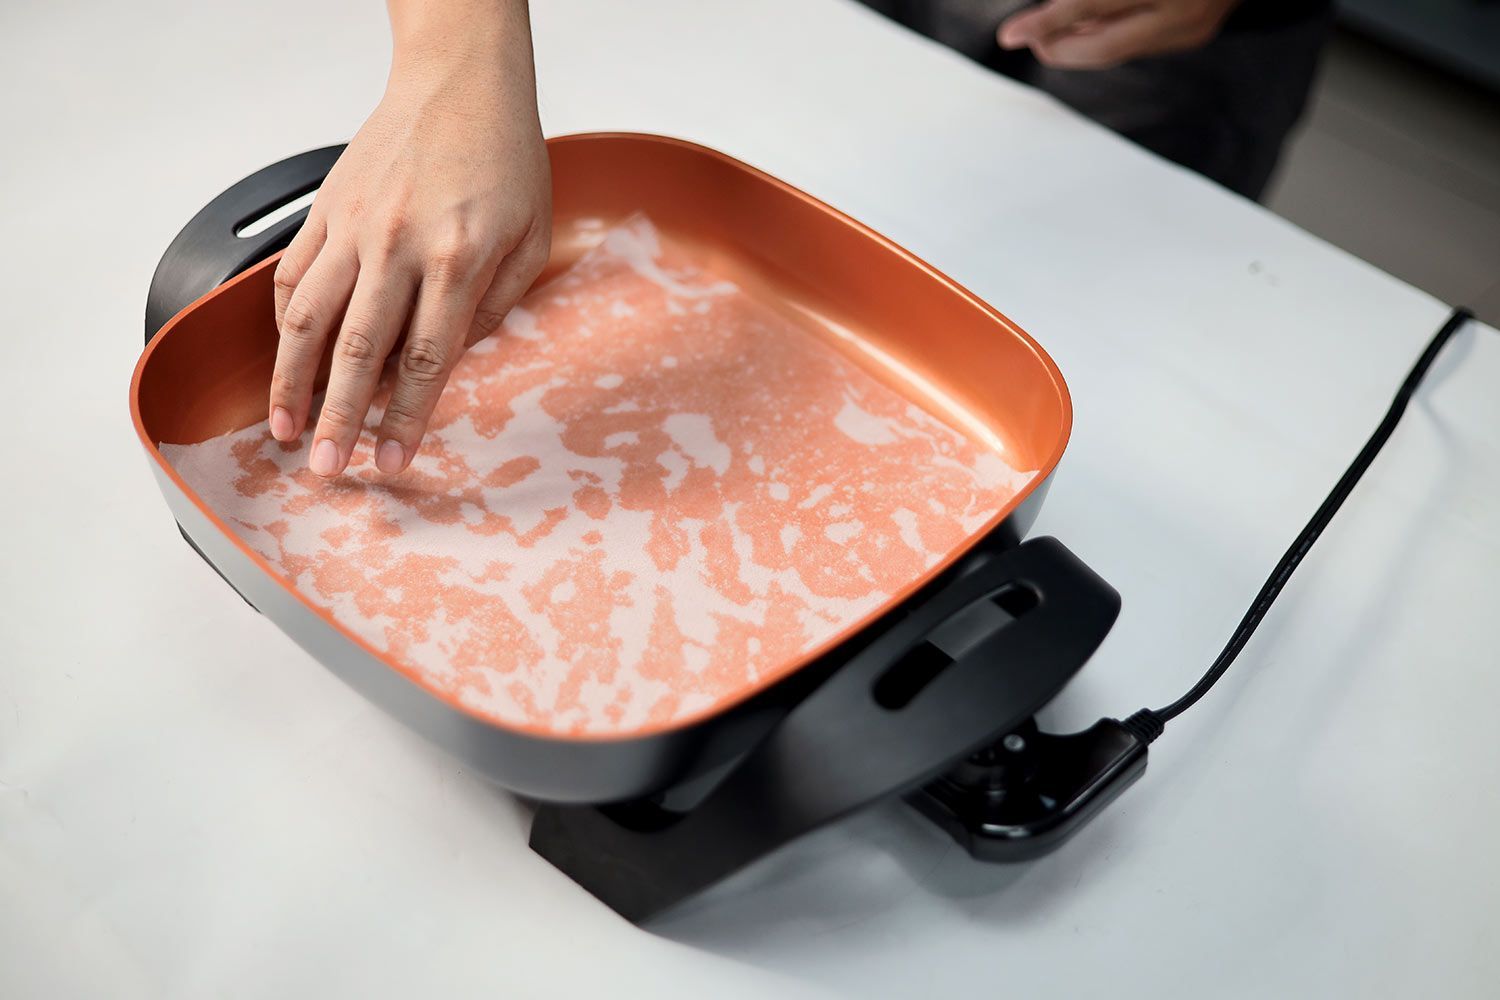
5. Lay the sheet onto the pan surface. Make sure to cover the entire surface of the pan.
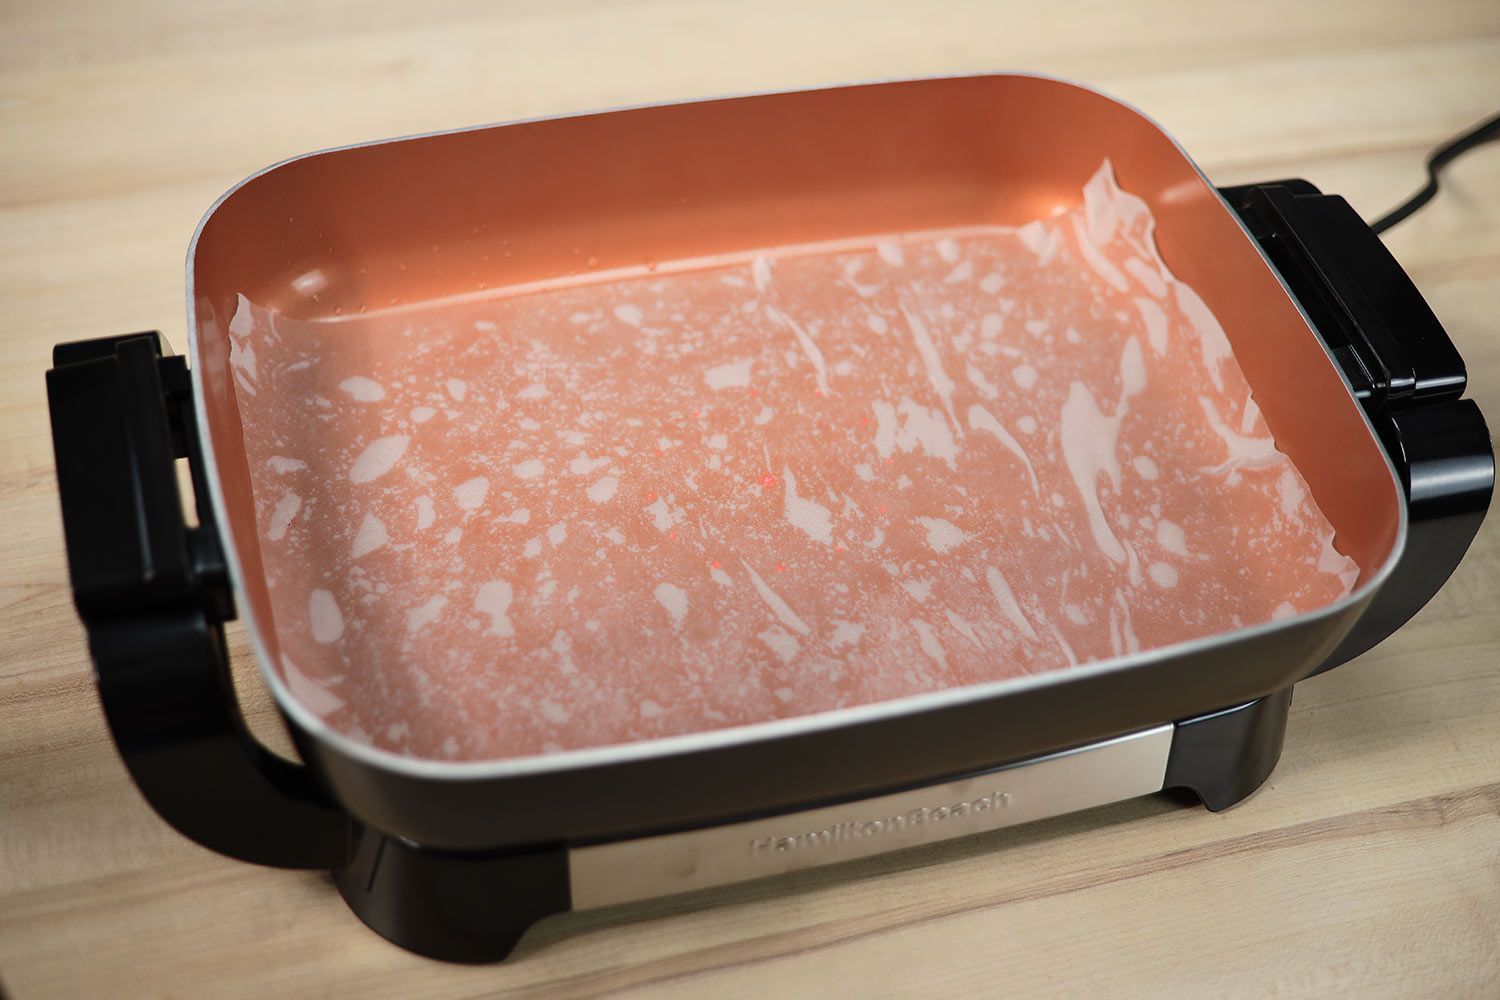
6. Use your hands or a roller to flatten the sheet out evenly.
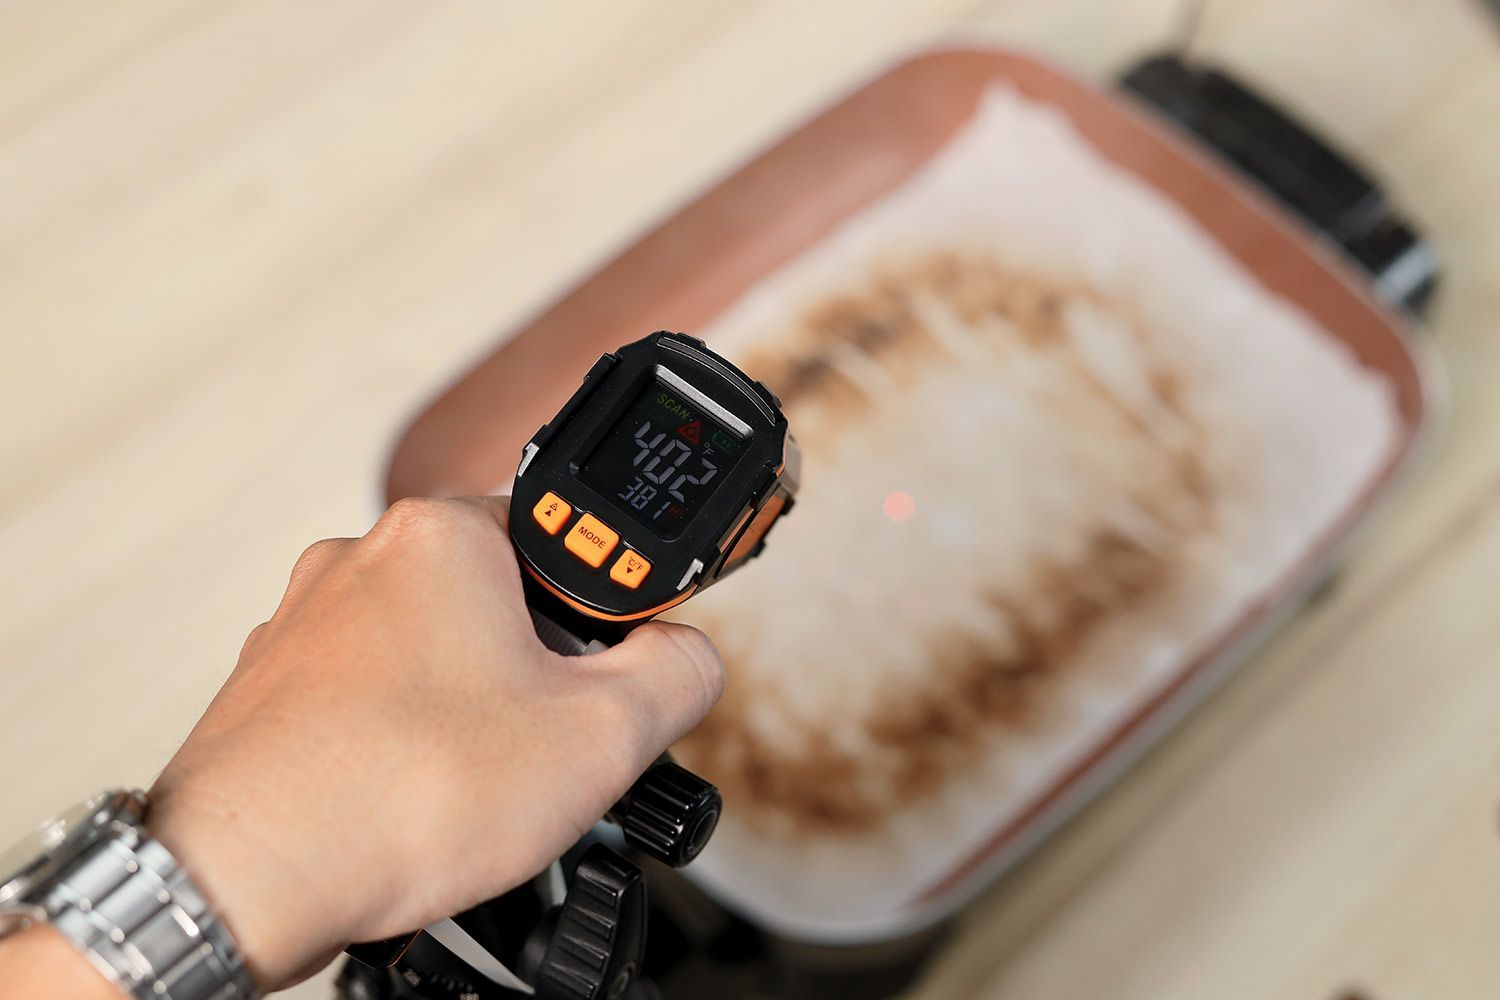
7. Turn on the thermometer and the subject skillet until you get a 400°F reading on the thermometer.
8. Immediately turn off the electric skillet so the temperature stops rising.
9. Quickly use another thermometer to check the temperatures of 5 designated points.
10. Record the numbers to get the average for the final scoring.
11. Once everything cools down, remove the sheet and clean the pan.
How We Score
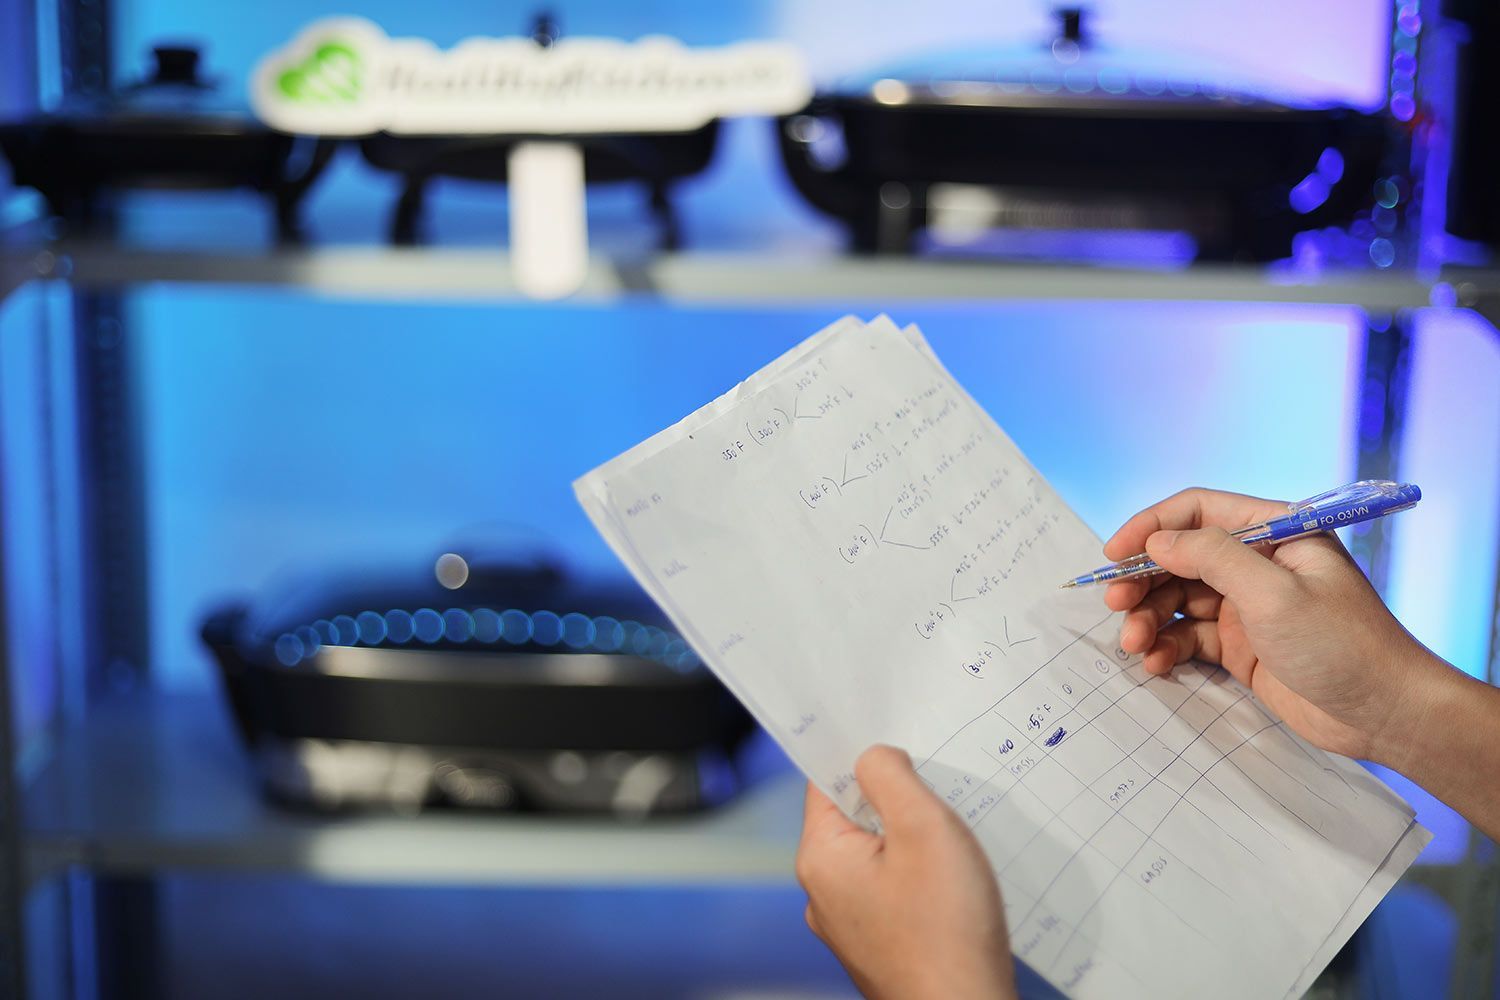
The heat distribution score is calculated based on the average temperature difference (%) between the 5 designated points.
For theoretical accuracy, a skillet can only get a 10/10 by having 100% even heat distribution. Based on our collected data, we decided to subtract 1 point for each 5% difference. We felt no skillet should show over 25% uneven heat distribution, which is also our limit for a 0/10 failed product.
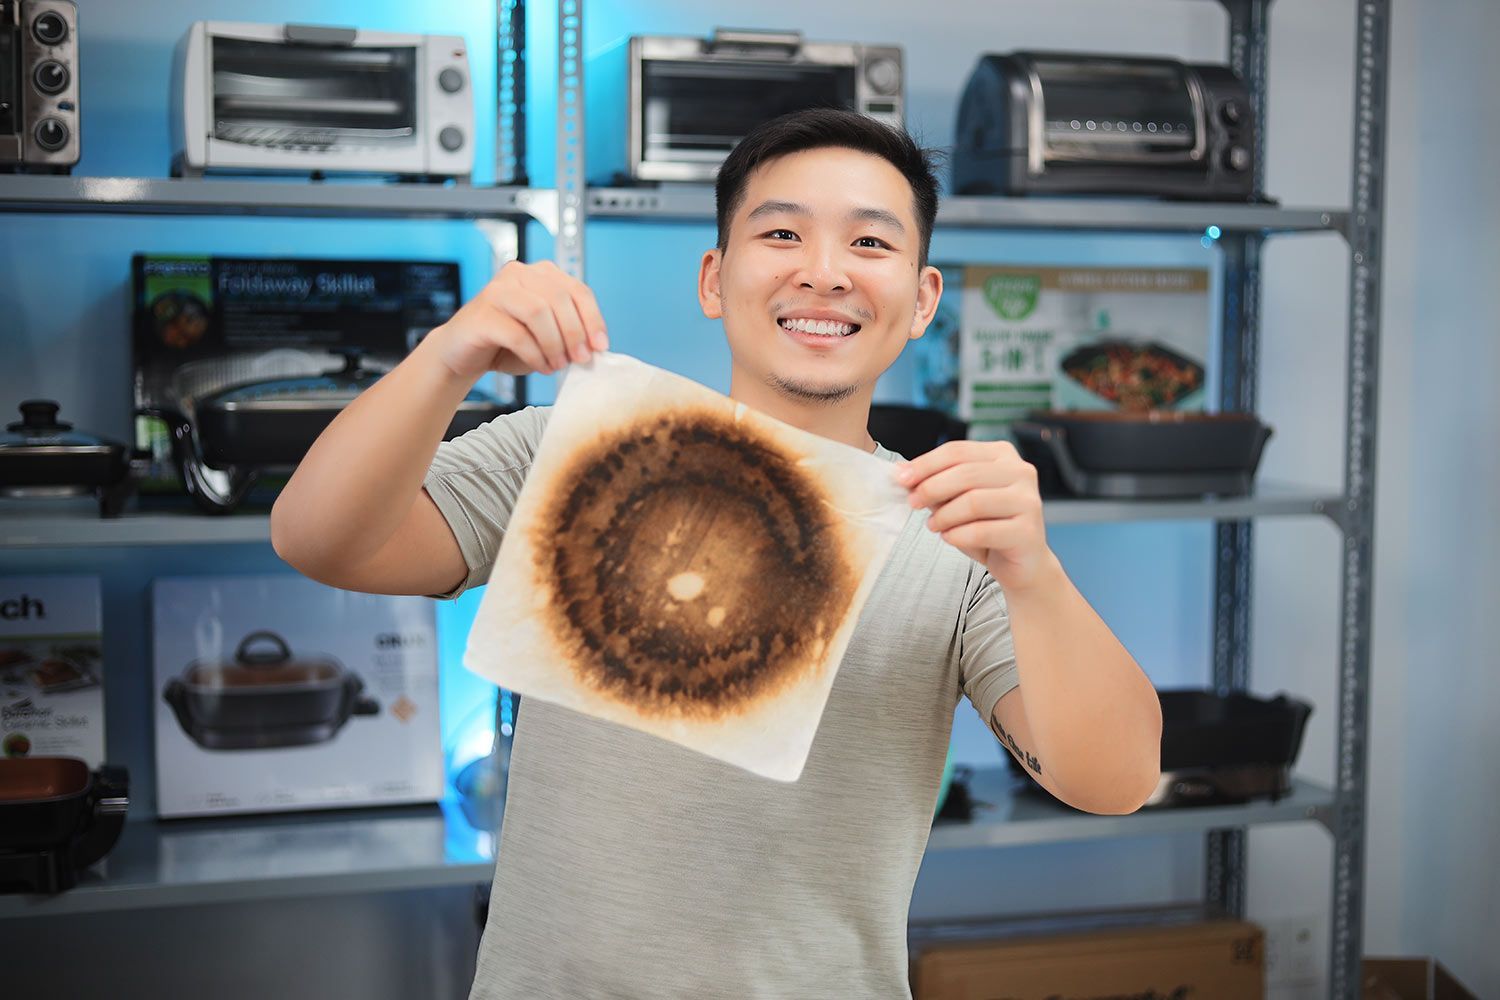
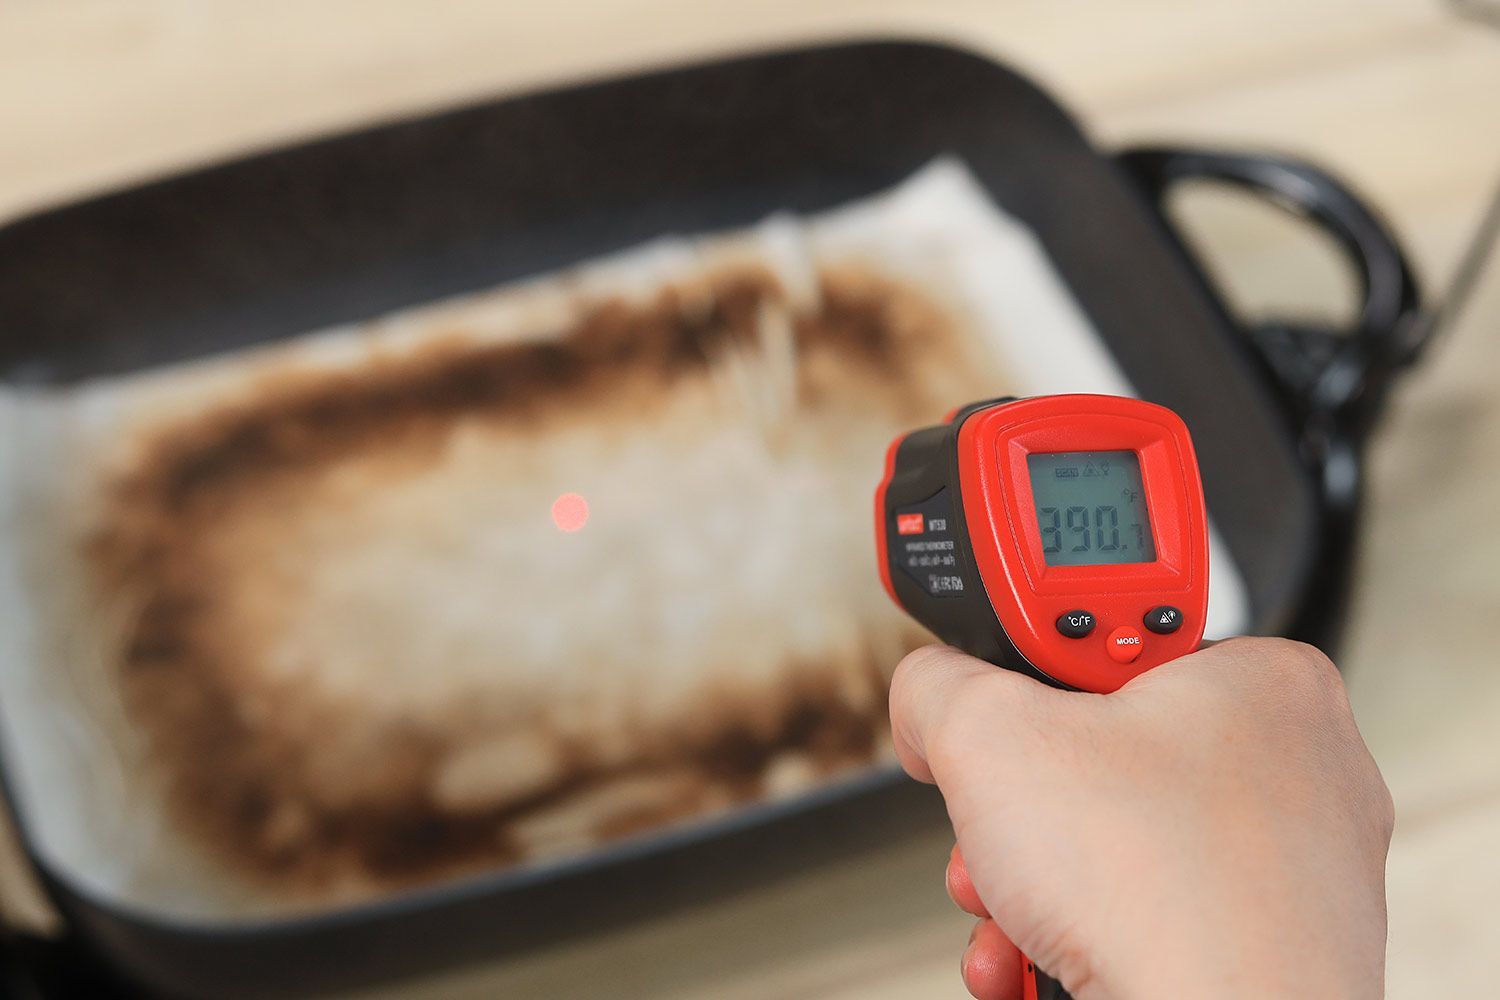
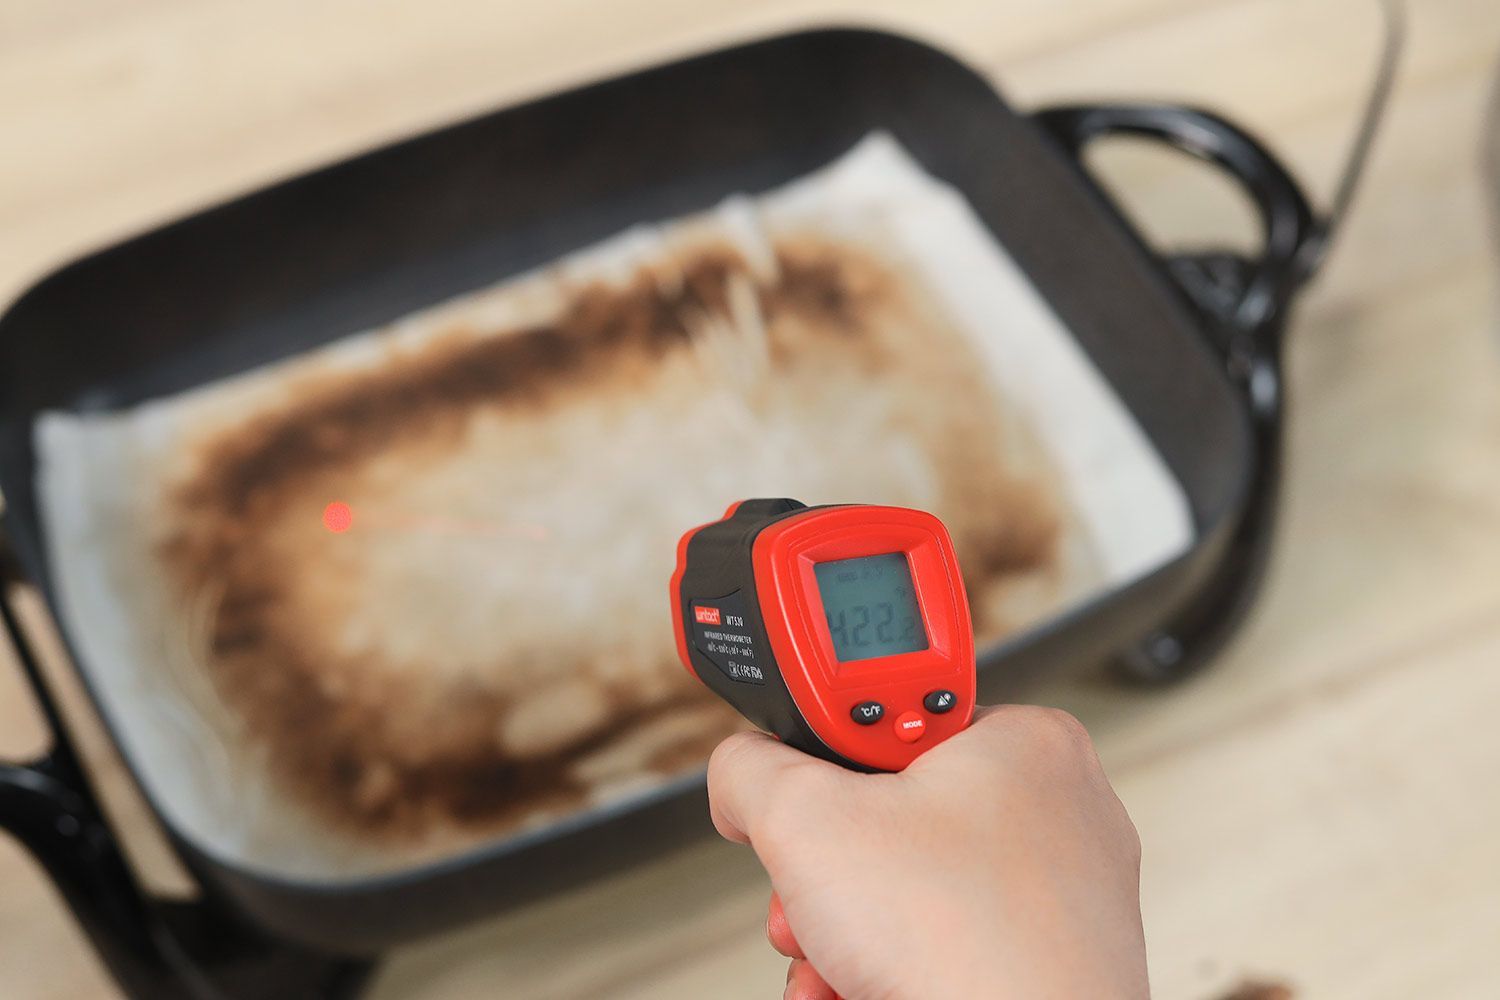
Additionally, the color pattern of the caramelized sugar gives us a visual representation—the higher the temperature, the darker the caramel gets in that area.
As you can see in the photos below, the center of the skillet is 400°F with a golden brown color. It gets gradually darker until it’s completely dark as when the heating element reaches 420°F, and sometimes even more. Towards the edges of the pan however, the temperature gets exponentially lighter where it’s only around 320°F.
- 10/10: 0% difference between the 5 points
- 9/10: 5% difference
- 8/10: 10% difference
- 7/10: 15% difference
- 6/10: 20% difference
- 5/10: 25% difference
- 0/10: > 25% difference