Our recommendations are made independently. We may receive commissions from purchases made via our links.
How to Dry Thyme
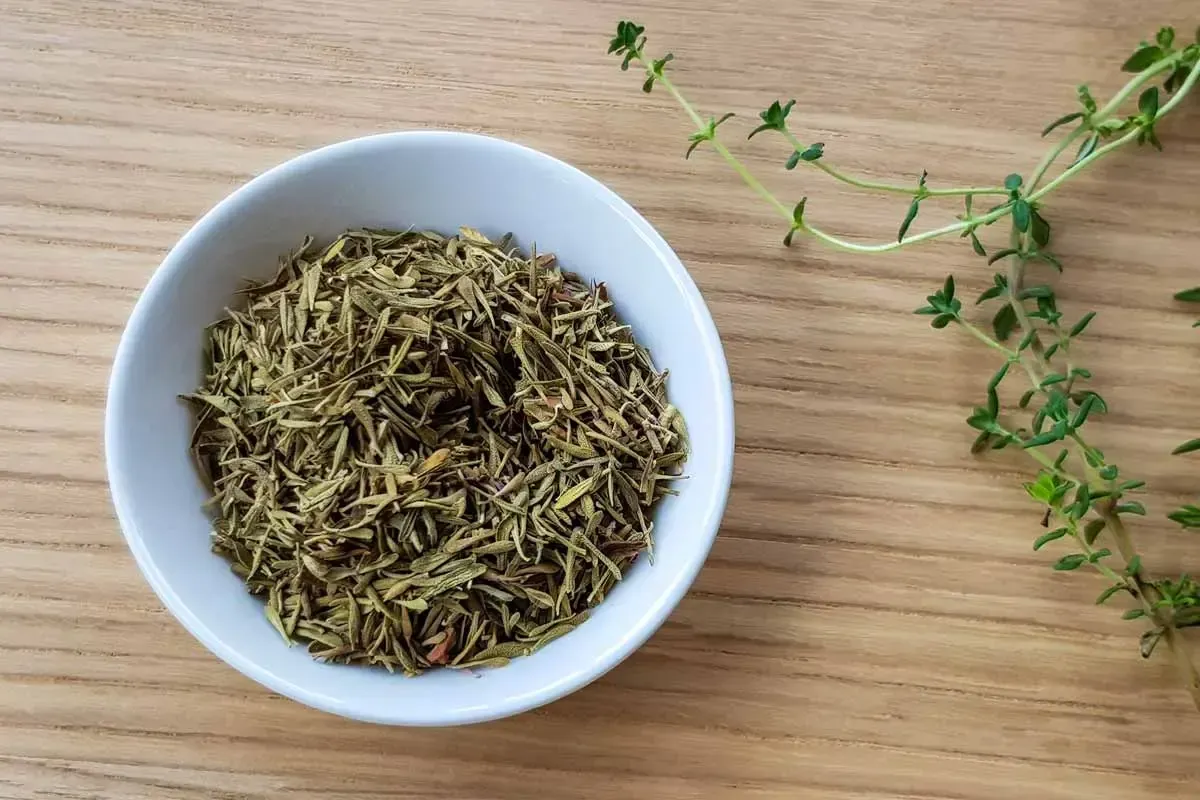
Thyme is a very popular herb that can be found in many regions around the world. Make your own dried thyme at home with this guide on how to dry thyme.
As one of the most versatile and popular herbs out there, learning how to dry thyme can be incredibly useful and rewarding.
Its sharp, herbaceous taste with a hint of mint makes it a beloved ingredient of many chefs. Just a sprinkle of thyme in the right recipe (typically Mediterranean) can dramatically improve the taste and the aroma.
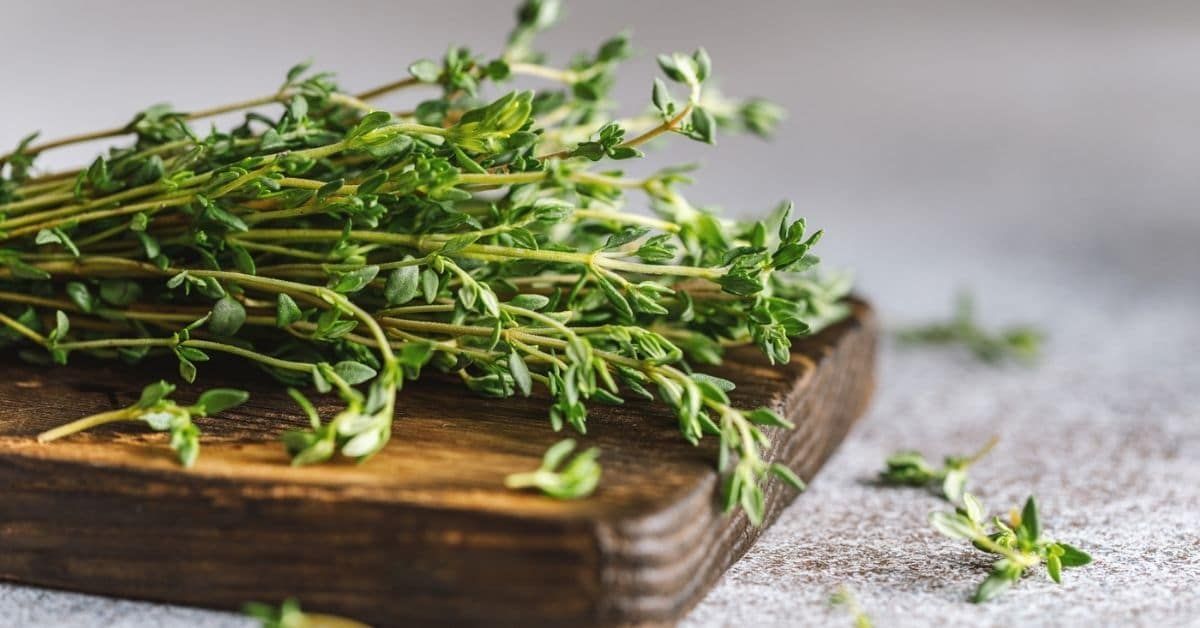
But fresh thyme doesn’t last very long and can begin to wilt after a week. Thankfully, by drying it, you can extend the shelf-life of this herb from weeks to years.
Let us show you how!
Fresh Thyme vs. Dried Thyme: Which Is More Superior?
Depending on who you ask, the answer is going to be different. Some will find dried thyme to be inferior to fresh leaves, while others will tell you that they have about the same taste and aroma. It is a relatively subjective thing.
Scientifically, thyme loses a fair amount of its flavoring and aromatic chemicals when it’s dried.

In a 2013 study, it was found that many of the aromatic chemicals in thyme (called volatiles) are destroyed when the leaves are dried. This loss affects the taste and aroma of dried thyme. Specifically, a panel of professional taste-testers found that dried thyme doesn’t have the fresh, vegetal, and herbaceous scent of fresh thyme.
But don’t let that put you off. Even though dried thyme doesn’t taste nearly as fresh, many of its other qualities are improved. They also found that thyme’s signature balsamic, earthy, and woody taste and scent are strengthened when it’s dried.
This strengthening is found in virtually all herbs.
One popular explanation is that the moisture present in these herbs dilutes many of their flavoring compounds. So, when the leaves are dried, the compounds that aren’t affected by heat and the dehydration process become more concentrated. This leads to the dried herb seemingly having a stronger taste.
Fresh or dried, thyme can improve almost any dish. Don’t worry about the quality of dried thyme too much. The majority of its signature taste and smell will still be recognizable (and even become stronger).
How Much Dried Thyme Equals a Sprig of Fresh?
If the recipe calls for fresh thyme but they’re unavailable, you can substitute them with dried thyme.
A sprig of fresh thyme is approximately ½ a tablespoon.
The recommended substitution ratio for thyme is ⅓ unit of dried thyme for every 1 unit of fresh thyme.
To make it easier to imagine, let’s say the recipe calls for 1 tablespoon of thyme (2 sprigs). Substituting around 1 teaspoon of dried thyme will usually do the trick.
The Best Ways to Dry Thyme
There are four great methods you can use to dry thyme: drying in the oven, drying in the food dehydrator, drying in the microwave, or the time-honored leaving it to air dry.

Drying in the oven is the most popular method since it is the most accessible. The likelihood is you will have an oven at home. The same cannot be said for a food dehydrator.
The quality of oven-dried thyme is usually very good. But one disadvantage is that, compared to a food dehydrator, the oven “bakes” at a higher temperature. As a result, there’s a higher risk that you might burn the herb.
If you have a food dehydrator in the kitchen, you’re in luck. It is the best drying tool out there. Its low temperature means you’re far less likely to burn the thyme leaves. Since the dehydrator is made specifically for drying, the quality of the dried thyme will generally be better too.
Unfortunately, that doesn’t mean it’s flawless. It takes much longer to dry thyme in the food dehydrator than in the oven. Depending on the temperature and humidity in your kitchen, it can take anywhere from 4 to 10 hours.
The third option is the microwave. It’s a fairly risky way to dry sensitive herbs since its high heat output is quite intense. This method is the most likely to end in burnt leaves. However, if you don’t have the other appliances available, it’s better than nothing.
The last and most natural method is air drying. This simply entails hanging up the fresh sprigs of thyme somewhere in the house with a lot of air movement. In a couple of days, they will dry out on their own.
This method doesn’t require any special equipment. However, it does take the most time. You need to be watchful too and constantly regularly check for mold and rot. Additionally, this method is not recommended if you live in an area with cold or humid weather.
How to Dry Thyme: Step-by-Step Instructions
1. How to Dry Thyme in the Oven
Step 1: Preparing the Herb
Wash the thyme under cold running water. Wipe away any excess moisture using a towel.
You can choose to either dry the thyme with the stems still attached or you can dry only the leaves.
The latter is quicker since leaves dry quicker than stems. However, thyme leaves are very small and it’s much easier to remove the leaves from off the stems once they are dried. When they are fully dehydrated, the leaves become extremely brittle and thus easy to remove.
Step 2: Arrange the Leaves on the Tray
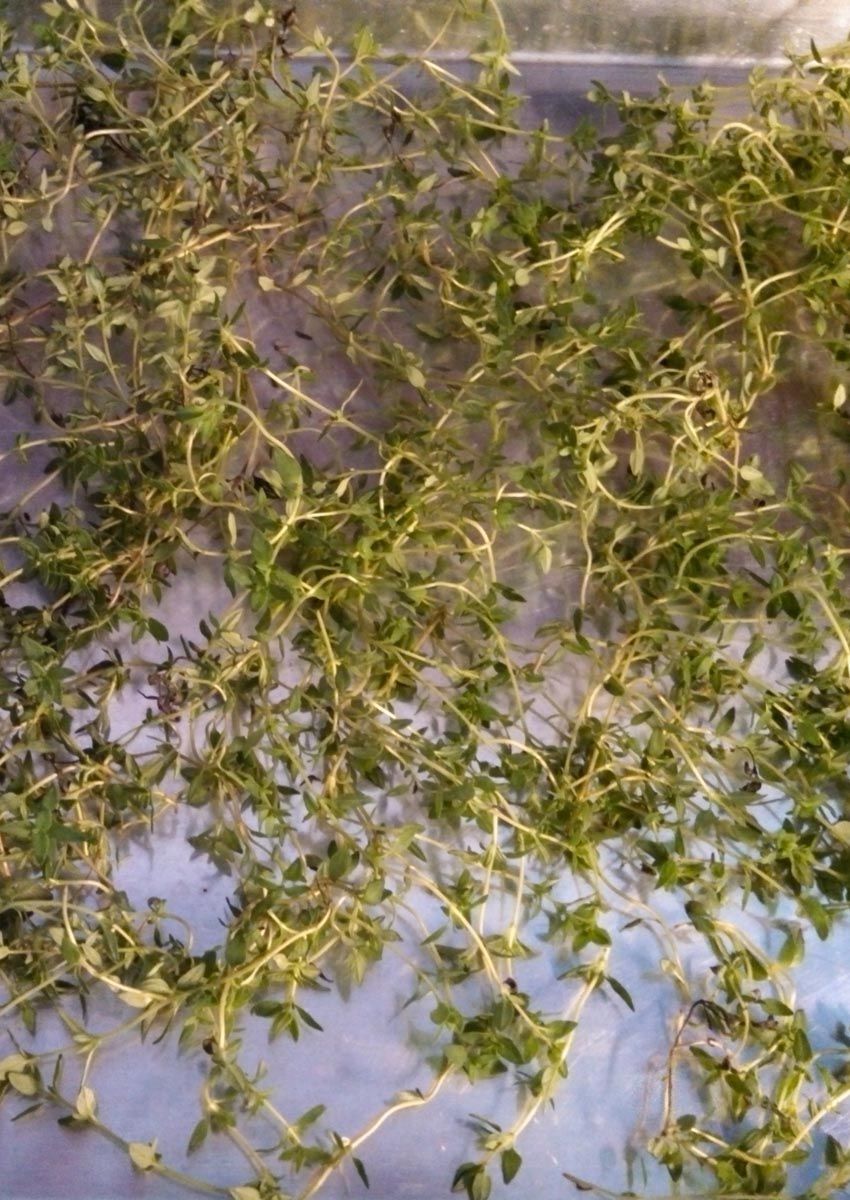
Line a baking sheet with parchment paper. Arrange the thyme on top. Make sure that there is plenty of space between each sprig or leaf. The more space there is, the quicker they will dry.
Avoid any overlapping or layering.

Step 3: Bake
Set the oven to the lowest temperature possible. Most ovens will offer somewhere between 170°F and 200°F, depending on the model. Between 170°F and 180°F is the best for drying.
Drying at 200°F is okay, but you should pay close attention to the leaves to avoid excessive drying.
A few ovens will only go down to 212°F, which is too hot. You can prop the oven’s door open with a wooden spoon to lower temperature and increase airflow.
Bake the thyme for 1 to 2 hours.
If you decide to go for 2 hours, we recommend you check on the leaves after the first hour has elapsed. Then, every 15 to 30 minutes after. Thyme can dry very quickly depending on the room temperature and humidity in your kitchen.
Step 4: Post-Processing and Storage
Once the thyme leaves are fully dried, take them out of the oven. You will know when they have dried when the leaves turn dark, look wilted, and become crumbly.
If you have dried the thyme with the stems still on, now is the time to take off the leaves.
Lay out some paper towels on a flat surface such as a countertop. They will catch the leaves as they fall and minimize the ensuing mess.
Pinch one end of a stem and run your fingers up and down the length of the sprig. The leaves should fall off very easily.
For easier storage, you should crumble the leaves into smaller bits. Tip the removed thyme leaves into a mixing bowl and use your hands to crush them up. Alternatively, you can use a mortar and pestle.
Gather the crushed-up leaves into a glass jar and seal tightly. Store the jar somewhere cool, dry, and away from direct sunlight, like a pantry or a spice drawer.
The dried thyme can last for 1 to 3 years.
Yes, you definitely can. The oven is an incredibly versatile drying tool and can be used to dry other things too.
Besides thyme, you can dry other herbs using virtually the same process. We have a guide on how to dry cilantro in the oven, and if you’re interested in learning how to dry oregano, we’ve got you covered as well.
Aside from herbs, it’s also possible to dry vegetables and fruits in the oven. Here’s how to dry mushrooms for the curious. And as for fruits, Christmas time becomes all the more festive with garlands of oven-dried orange slices or a jar of sweetened dried cranberries.
2. In the Food Dehydrator
Step 1: Preparing the Herb
After washing and carefully drying the thyme, prepare it like we instructed earlier (either dry the whole sprig or remove the stems).
Step 2: Arrange the Thyme on the Dehydrator Tray
Arrange the thyme on the tray. Leave plenty of space between each sprig or leaf. Most importantly, don’t layer them up.
Once again, the more space there is between each sprig, the faster they are going to dry.
Step 3: Dehydrate
Set the dehydrator to dry at 105°F and the timer for 2 to 5 hours. The time will vary widely depending on the temperature and humidity in your kitchen.
Allow the machine to keep going until the thyme is fully dried out and brittle.
Step 4: Post-Processing and Storage
Remove the leaves from the stems if you dried the whole sprig. Crush up the thyme leaves, then store in a tightly-sealed glass jar.
Store in a cool, dry space.
You can dry anything with a food dehydrator.
You can dry mint with a food dehydrator, which is one of the many “essential herbs” to have in the kitchen.
Other than mint, in two separate guides, we have also demonstrated how to dry parsley and make dried basil in the dehydrator.
3. In the Microwave
Step 1: Preparing the Herb
Wash the thyme sprigs carefully under cool running water and blot out excess moisture. You can choose to dry the entire sprig, or you can remove the leaves from the stems to dry.
Step 2: Arrange the Leaves on the Plate
Line a microwave-safe plate with 3-4 pieces of paper towel.
Arrange the thyme on top. If you dry with the stems still attached, give each sprig some space. As always, don’t layer them on top of one another or they won’t dry well. If you have more sprigs than plate space, dry them in batches.
Cover the plate with another layer of 3-4 paper towels.
Step 3: Microwave
Zap the thyme on high power for 1 minute. Remove the top layer of paper towels to see if they have dried or not.
If they haven’t, replace the top paper towels and continue drying in 15-second increments until they do.
Step 4: Post-Processing and Storage
After the thyme has finished drying, you can process it for storage.
Remove the leaves from the stems if you dried whole sprigs.
Crush the leaves into smaller bits for easier storage. Gather the crushed leaves and put them into a glass spice jar. Seal it tight, then store in a suitable spot.
The microwave is usually less popular than the oven for drying. Its high heat means you’re more at risk of burning up the herb. However, if you don’t have an oven, it’s an acceptable alternative.
You can use virtually the same technique here to dry rosemary. Fun fact: rosemary is a great substitute for thyme.
And, if you love making pickles or seafood, knowing how to dry dill in the microwave will also be very useful.
How to Air Dry Thyme Naturally
Step 1: Preparing the Herb
This step is especially important when you want to air dry thyme. Wash the herb carefully under cool running water to get rid of any dirt. After that, eliminate any lingering moisture with a dry cloth.
Make sure that there’s little to no moisture left on the thyme. The wetter it is, the more likely it will turn moldy.
Step 2: Bundling Up
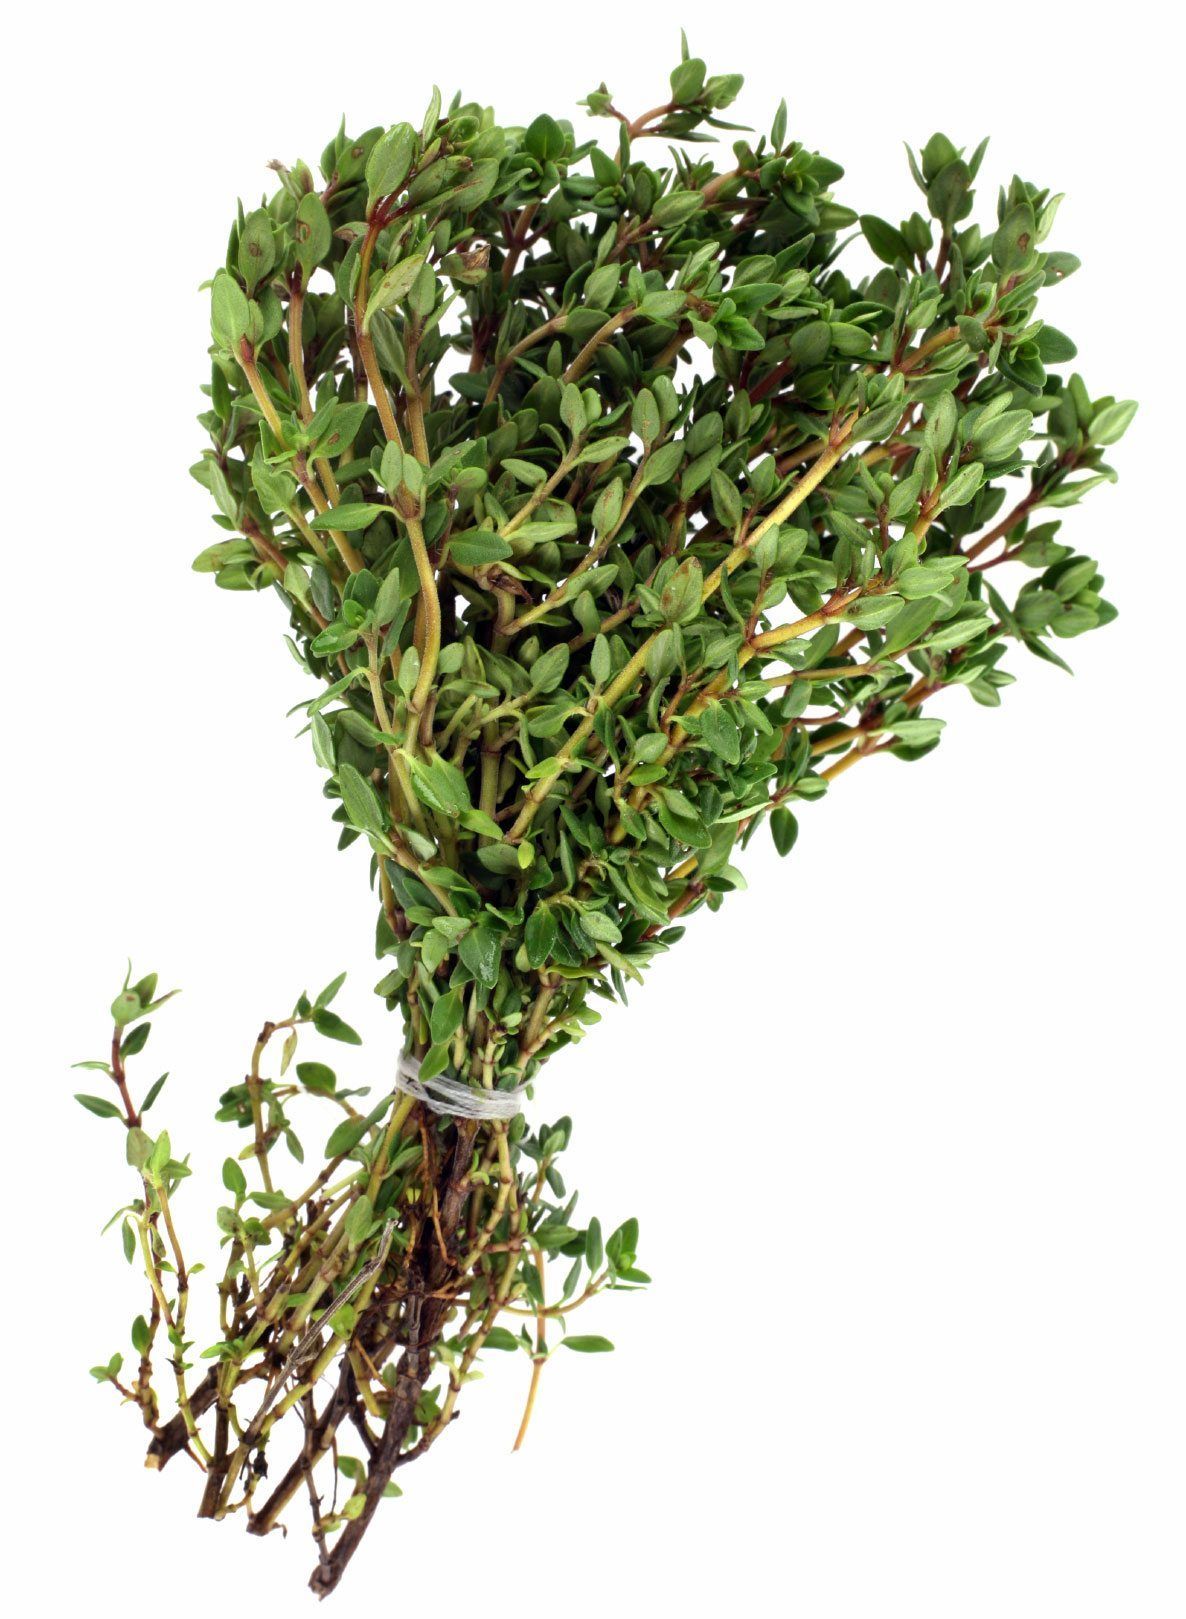
Gather the sprigs of thyme together into a bouquet. Tie the stems together with a rubber band or a string.

Step 3: Hang to Dry
Hang up the bundle of thyme somewhere with plenty of airflow. The threshold of a door leading to the back garden or the outside will usually meet the criteria.
Under no circumstance should the thyme be exposed to direct sunlight. They will dry too quickly and turn an off-putting yellow if they do. The bundle should be shaded all throughout drying.
You should also check the humidity level in your home. The higher the humidity, the more likely that your herb will turn moldy. If you see any sign of mold, discard the affected sprig. If left alone, the mold can spread to other sprigs in the bundle and ruin the whole batch.
It will take the thyme approximately 1 to 2 weeks to fully dry. Check the “health” of your thyme bundle every day to ensure that it’s drying well.
Step 4: Post-Processing and Storage
As always, remove the leaves from the stems and crush them up. Put the crushed leaves into a glass jar and store in a cupboard or pantry.
Before the arrival of modern household appliances, air drying was the only way to dry your foodstuffs. So, you can bet that it’s safe to use for pretty much anything.
One of the best examples of this method is peppers. In many parts of the world, despite access to modern kitchen appliances, pepper pods are still air dried naturally. We have a special guide on how to dry peppers that goes into detail about this topic.
Of course, herbs like basil, parsley, oregano, rosemary, and so on are all safe to air dry. The process is the same as thyme.
Conclusion
Thyme is an incredible herb both when it’s still fresh and when it’s dried. Now that you know all of the essentials about how to dry thyme, try it out in your own kitchen.
Be sure to tell us how it goes in the comments section!


