Our recommendations are made independently. We may receive commissions from purchases made via our links.
Hot Soup Purée Test for Immersion Blenders
Whether you’re making baby food or prepping puree hot soup, our immersion blender test will help you find smooth blends.
This test is part of How Shouldit Tests Immersion Blenders v1.0
There are numerous cooking appliances for preparing hot soup, but seasoned chefs recommend immersion blenders most often. That’s why we believe this is the test that people will care about most.
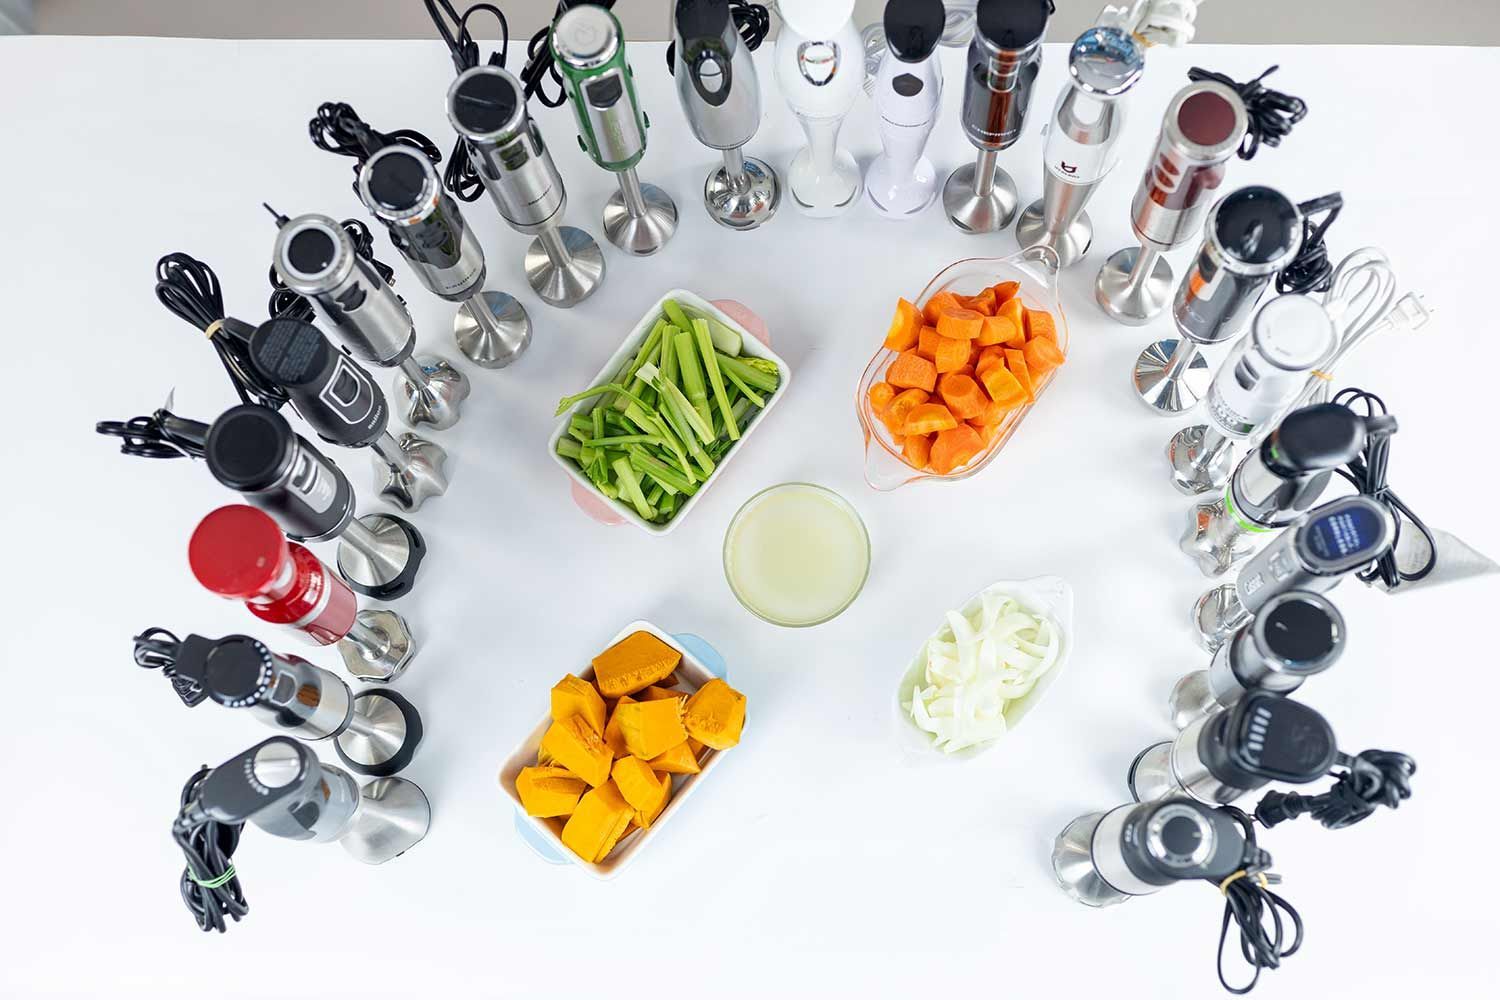
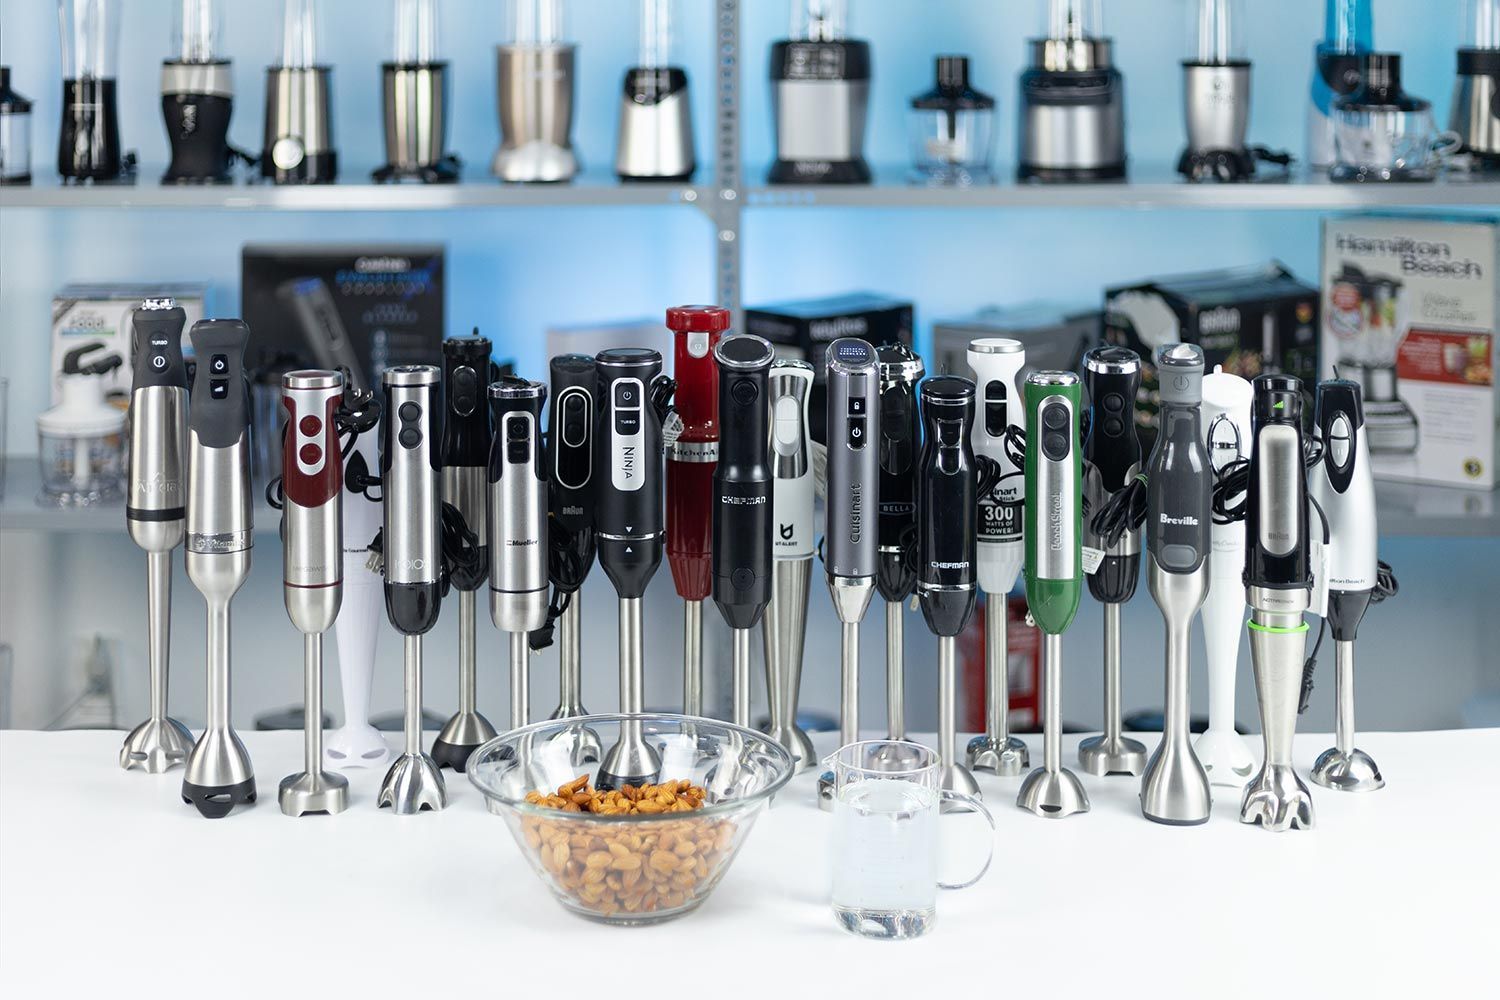
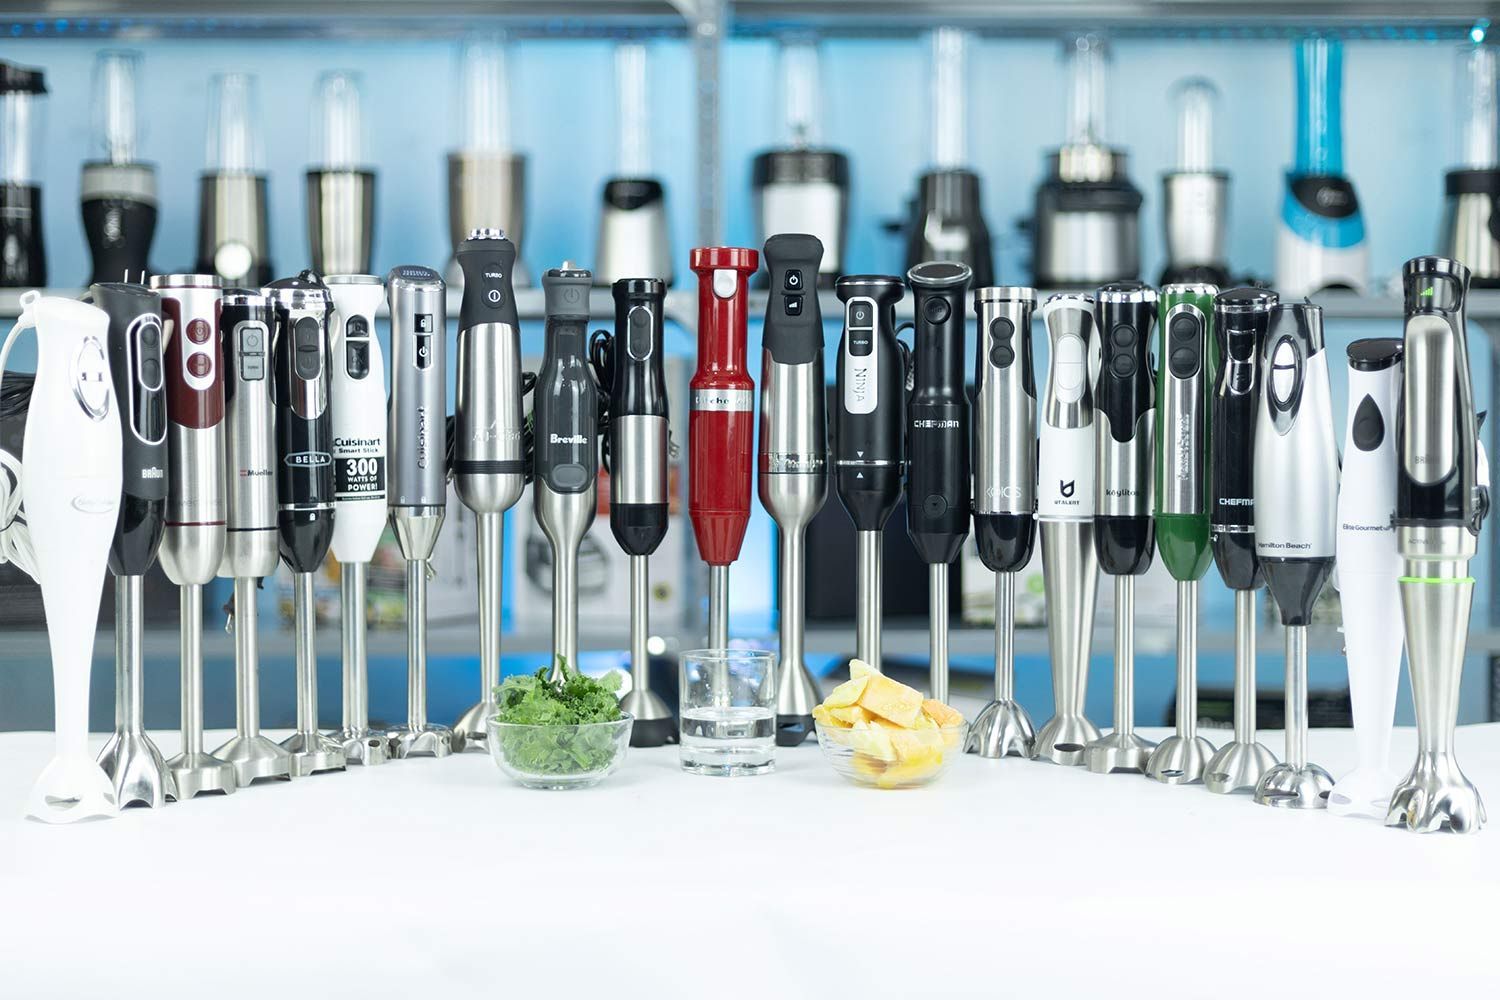
To make the best comparisons we could, we used a standardized testing procedure for all of our immersion blenders. We wanted consistent and comprehensive results which we would count on to highlight the blender’s capability and illuminate its drawbacks.
Not only that, but we also created a level playing field when it comes to appraising each blender’s efficiency. That way, you can easily compare which device outperforms the others.
Why The Test Matters
As we learned from our research, even a low-priced hand blender can yield an acceptable root veggie soup. Given that apparent equity, distinguishing the differences among models can become a bit tricky.
That’s why we dwelled on specific ingredients for this test. We all agree that certain machines have trouble blending green leafy vegetables without leaving behind tiny bits.
Consequently, in addition to carrots, pumpkins, and onions, we also added celery to our puree soup. This would help us score the overall results. The test also went a long way toward showing us how the blender creates suction, how well the blade guard prevents splattering, and if it damages our cookware surface.
Our chef found that due to their low density, celery and onion usually rise to the soup surface rather than sinking to the bottom with other veggies. As such, this test made it easier for us to clarify the blender’s efficiency in pulling ingredients to its blade.
Testing Recipe: 2 Servings
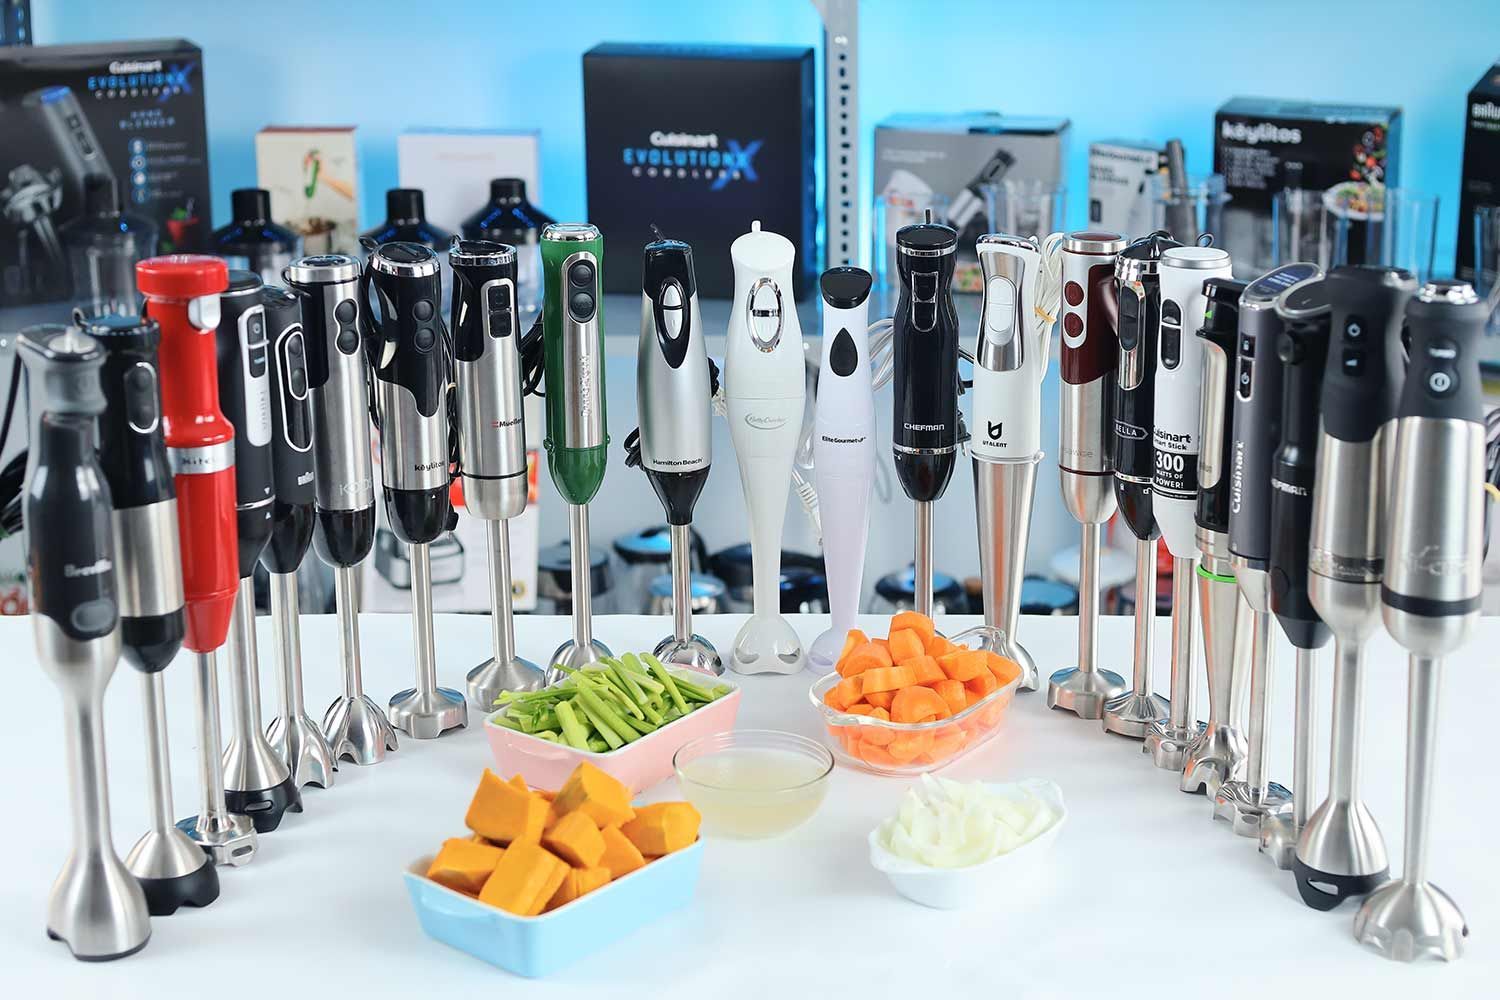
- 1 cup chicken broth
- 0.25 oz onion
- 1.5 oz celery
- 8 oz pumpkin
- 4 oz carrot
Testing Procedure
The Initial Test
Testing Performance
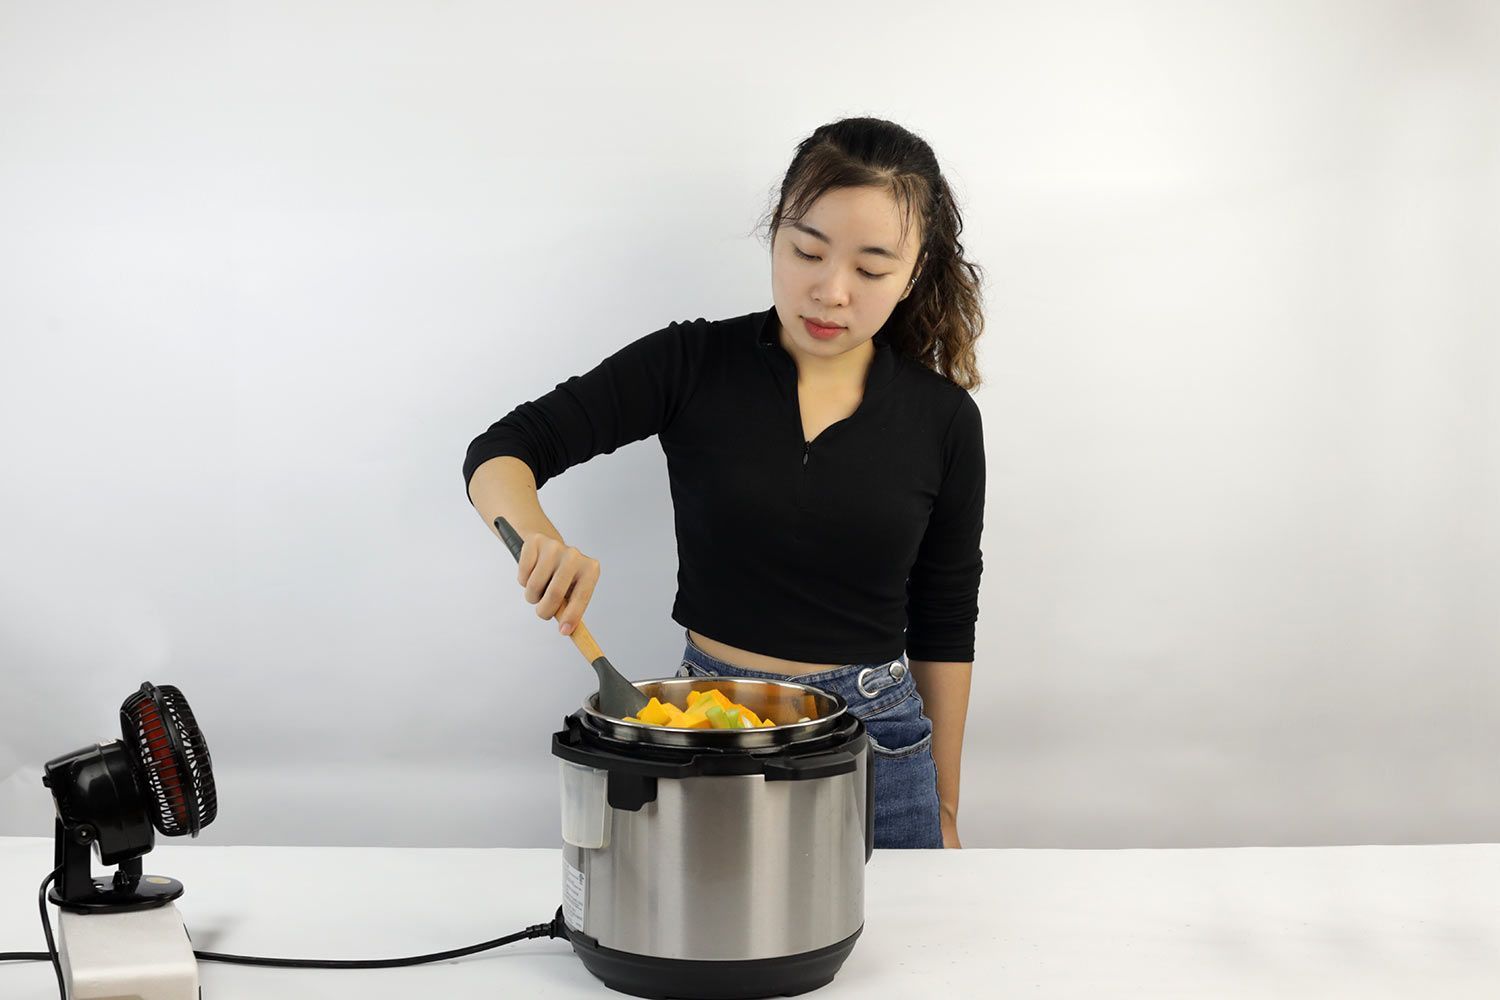
Our pumpkin soup was prepared in two stages: we first pressure-cooked all the ingredients in the Instant Pot Duo in 20 minutes and then pureed them using our blender until they were entirely smooth. Rather than blending right in the pressure cooker, we immersed our beautiful blenders in a transparent pot so as to easily observe the whole procedure.
Regarding stage two, we blended each pot of soup for 30 seconds under the blender’s highest speed. At this point, if any unprocessed food chunks remained, we kept blending until our chef signaled to stop. During the process, we needed to use a gentle up-and-down motion with the blender to obtain optimum results. And if the motor demanded a cooldown pause, we didn’t count that time toward the overall time.
Testing Result
There wasn’t a significant difference among blenders in terms of pureeing time. All of our contenders took around one minute to complete their tasks. But we still had to grade each blender’s performance based mainly on its blended result. As such, we tried to use a spoon to check the soup’s smoothness and then award points accordingly.
Ultimately, that didn’t turn out to be very helpful either. Even our culinary expert could barely differentiate the blenders’ outcomes by just stirring the spoon. We clearly needed to alter the test.
The Current Test
In the new test, the soup recipe and cooking technique remained unchanged, but we made a few adjustments so that performance differences would stand out better. Our variation included:
Testing Equipment: The 24-Oz Beaker
Instead of pureeing food in the cooking pot like in the initial test, we tested each blender in a 24-oz beaker.
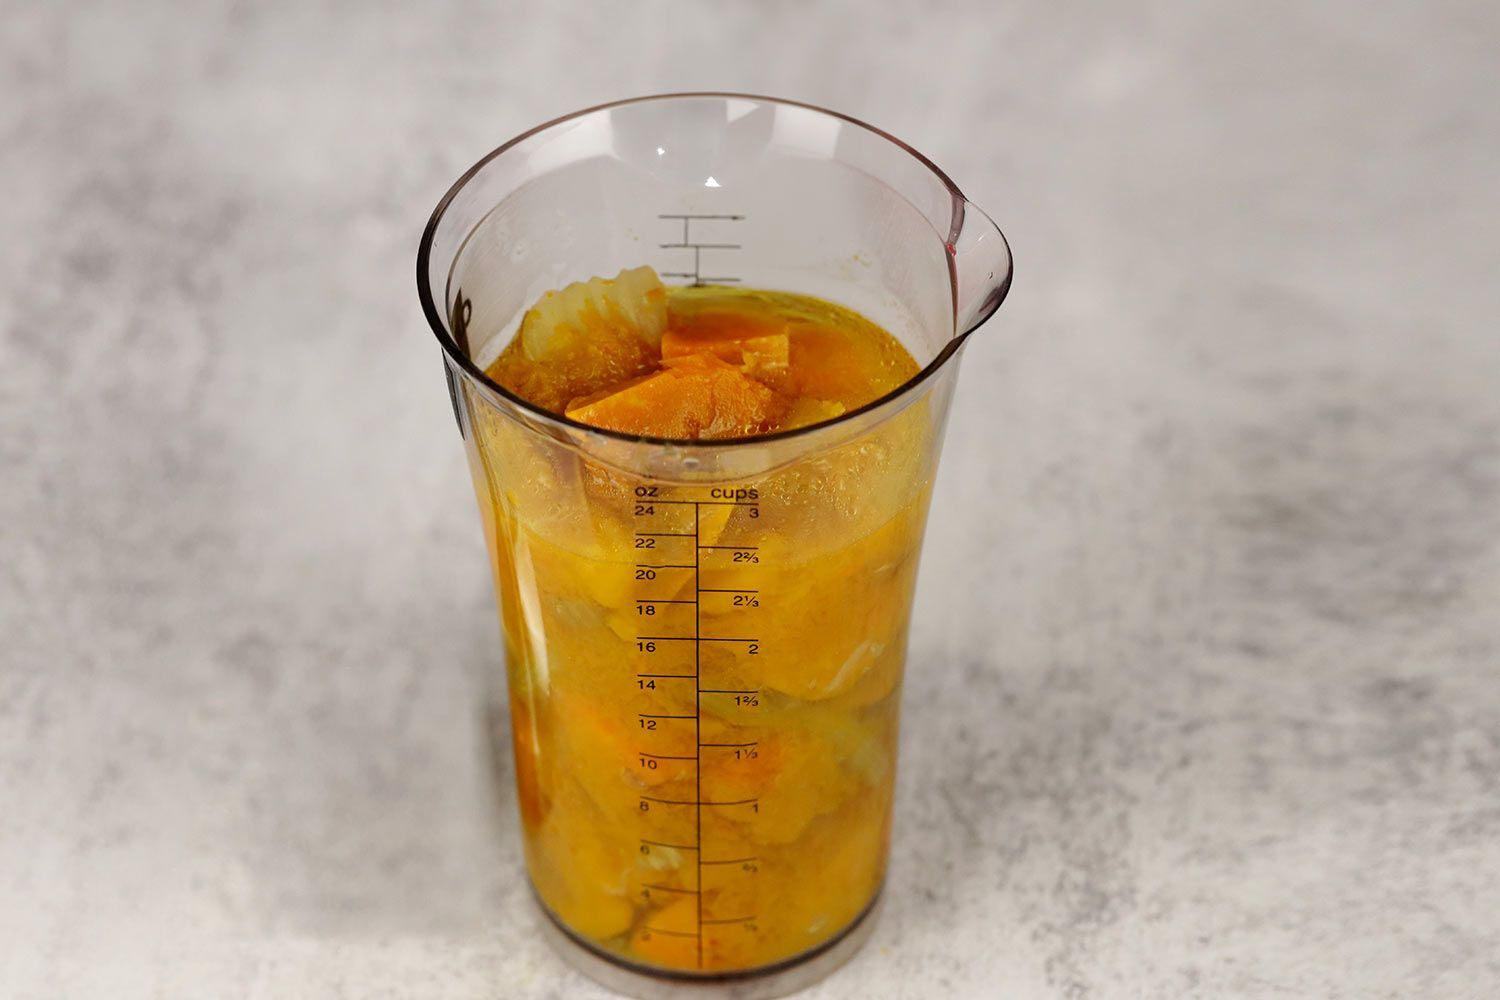
The pot was so big that it demanded a full range of hand motions to thoroughly process the mixtures. If our blending motions weren’t consistent with each blender, the results might be skewed. The smaller container, on the other hand, would allow us to keep the agitation to a minimum, thus giving us more equity between testing procedures.
Testing Preparation
We made a new pot of pumpkin soup for each immersion blender and allotted 2 servings for each device. To make sure each serving was equal, we followed these steps:
Firstly, we kept veggies and chicken broth separate from each other after they had been pressure cooked. This was because, as we learned from the initial test, when the soup starts to cool down, its veggies will absorb liquid, making it all become mushy. Some soggy chunks can even break down and then accumulate at the bottom of the container. At that point, if we go to scoop out half the mixture, the servings at the bottom will be thicker and harder to blend.
Next, we strained the liquid through our mesh strainer and removed the pulp as we wanted to ensure that the consistency of each blender’s soup was roughly the same. (The soup broth at the bottom will always be denser due to the gathering of food particles). Finally, we portioned out the recipe’s ingredients before putting them together in the smaller blending container.
Testing Performance
Once we finished dividing the whole soup batch into equal parts, our next assignment was to make sure all the smaller batches had roughly the same temperature when being put to the test. To make this possible, each soup was reheated in the microwave for 30-45 seconds prior to blending. We aimed for temperatures between 136°F and 140°F. Each batch was checked with a thermometer.
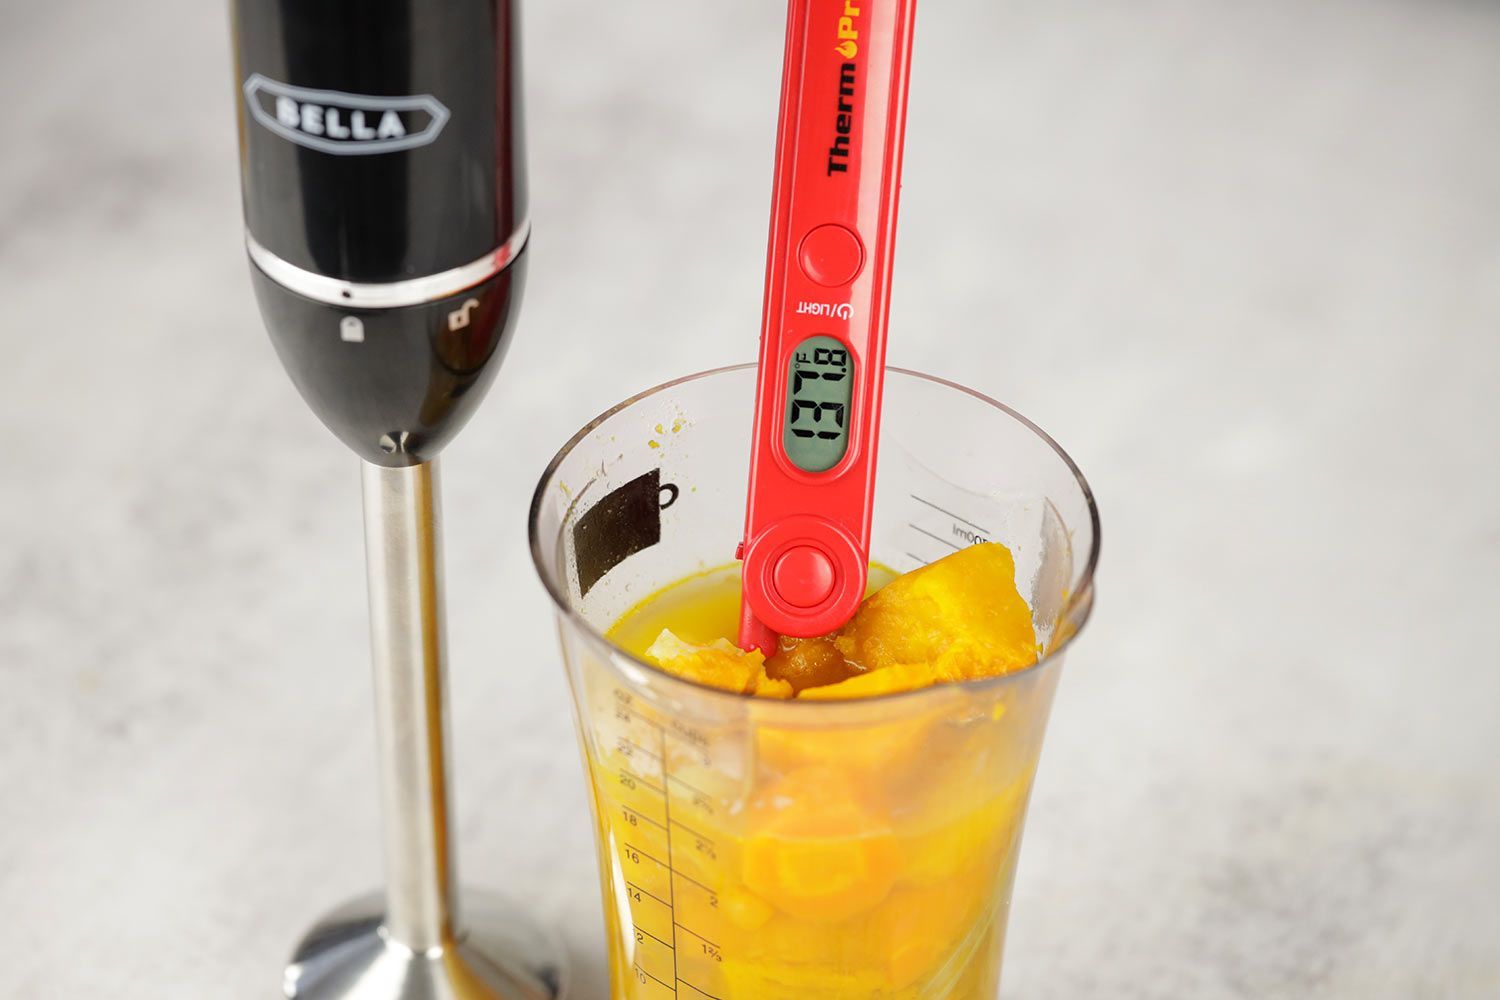
After the initial test, we decided to set a new benchmark for our immersion blenders. Rather than mixing the whole soup pot without a specific blending duration, we operated each blender at its highest speed for 30 seconds. We still aimed for an even blend, so we had to constantly move the blade around, including up and down, during the operation.
Scoring Scale
As mentioned above, there isn’t a significant difference among blenders in terms of pureeing time. What really matters is the product that each blender produces. As such, we put each blender through this test and gave them scores on a 1-10 scale based on its blended result.
How to Clarify the Blended Results
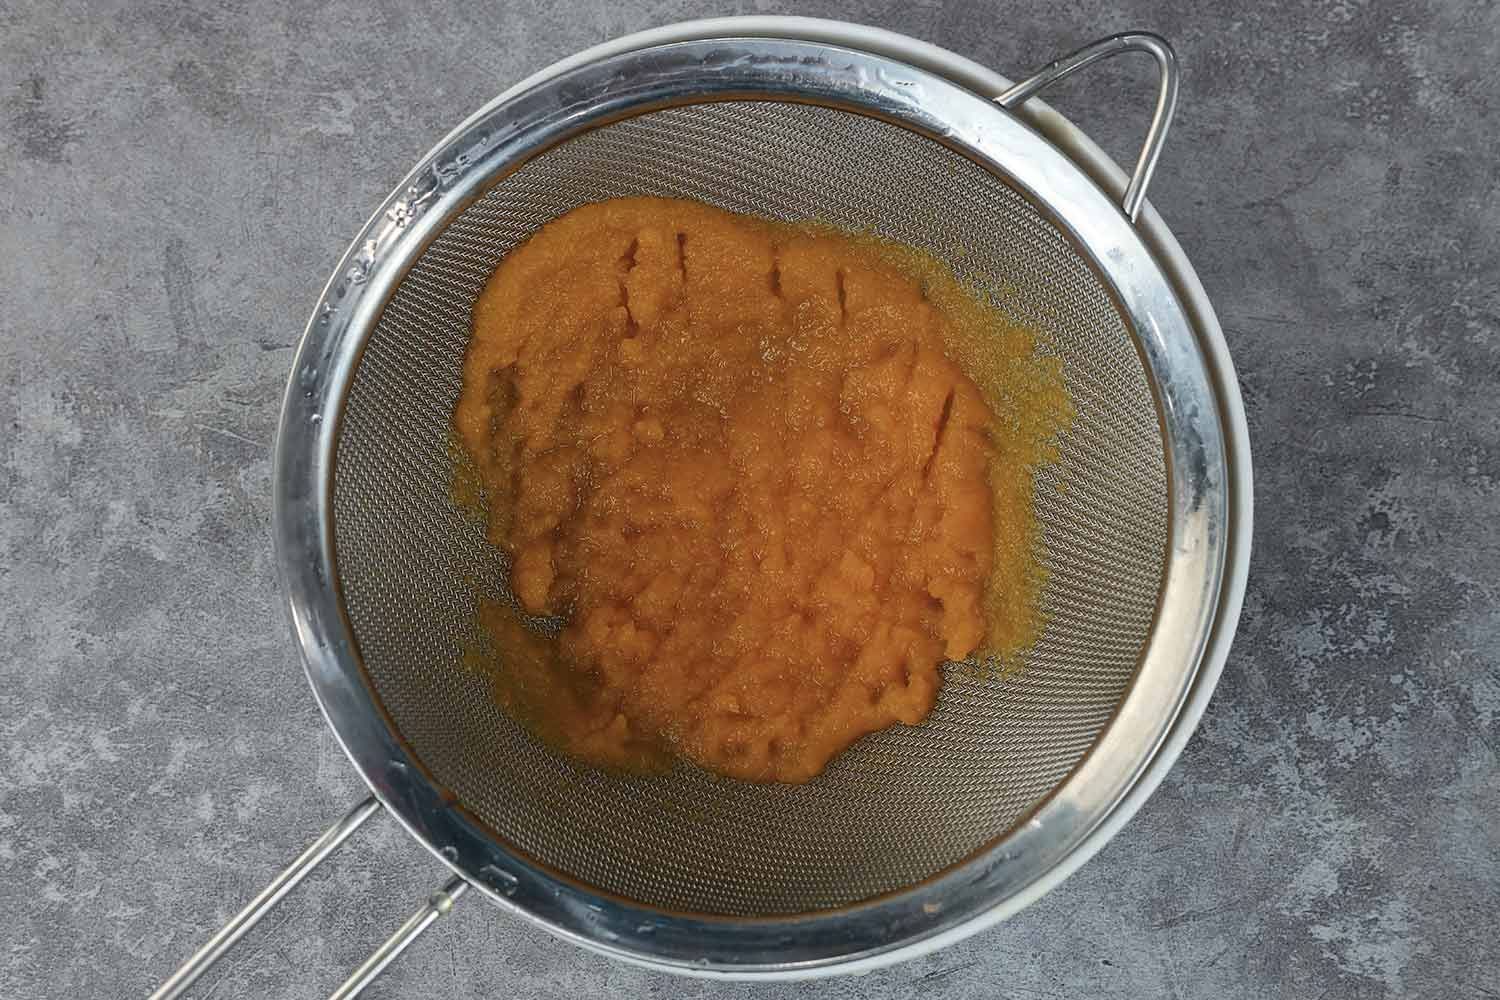
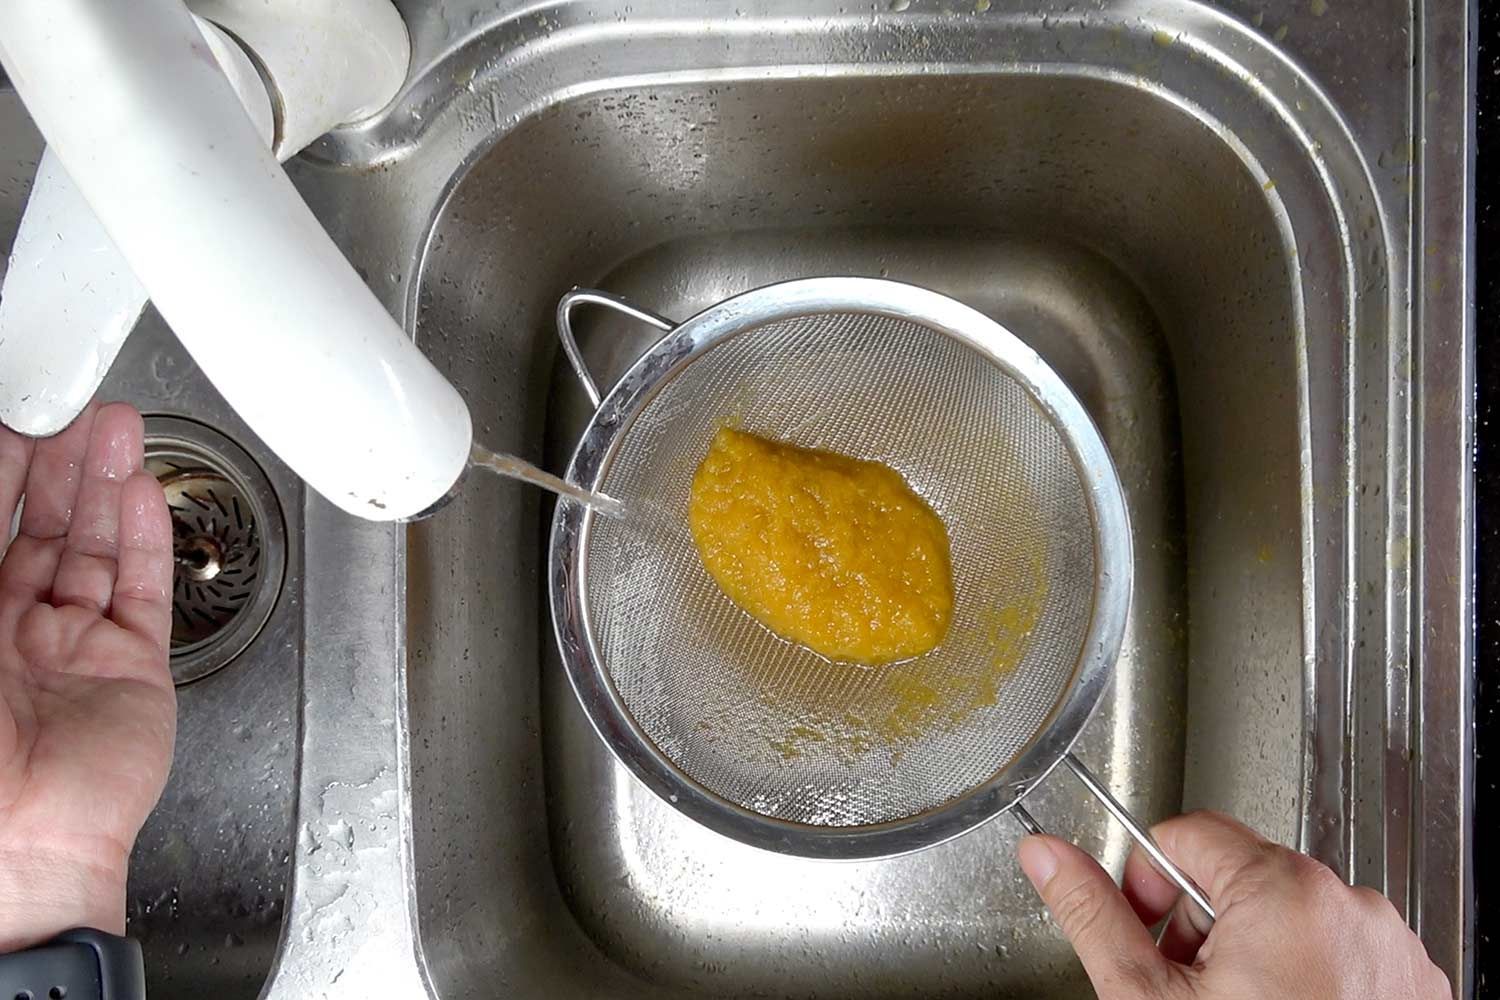
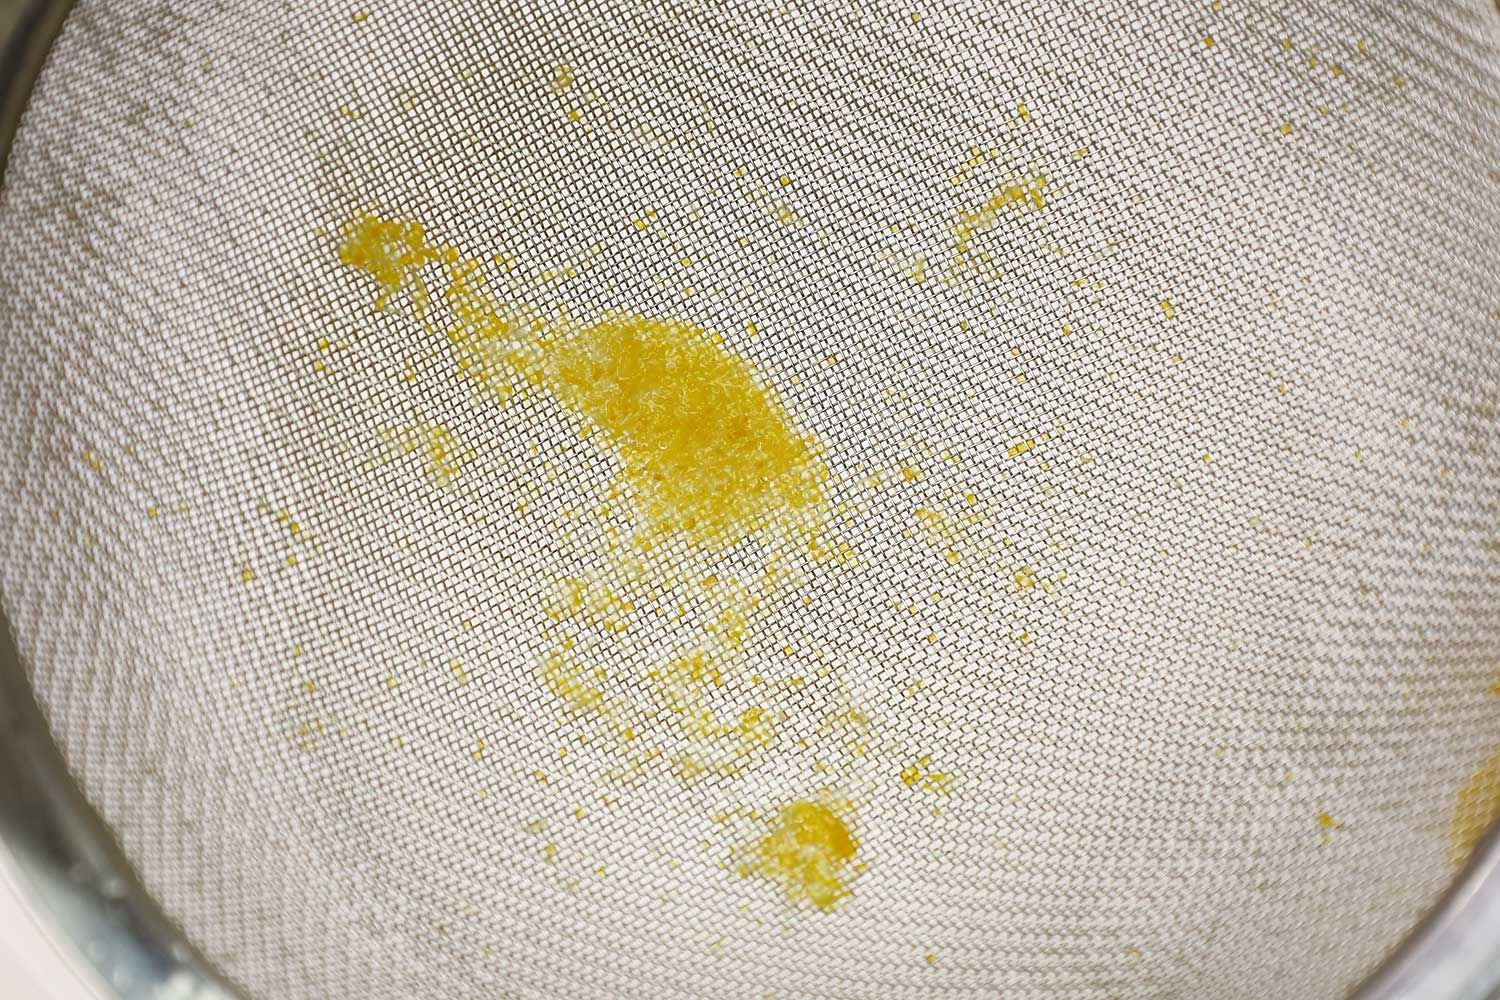
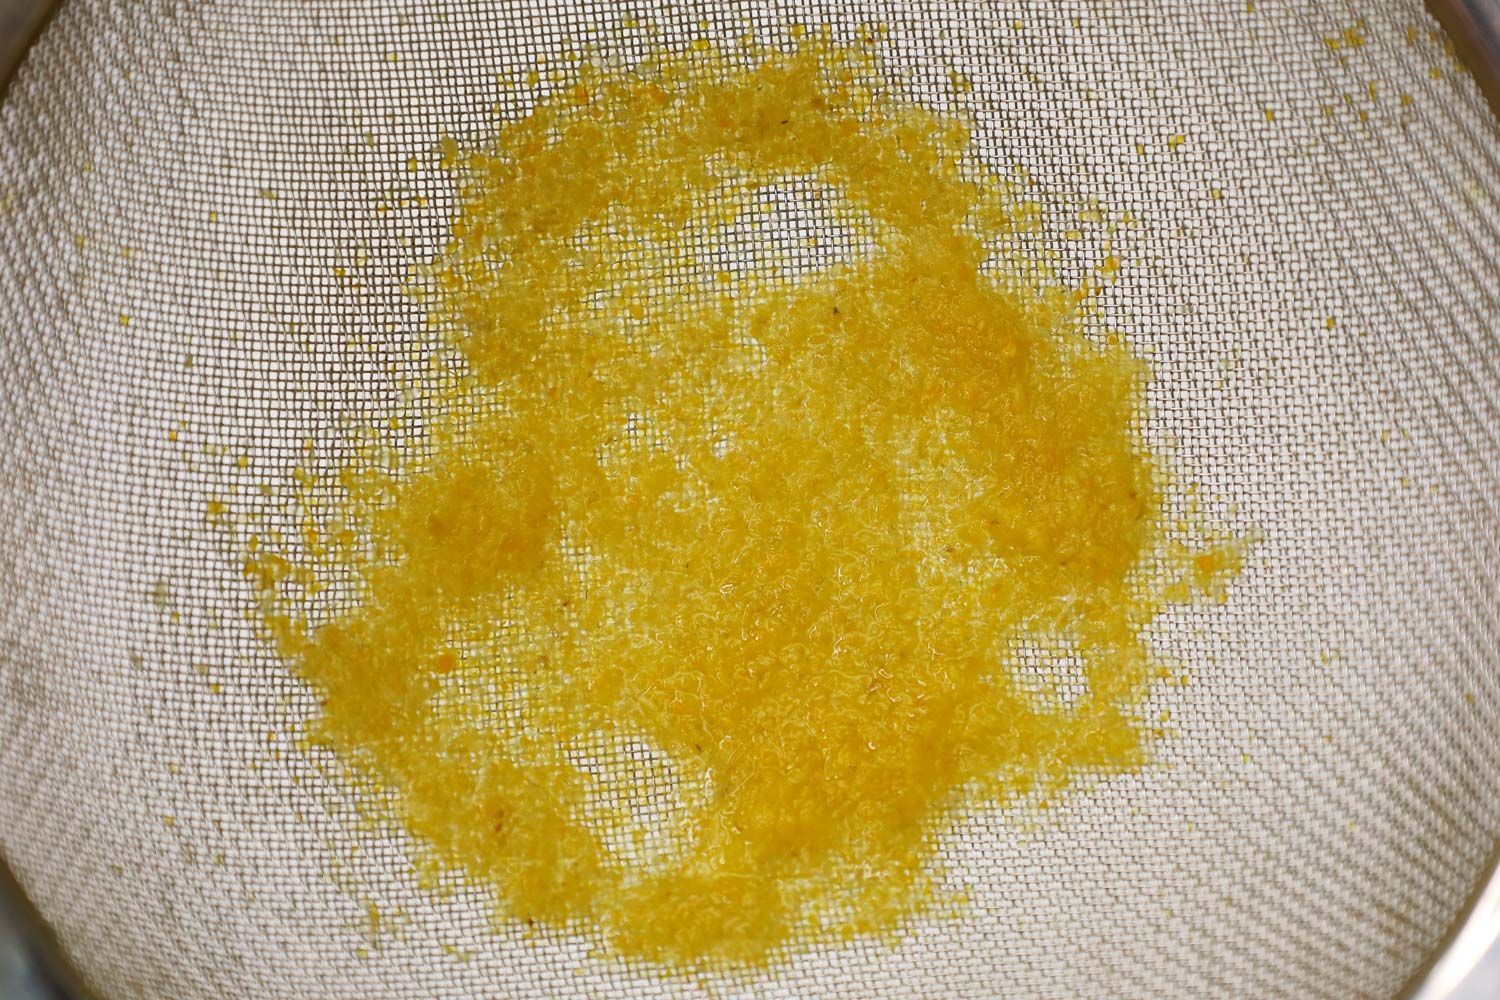
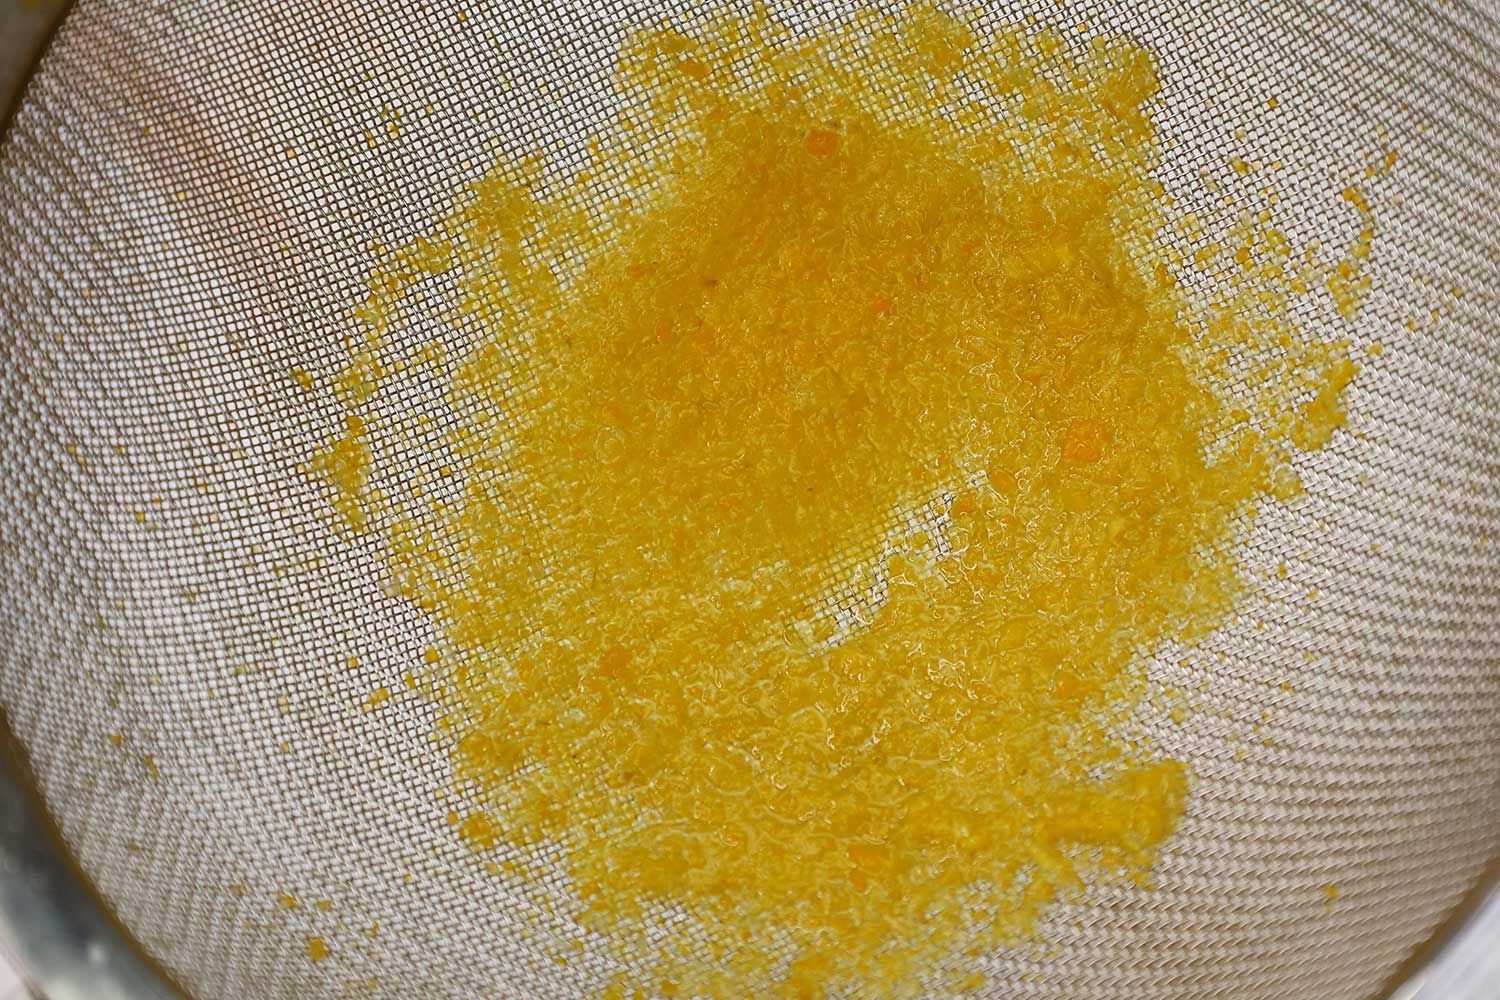
Once the machine reached our 30-second limit, we would stop operating it and drain the soup through a stainless steel mesh strainer to check for chunks. We intended to use the residual solids separated by the strainer as a measure of the blender’s efficiency.
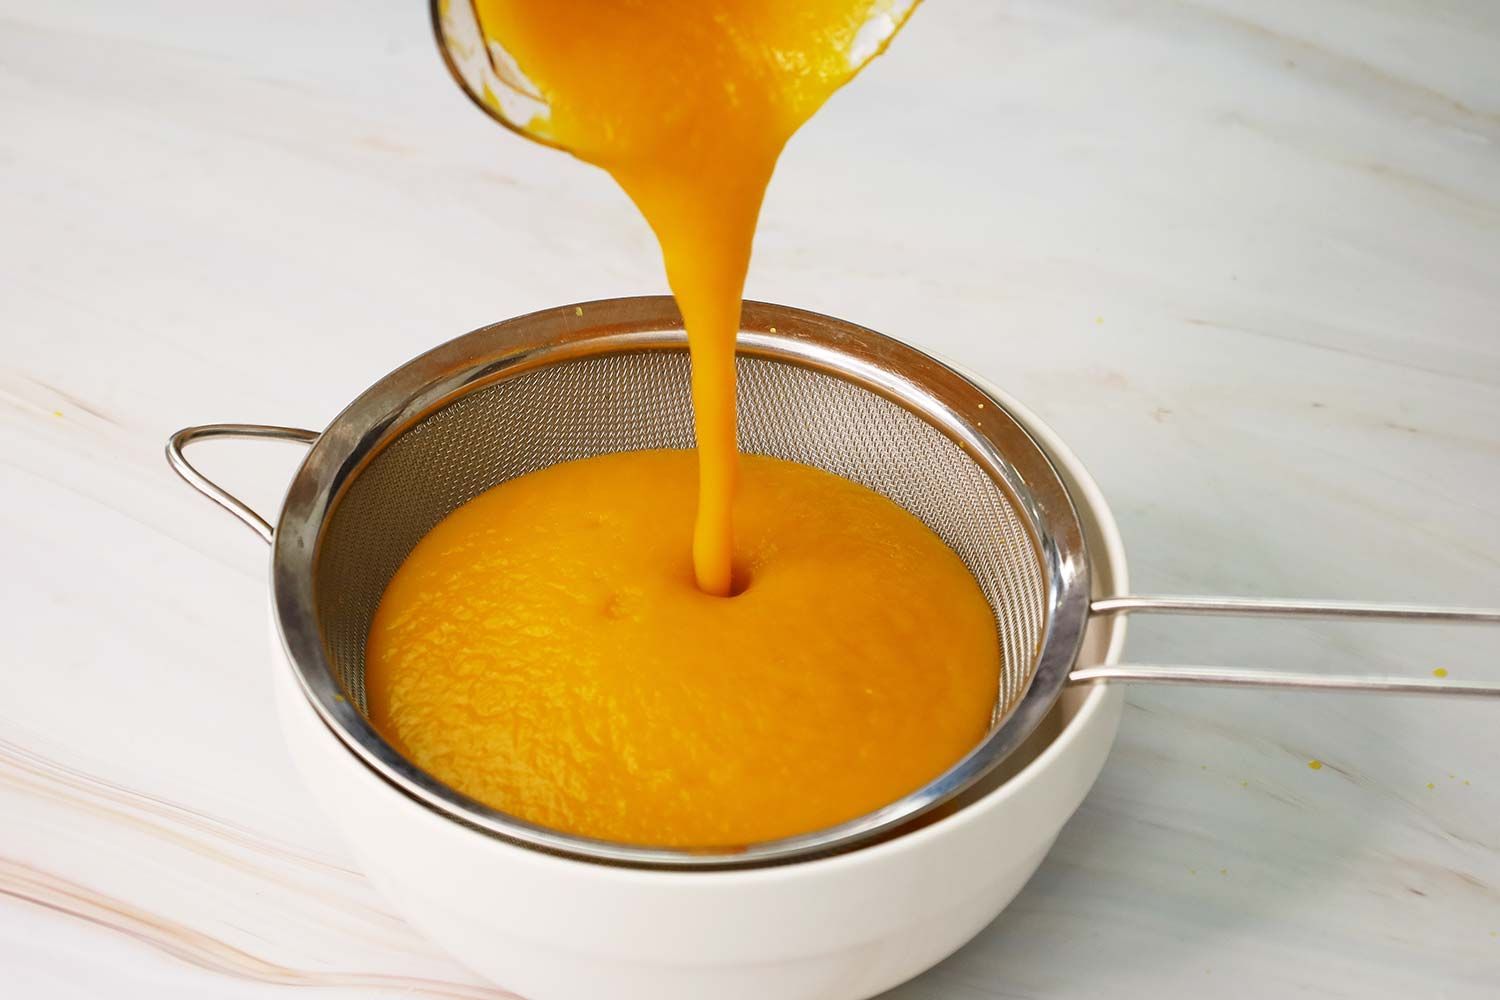
However, the filtering process didn’t work out quite like we expected, and that resulted in an additional step. As a creamy paste, very little of the soup passed through the strainer’s tiny holes. More often than not, it all got stuck in the strainer. At this point, we had to hold each batch under running tap water. A steady stream of water forced the liquid to drain through the strainer. It also rendered the soup itself unusable, but we got the unblended residue we were after.
Score Breakdown
- Exceptionally smooth: We awarded 9 - 10 points for soups with restaurant-quality texture — the ones that left effectively no visible residual solids in our strainer.
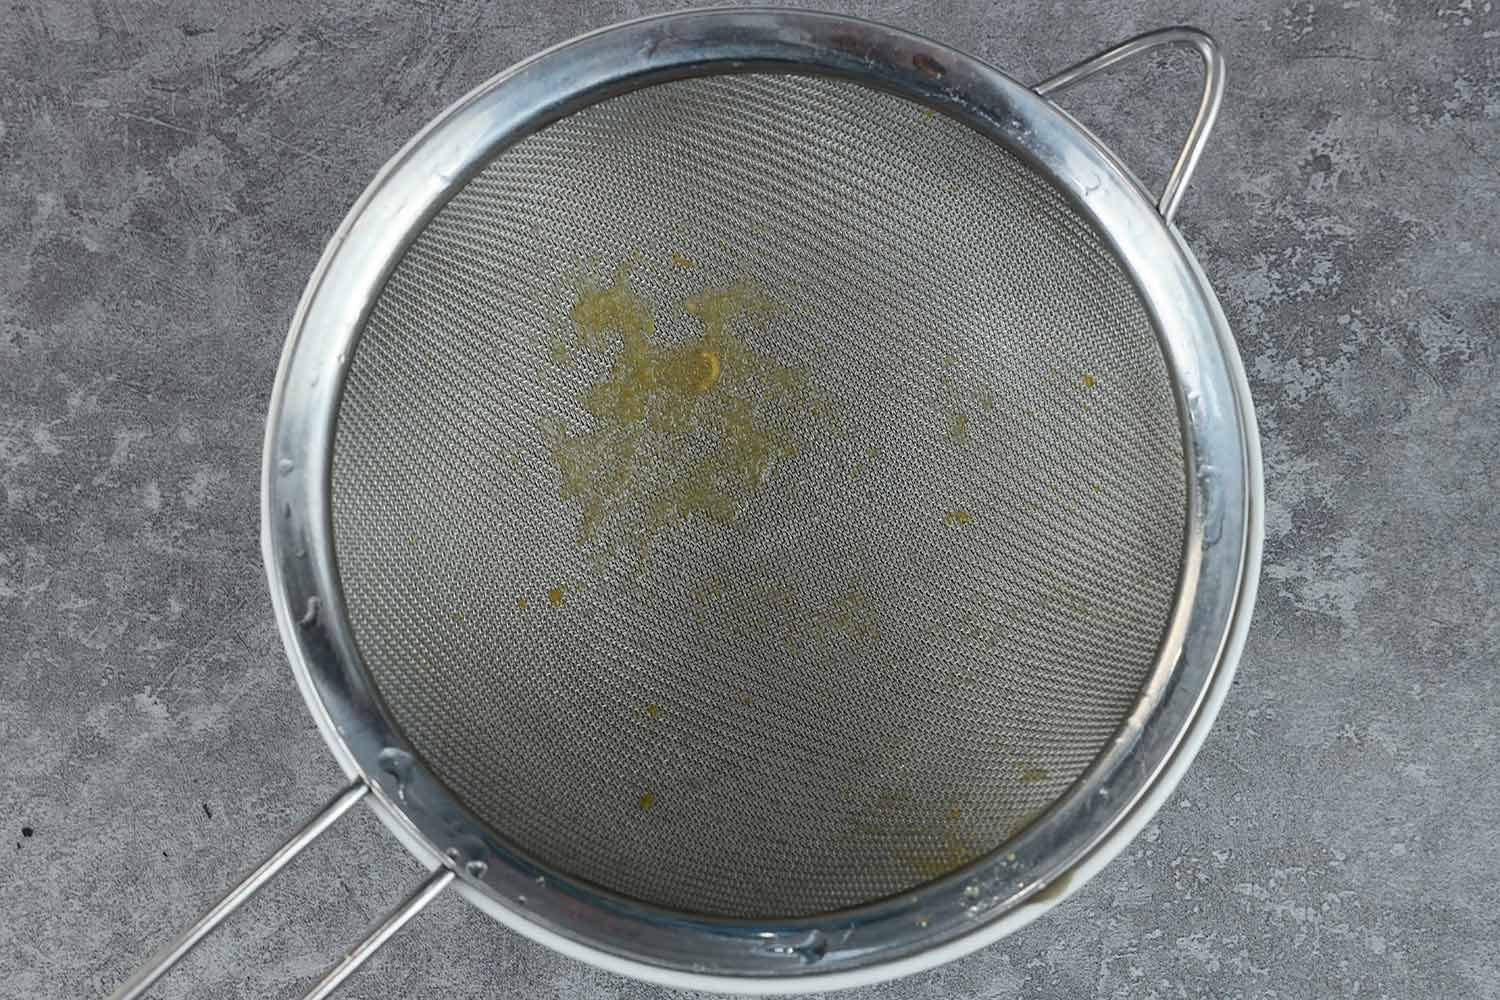
- Smooth: These soups blended evenly but there still remained a few tiny veggie chunks. We awarded them 8 - 8.5 points.
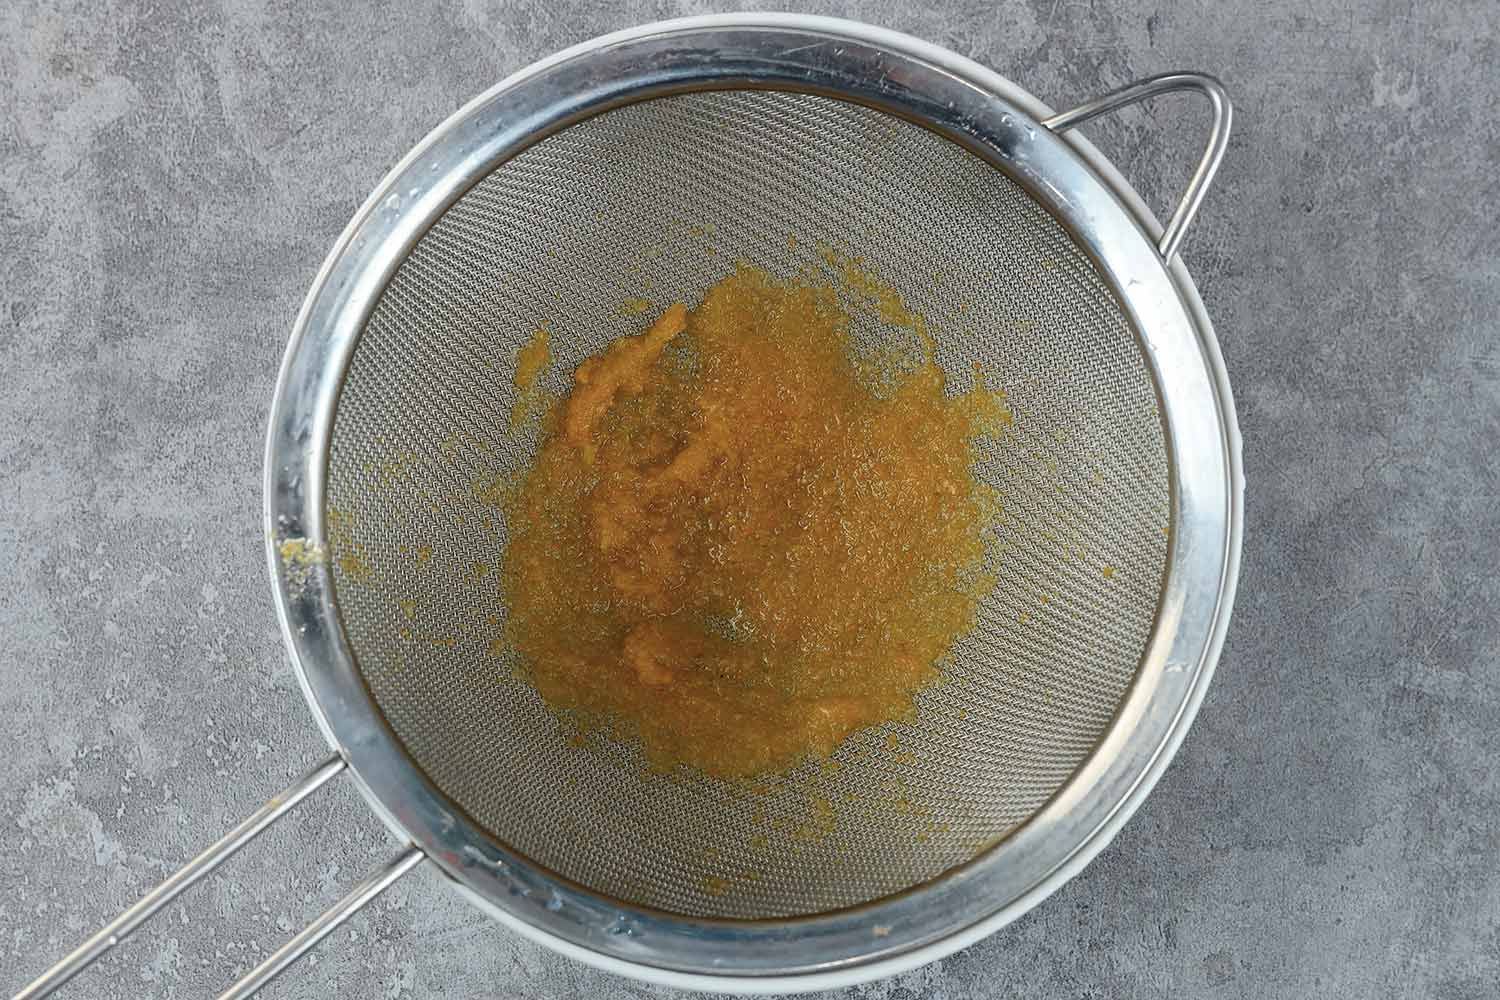
- Slightly chunky: This soup had an acceptable smoothness and was packed with plenty of small pieces. We allocated 7 - 7-5 points to it.
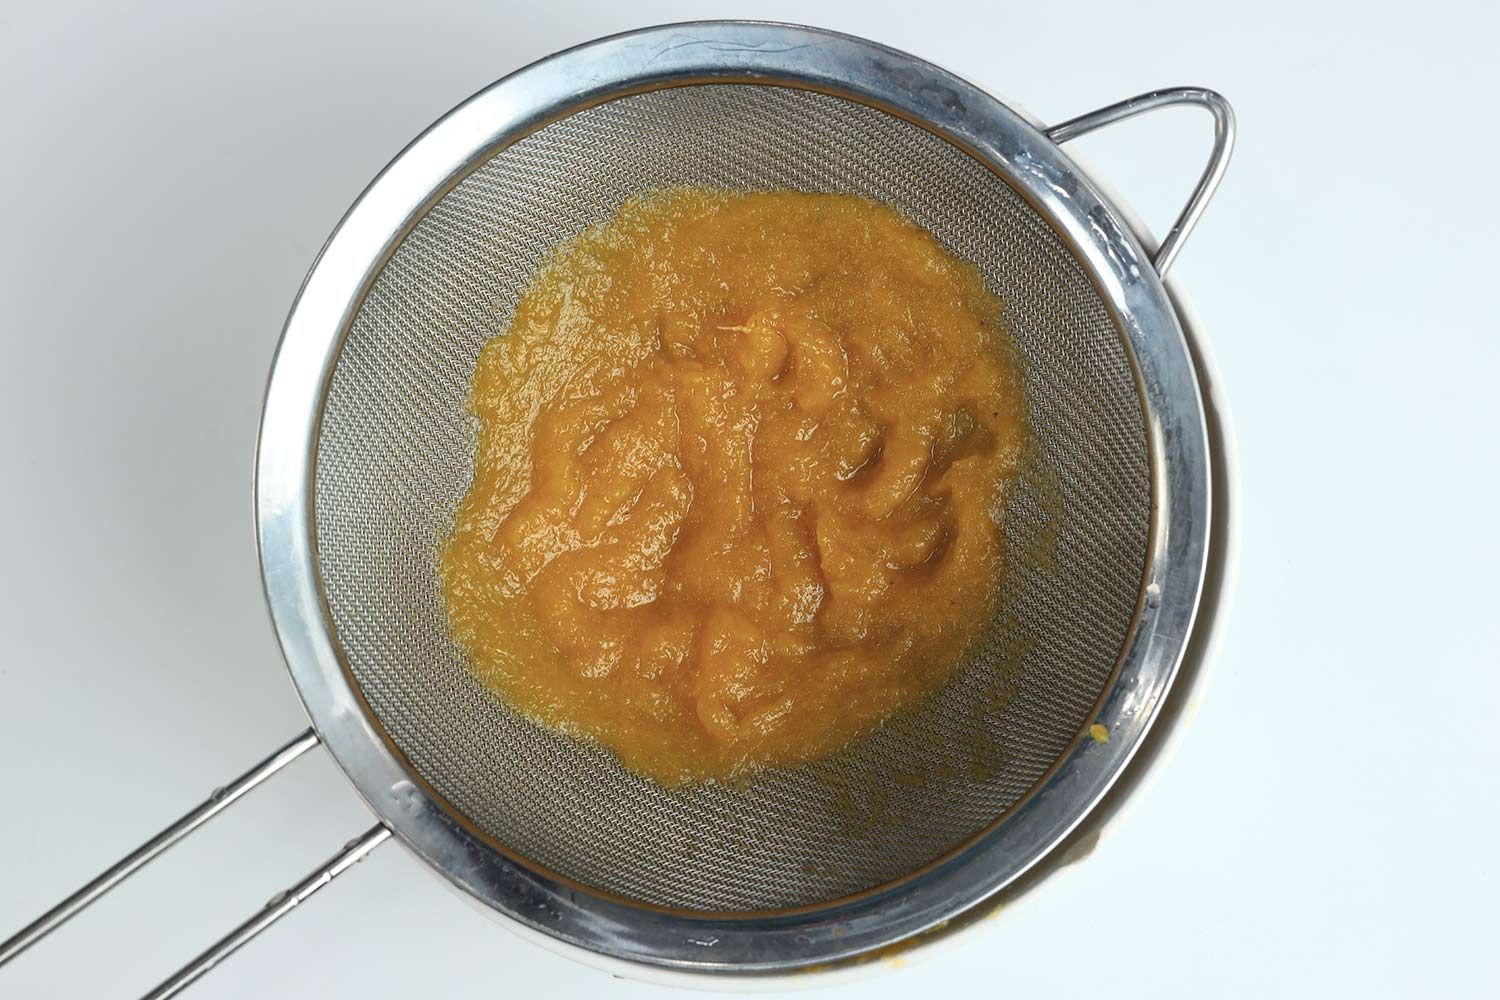
- Chunky: If the blender ended up with larger unprocessed ingredients, causing its soup to look grainy, we gave it no more than 7 points, depending on the shape and amount of food chunks.
